~$300 Round Pen
***** Moving to Horse Mom Hacks! *****
One fantastic training aid in ground work is a round pen and has indeed been on the list with both DIY-building and purchasing being debated back and forth for a while now. After extensive research with regards to being cost-efficient, training-efficient, and labor-efficient, I have successfully completed the DIY Round Pen project to my satisfaction. The completed project cost less than $300 and I spent two long afternoons on a nice weekend from start to finish. I originally planned for a 60' round pen but due to strategic placement in my field, I ended up sizing out and deciding on a 55' round pen (which means I had a little extra lumber to work with on other projects!).
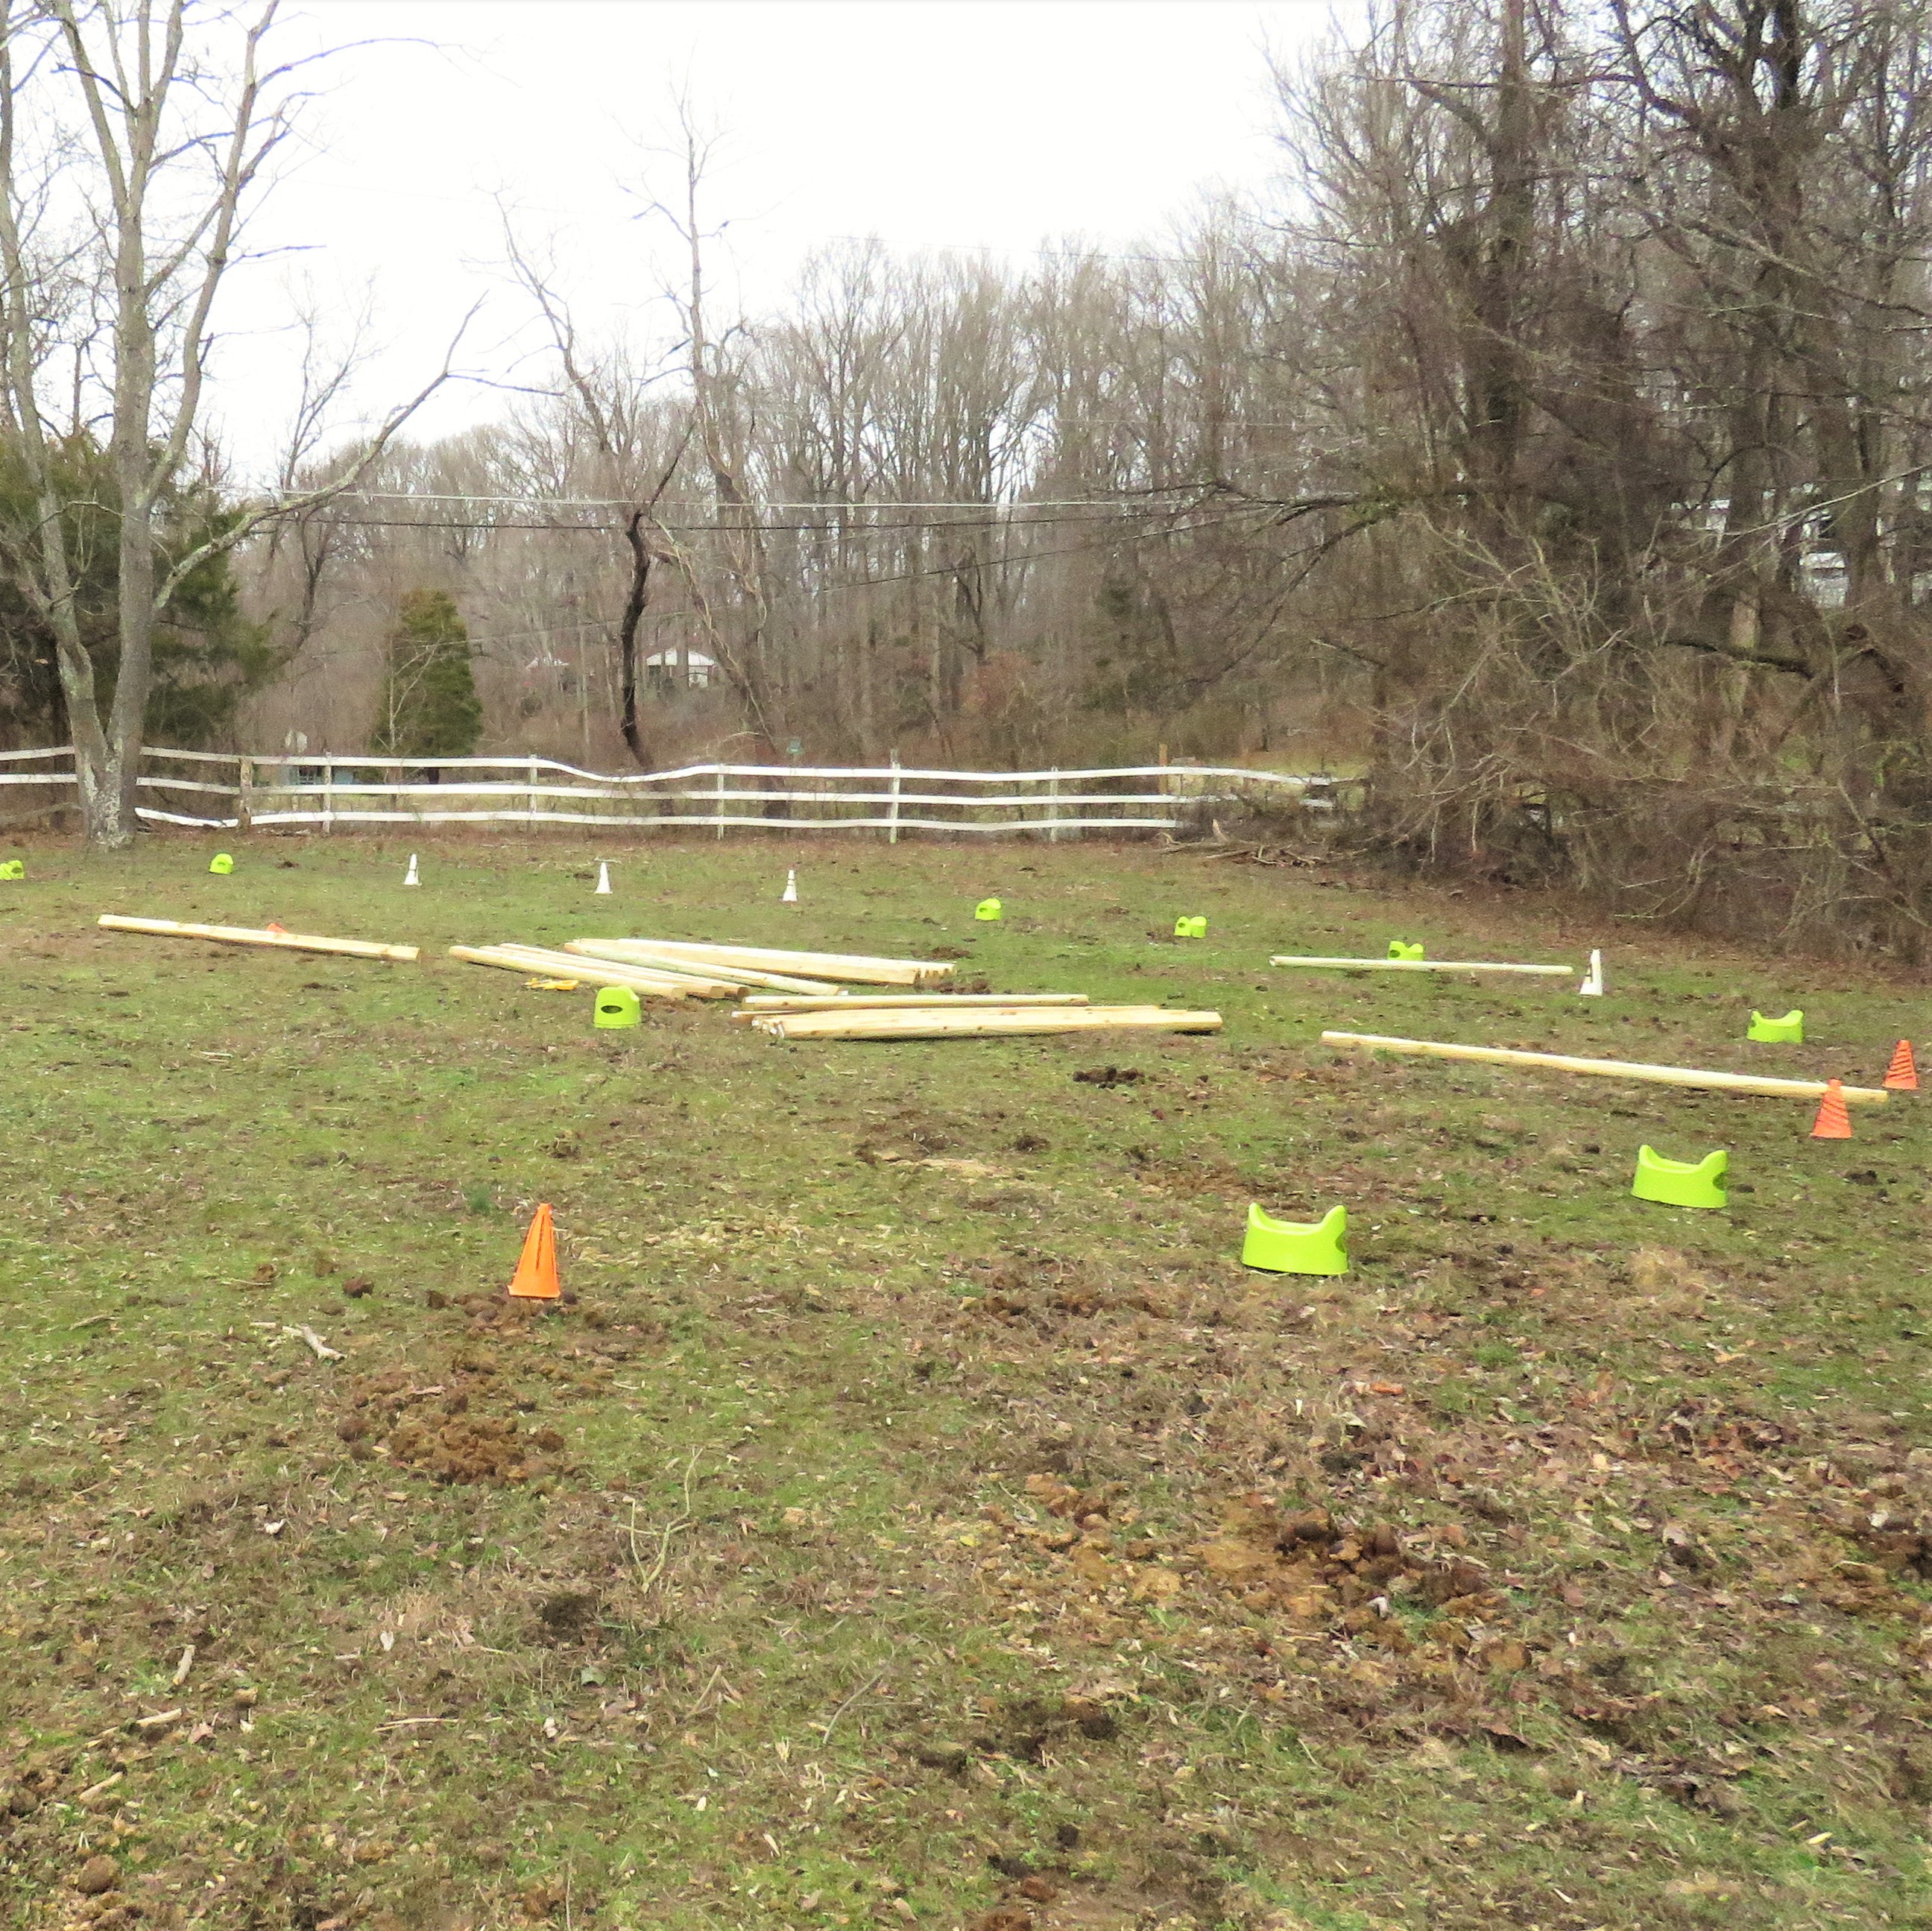
Getting more into detail about the materials and the rough breakdown of costs, for a 60' round pen as originally planned for, the first and most expensive (financially and labor-wise) were the landscape timbers. Looking to space them out approximately 9' from each other (aside from the gate area that sits at 6' apart from each other), I purchased 21 landscape timbers at approximately $4 a piece which comes to the rough cost of $100. NOTE that if you go to Home Depot on a major holiday (especially the 4th of July), landscape timbers are on sale for half off (when I stocked up on my jump poles)! In addition to the collection of landscape timbers, I also picked up 7 cheap bags of cement, 5 of the 2"x4"x8' boards and 3 large heavy-duty hinges for the gate for an additional $70 give or take. Online through Amazon, I purchased 3 25-pack white plastic insulators for approximately $12 a piece and the 2" white Polytape roll of 670' for $65. The 3 packs of insulators and the single roll of Polytape allowed me to run 3 rails around my round pen easily with plenty of Polytape left over (although not enough for a 4th rail). Once again, roughly adding all of these costs up, I spent less than $300 on my project.
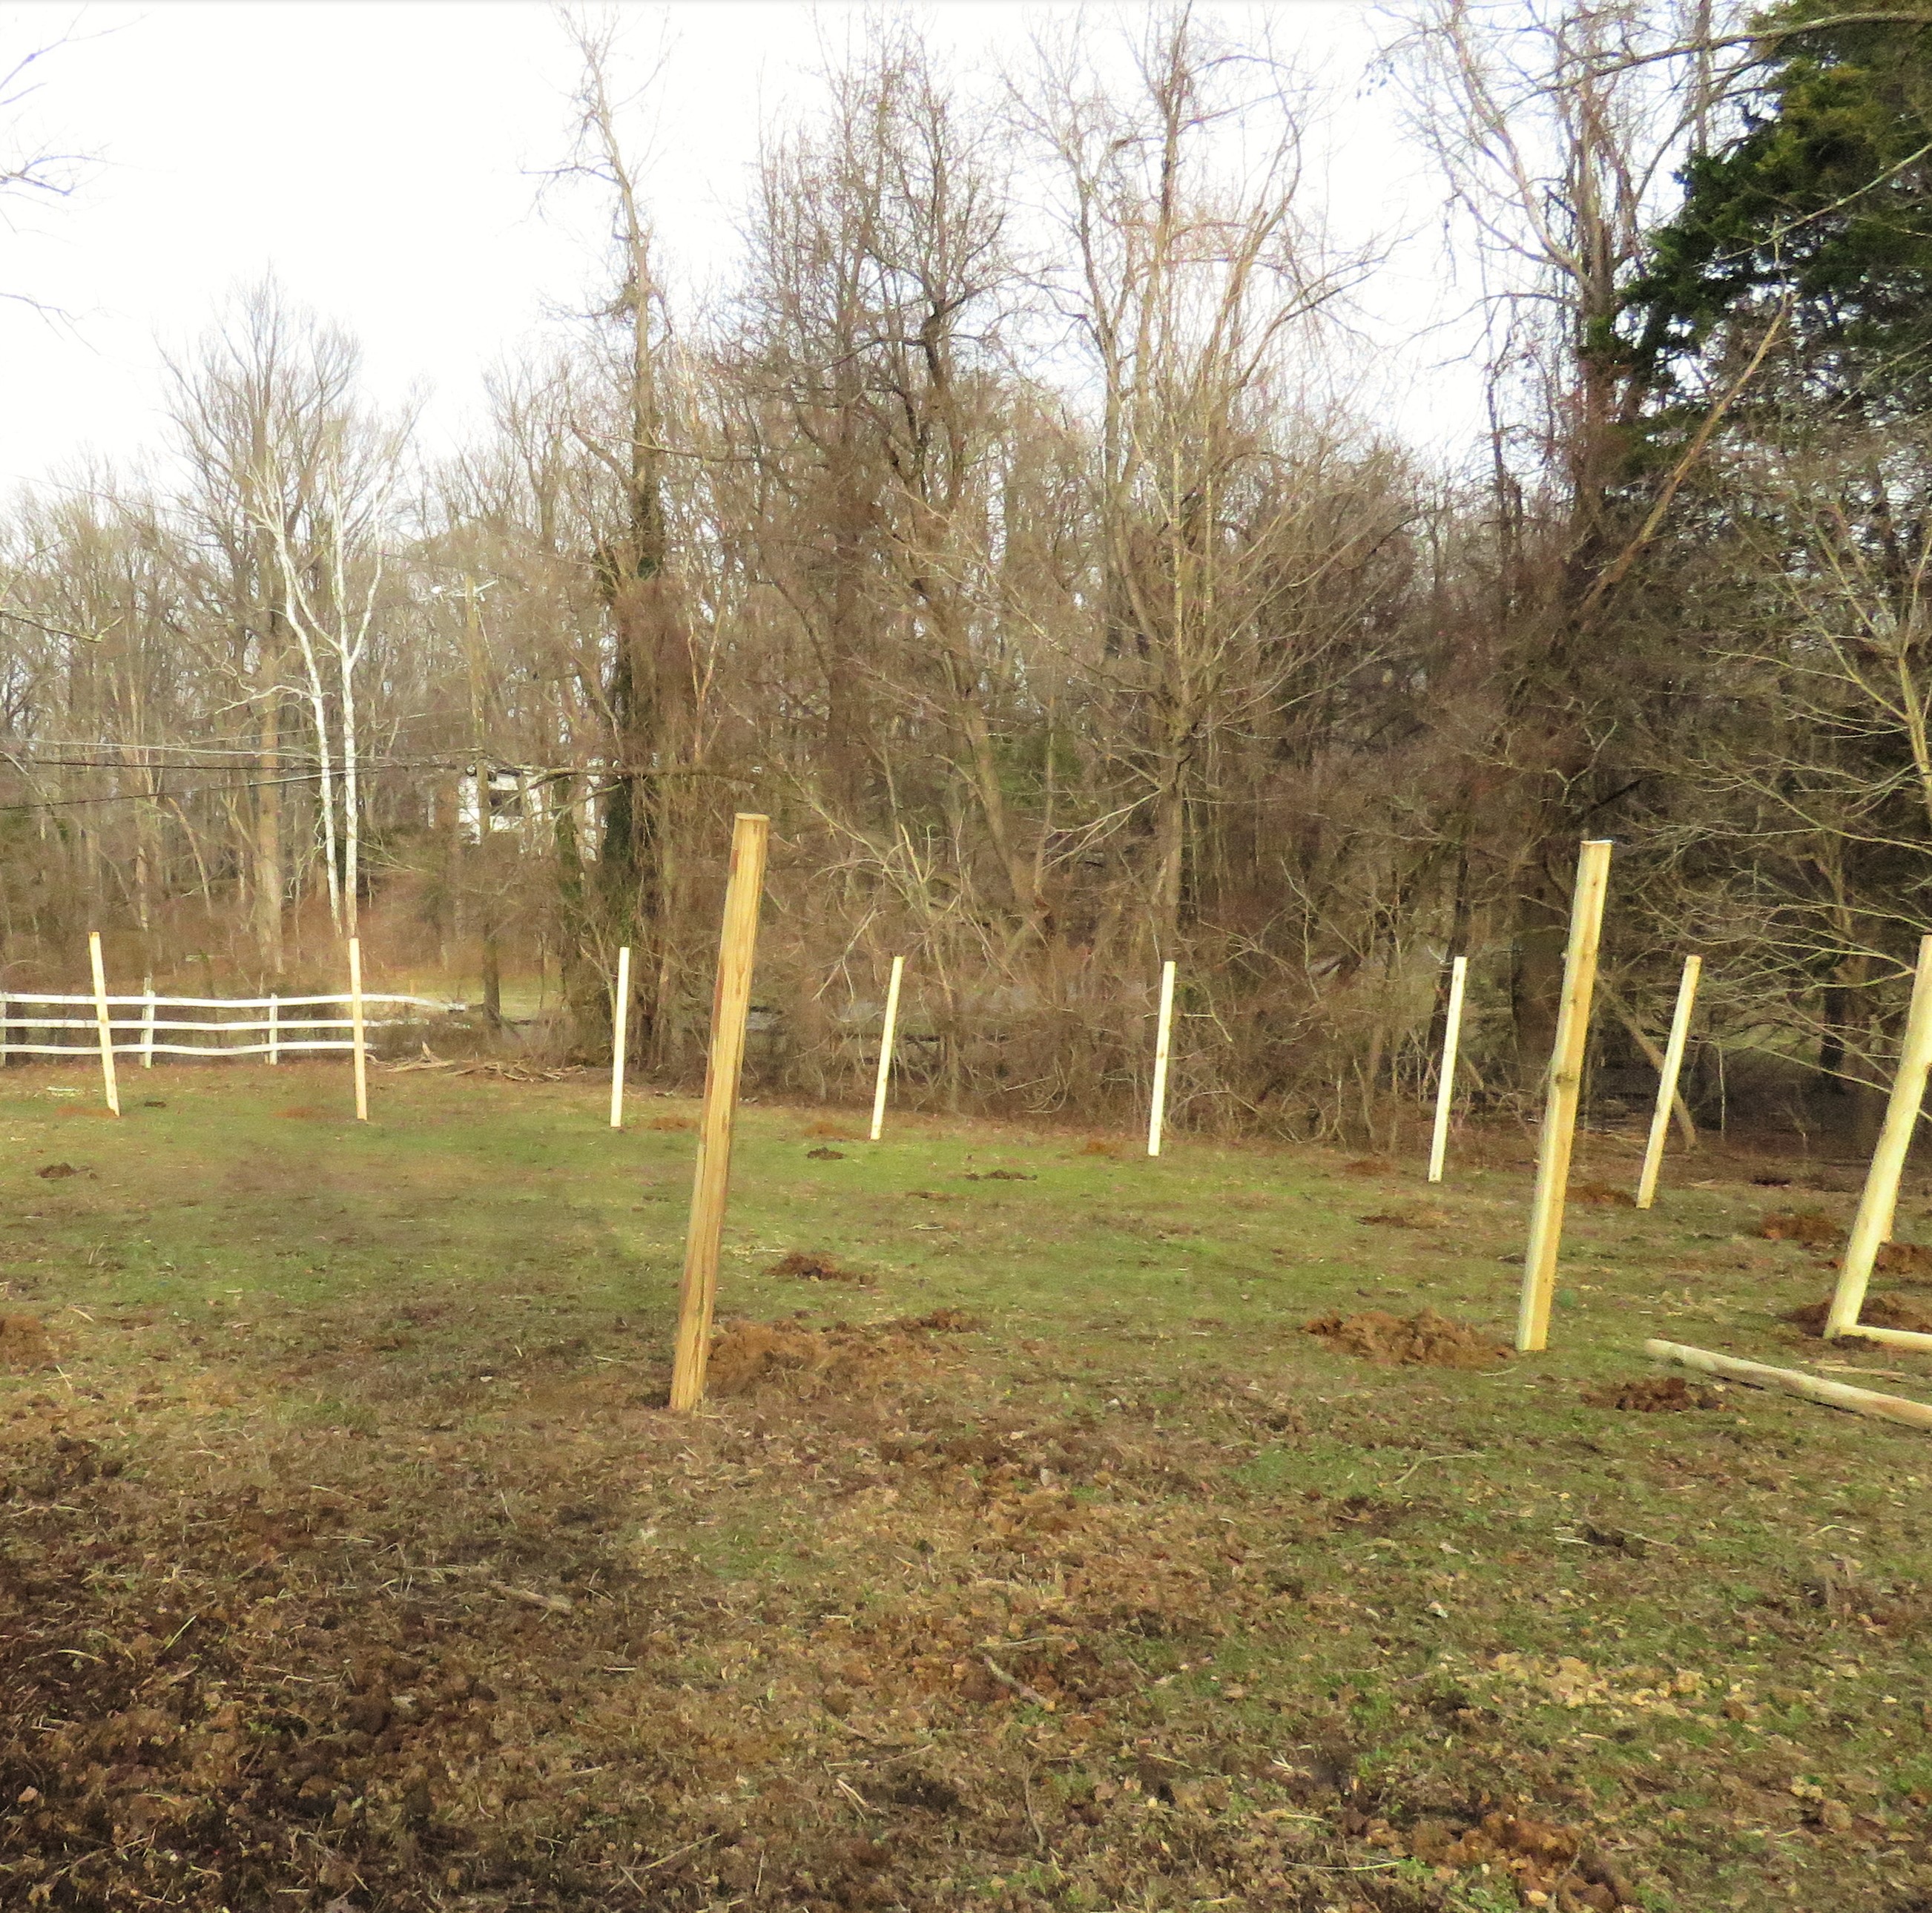
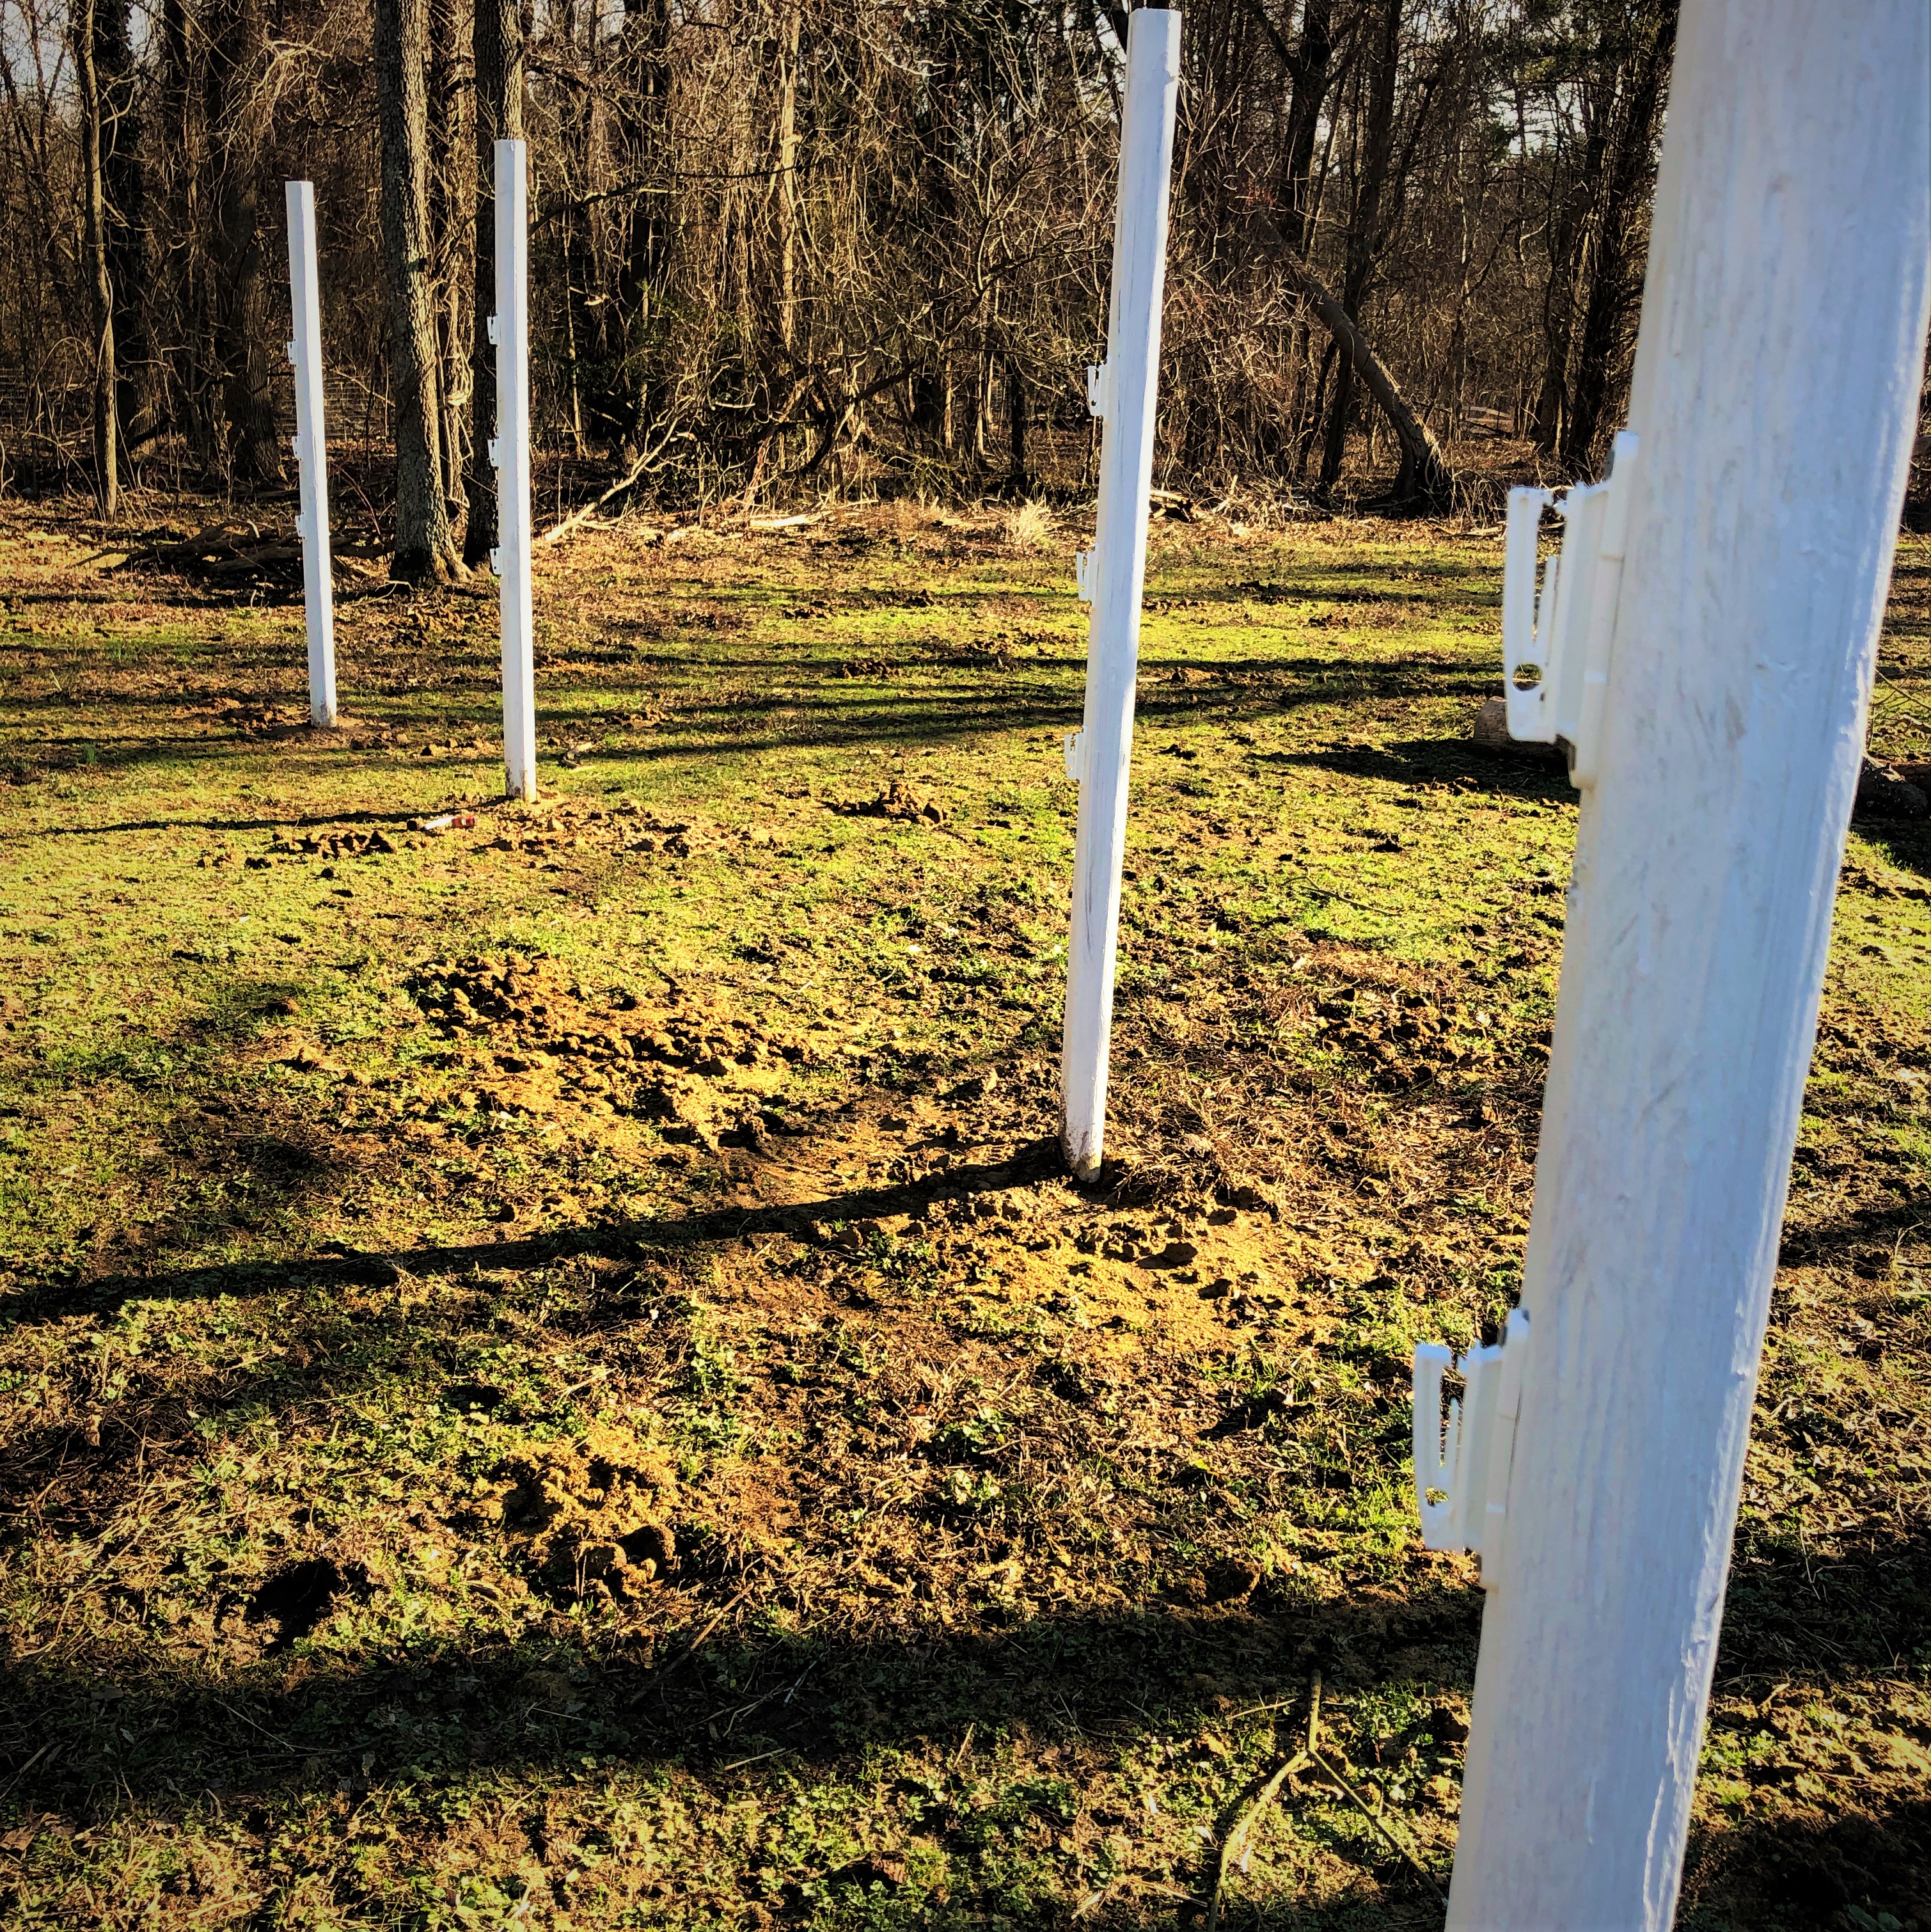
As for assembling, the completed project has, as mentioned prior, all posts spread apart 9' from each other with the gate section being 6' wide. Downsizing from the 60' round pen to a 55' round pen, I actually only ended up using 19 posts instead of 21 and made sure to walk the circumference of the round pen circle many times with markers for each post I was planning on (I had a measuring tape caught in the middle between 27' and 28' which I used as the center of a clock to keep walking around to ensure all posts had an even radius from the center). Once I was sure where all of the posts would be placed, I dug all of the holes personally with a post hole digger to be approximately 2' deep. Once all of the holes were dug (it was a warm day in winter - I was not waiting for the ground to freeze), I placed all of the landscape timbers in their holes to make sure everything looked as planned.
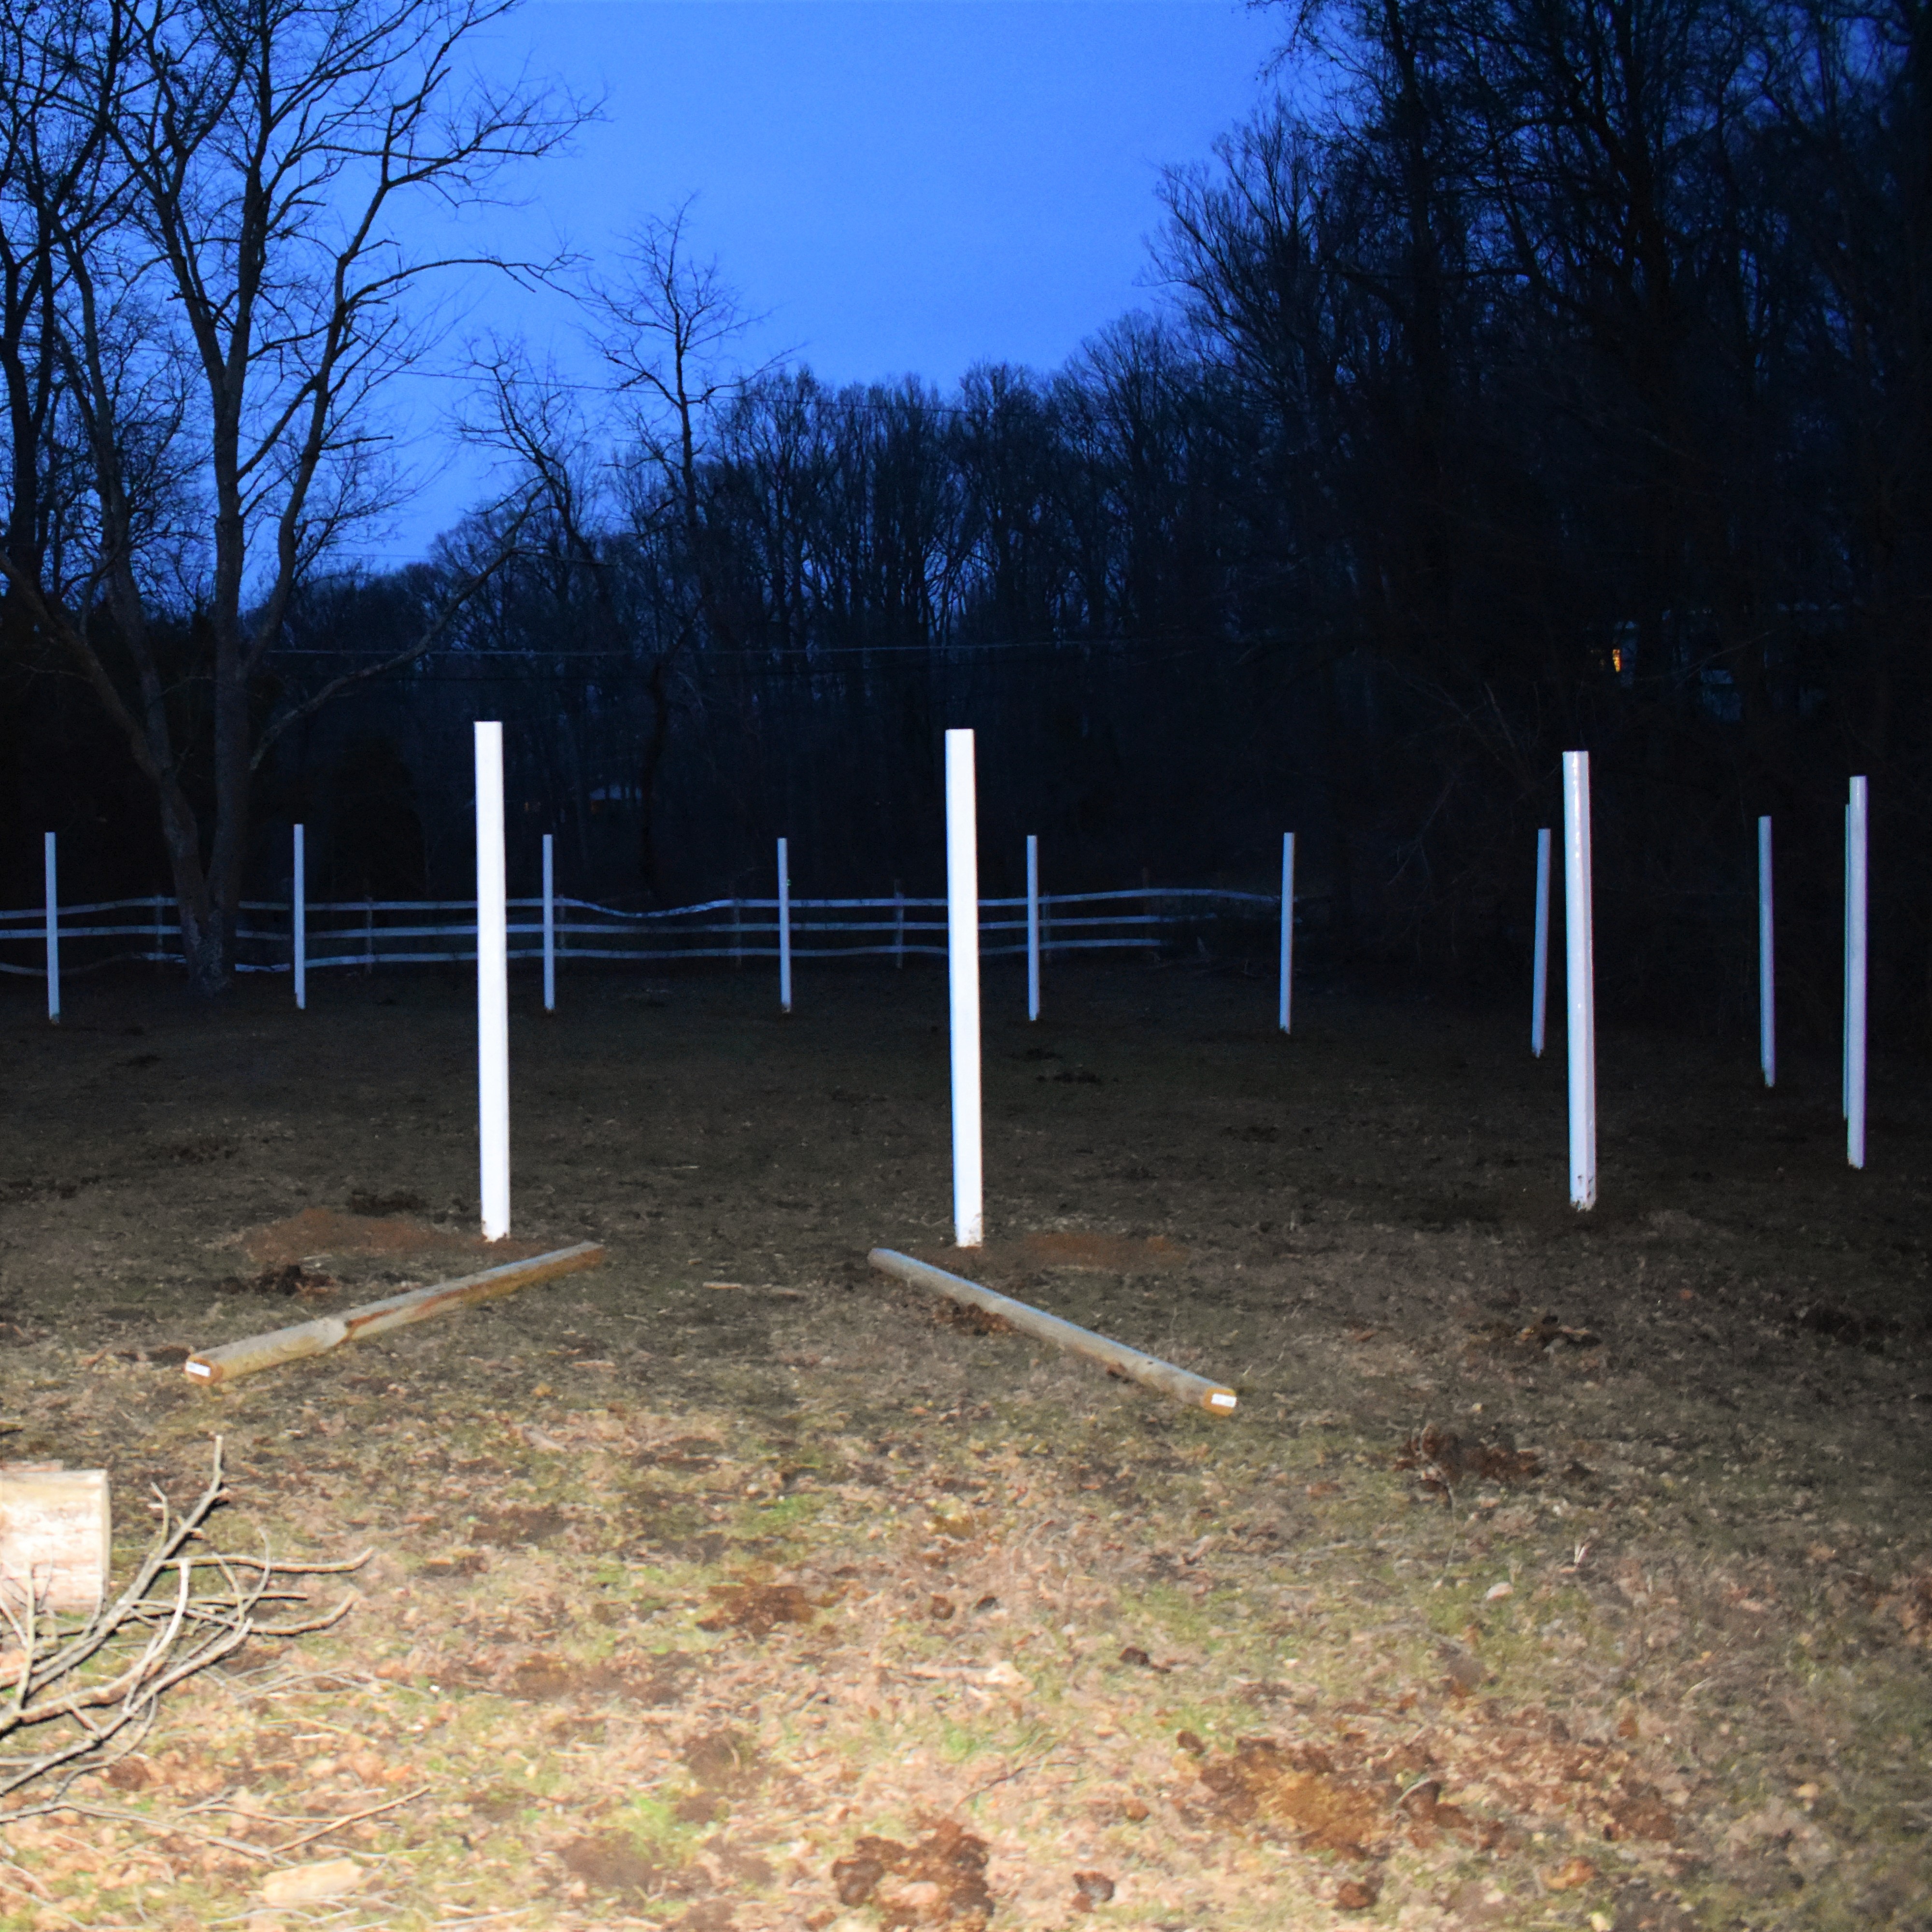
The next step was to add a little concrete to the lower portion of the post that was in the hole to help add a little support (do not fill the entire hole up with concrete!). After I finished putting concrete in all of the post holes (I had one bag left over for a later project use), I added water to posts for the concrete, taking care to make sure that the posts were as straight as possible during the process. The last major thing to do was to fill the holes back up with the dirt dug out of them. I will add here that I have a white-color primer that I used to coat the posts before I filled in the holes, allowing the bottom of the posts to look nicer. Regardless, at this point in which the holes were filled up, I left them to sit for the night before I looked to add any additional pressure to the posts. The installation of the posts was, as expected, easily the most difficult and most labor-expensive portion of the project.
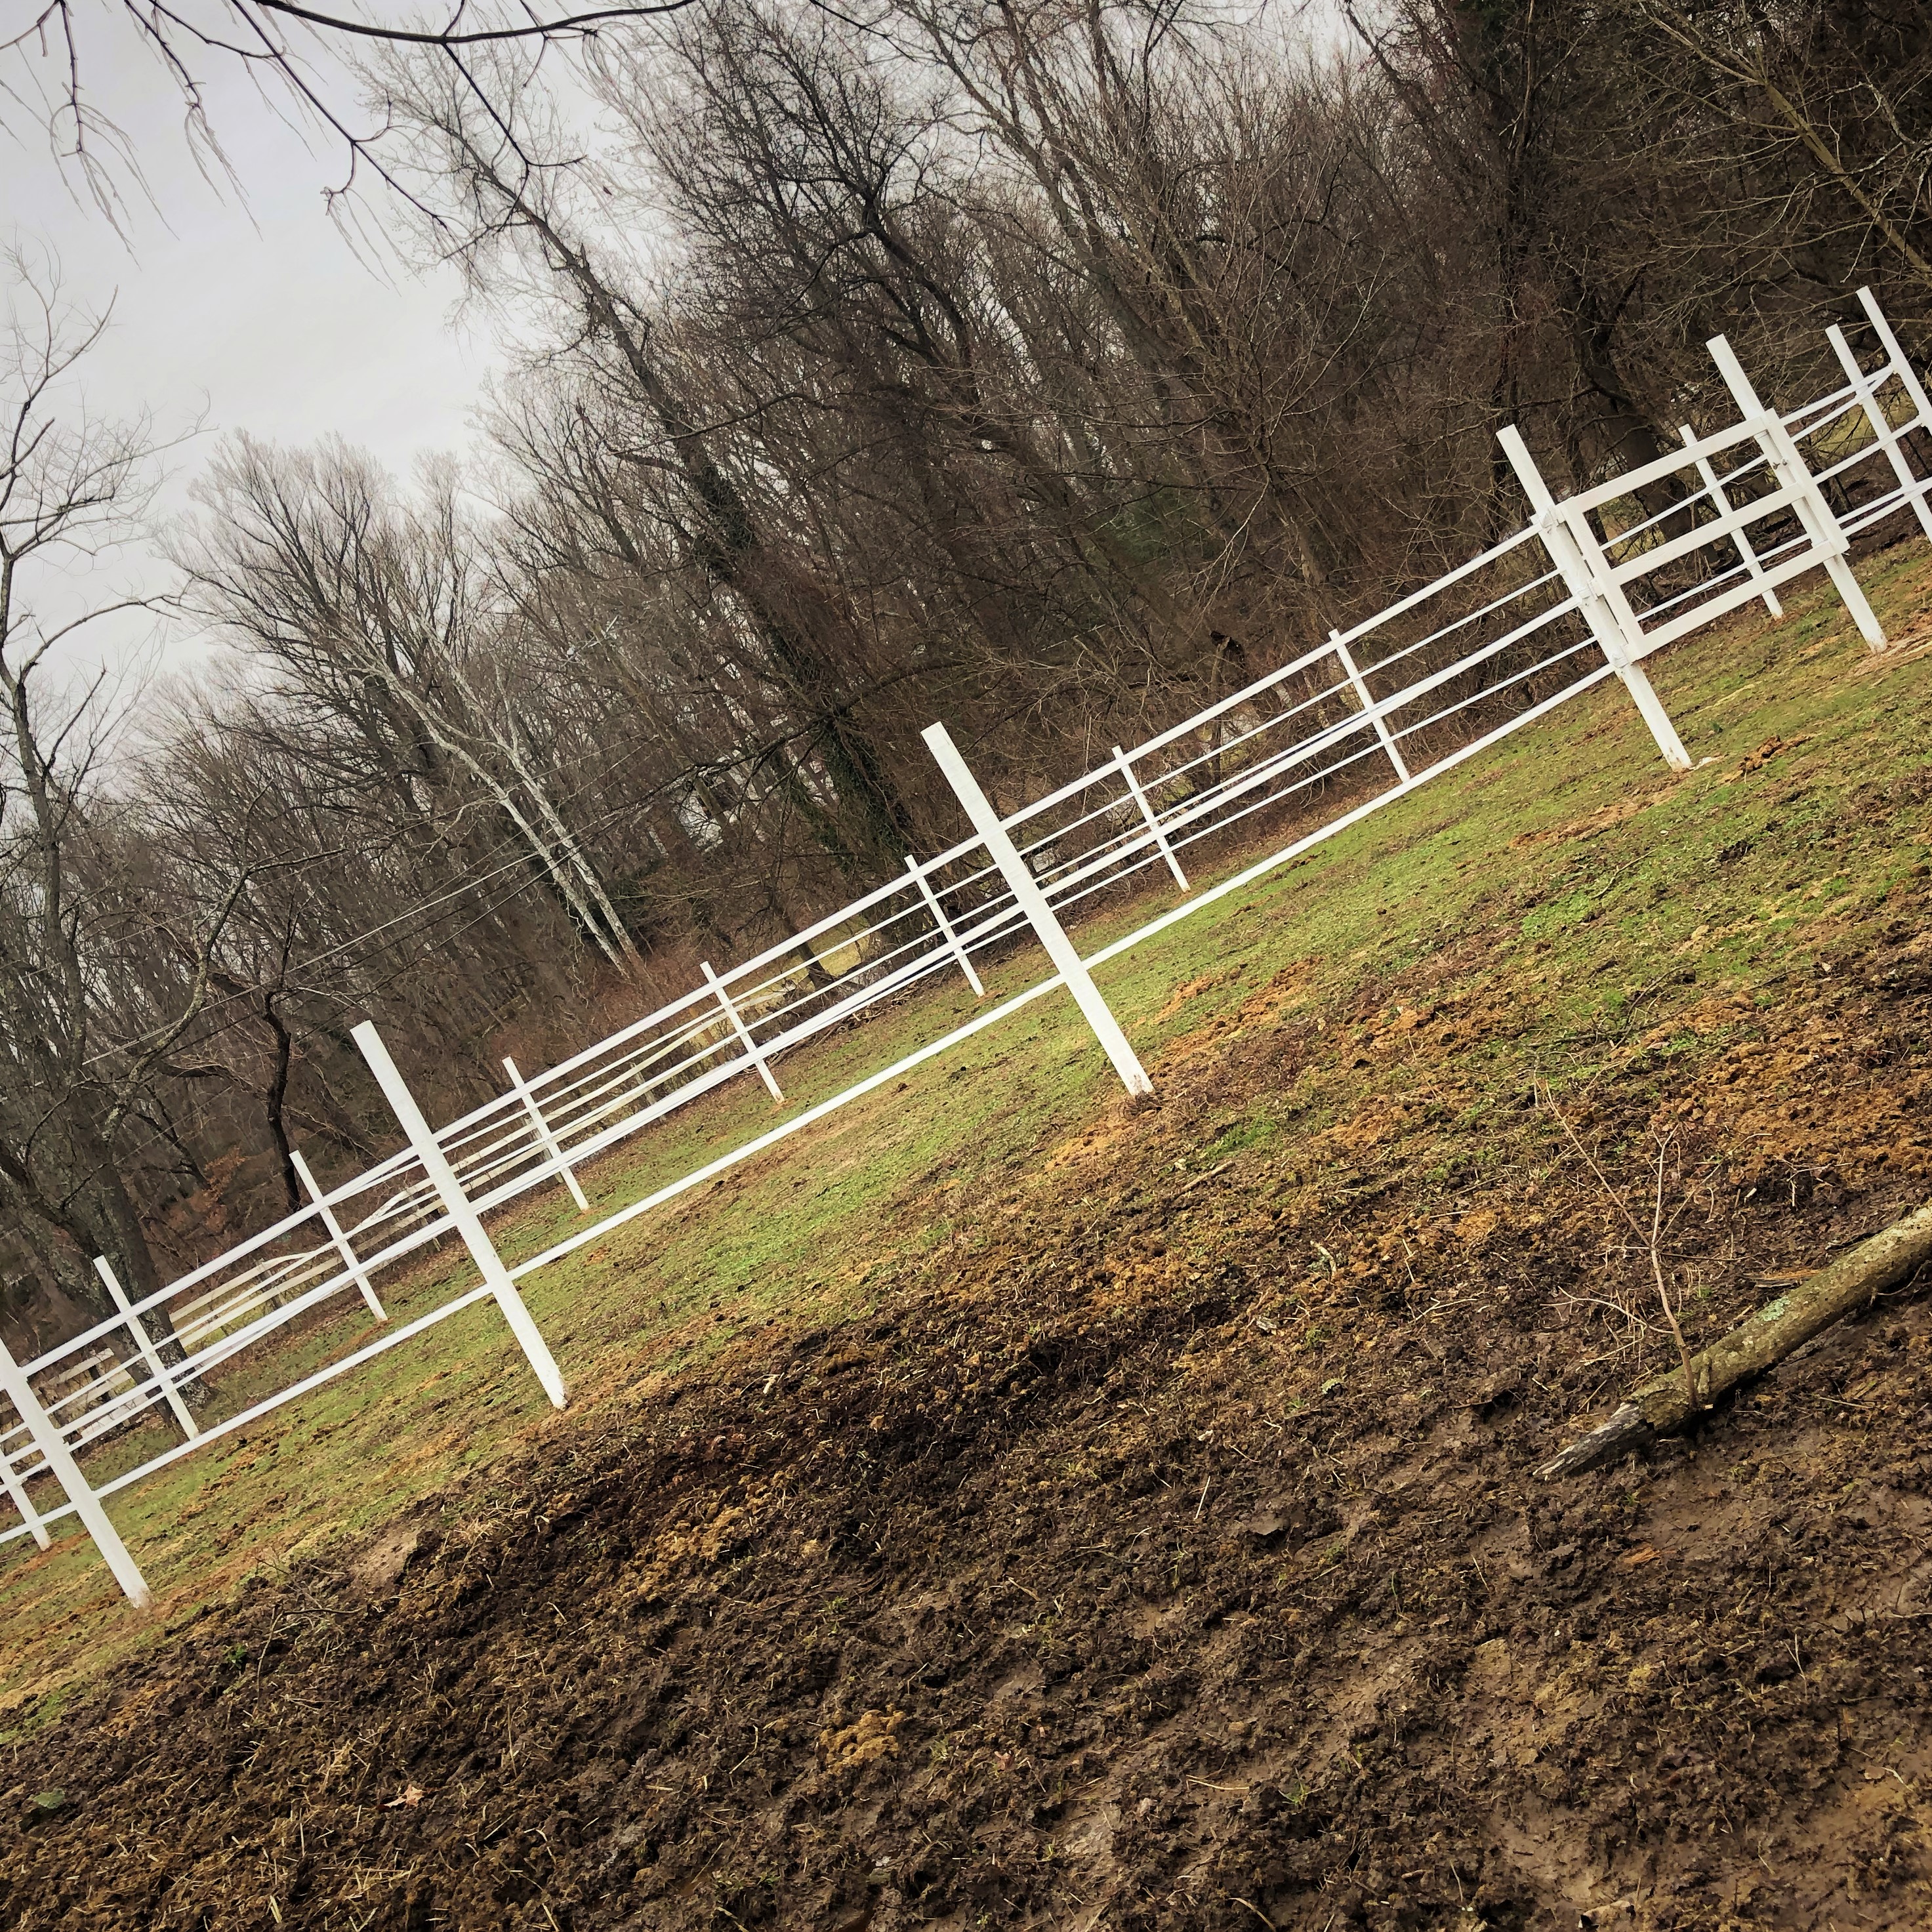
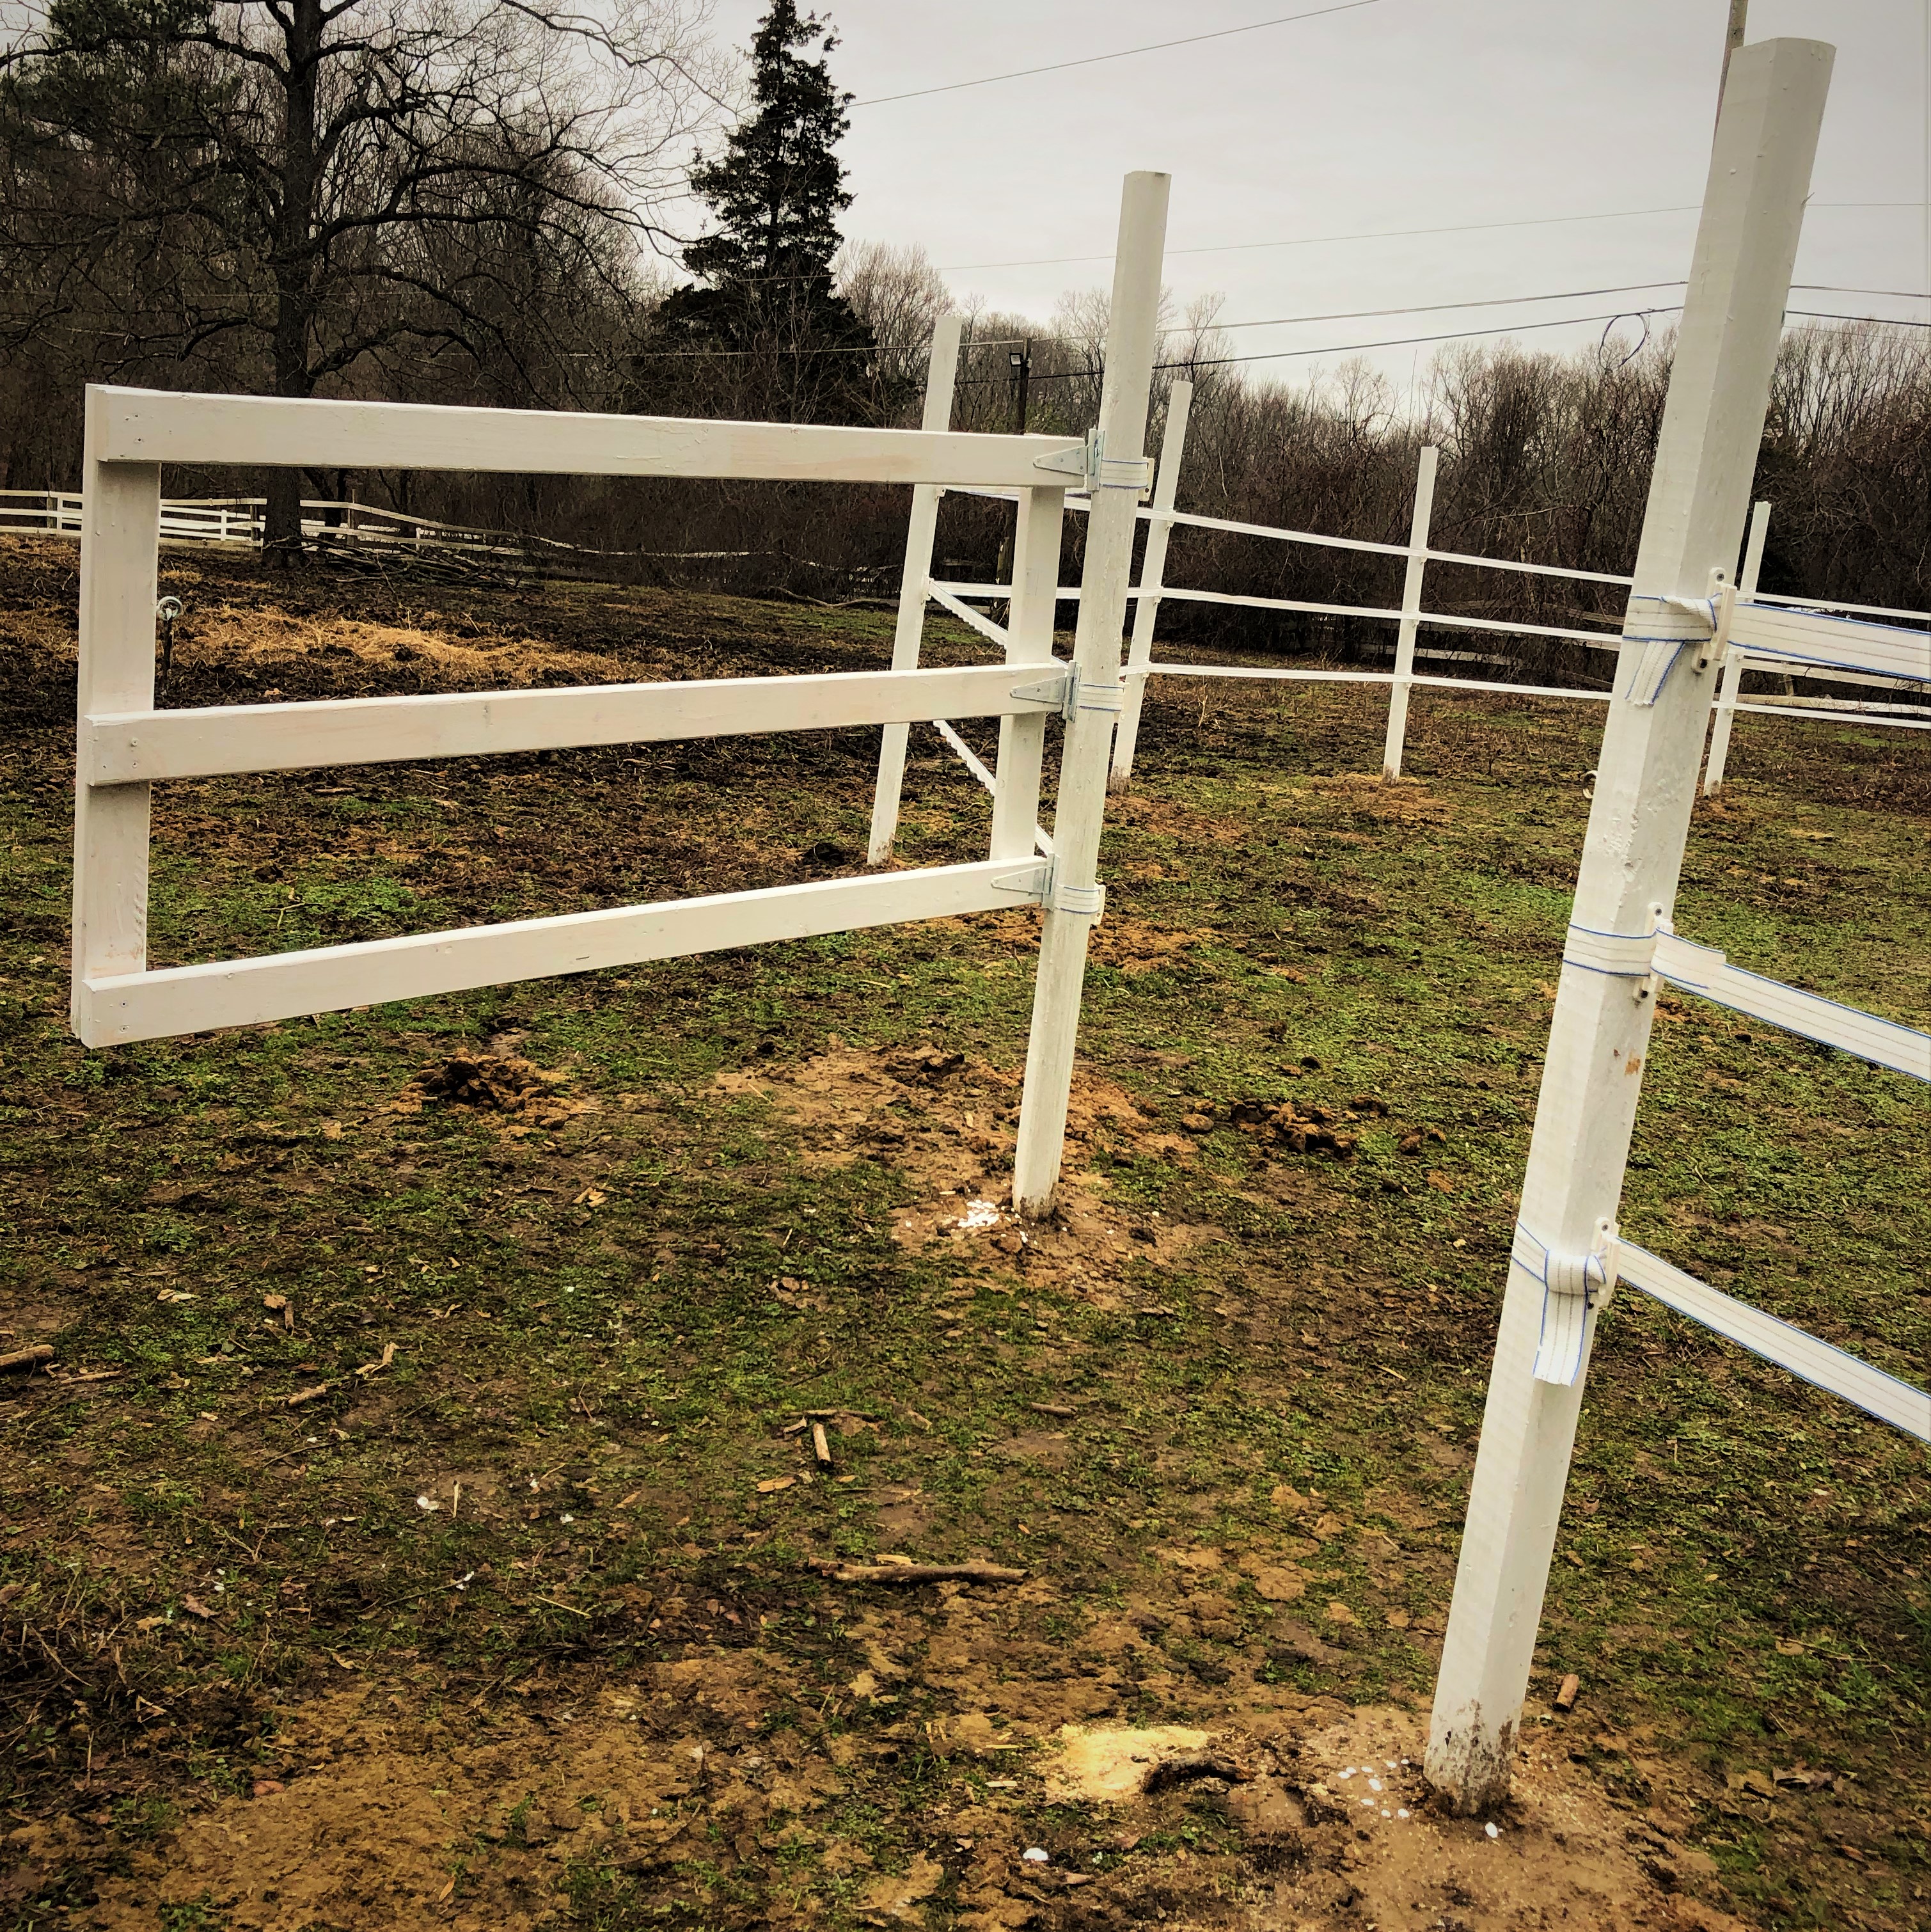
As luck was on my side in giving me two nice days in a row during winter, I continued on with the easier portion of the project and attached 3 white insulators to the inside of each post. You could go either way in attaching to the inside or outside, but I prefer inside in the case that a horse being worked in the round pen puts pressure on the Polytape, it will have more support against the posts than without it. Once all three rows of the insulators were installed, I ran 3 rows of Polytape around the pen, making sure to keep an even and sturdy pressure on the Polytape to prevent slack in the line with great care to also avoid breaking any insulators off. I did wrap each row around the gate post with an extra insulator to allow for more support on the ends.
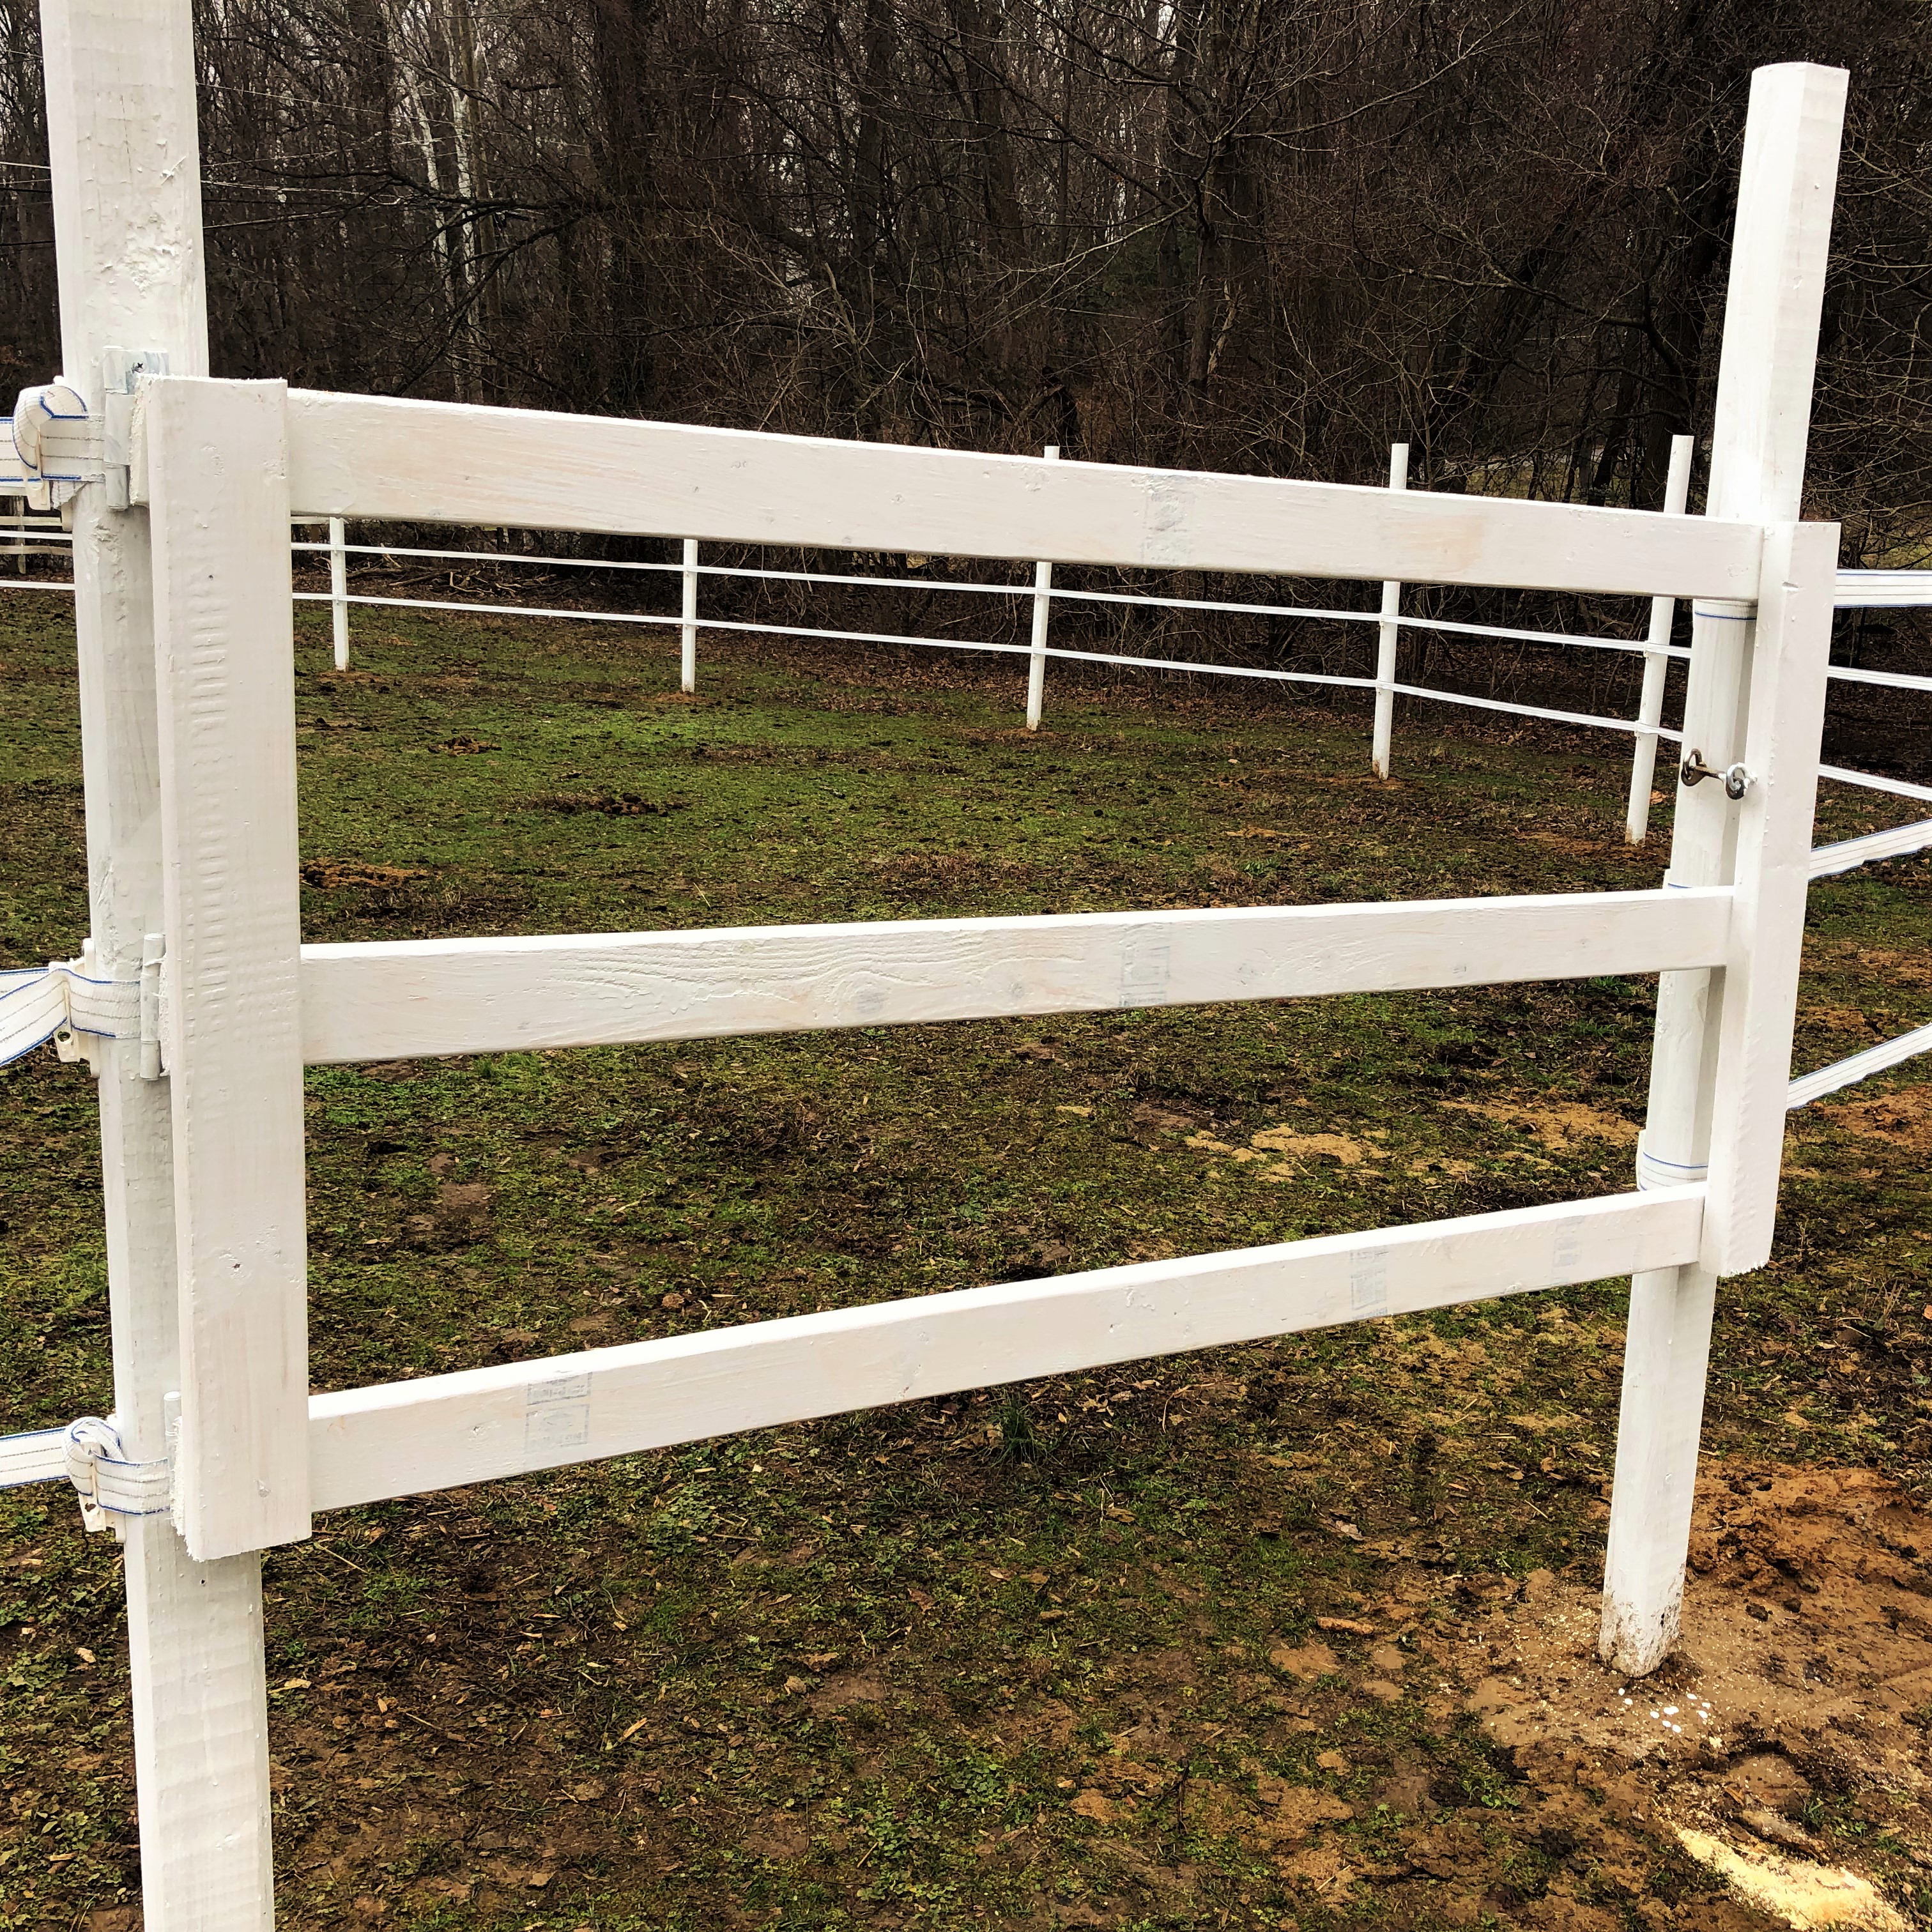
Once the Polytape rails were installed, the last thing to do was to assemble and install the front gate. There are many ways one could go about putting a gate up, including with leftover Polytape, but I wanted to have a wood gate for the door. Taking the 2"x4"x8' boards that I had, I made sure to size them up on the posts and then proceeded to cut them down to the 6' width, taking care to have 3 rails that will mock the Polytape and to have 2 side supporting pieces to keep the gate together. I was also originally going to have a diagonal board to help support the gate but didn't end up going that route (so now I also have an extra board to work with later). And while installing the gate to the post would've been much easier with a second hand, I was able to attach 3 heavy duty hinges from the gate to the post by myself fine. Using two screw eyes and a double end snap, I installed the locking system for the gate as the original slide bolt that I had intended wouldn't be the best route for my setup. Once the gate was installed, I also primed it and left it to dry overnight (you could prime the gate before installing it but I didn't feel like waiting).
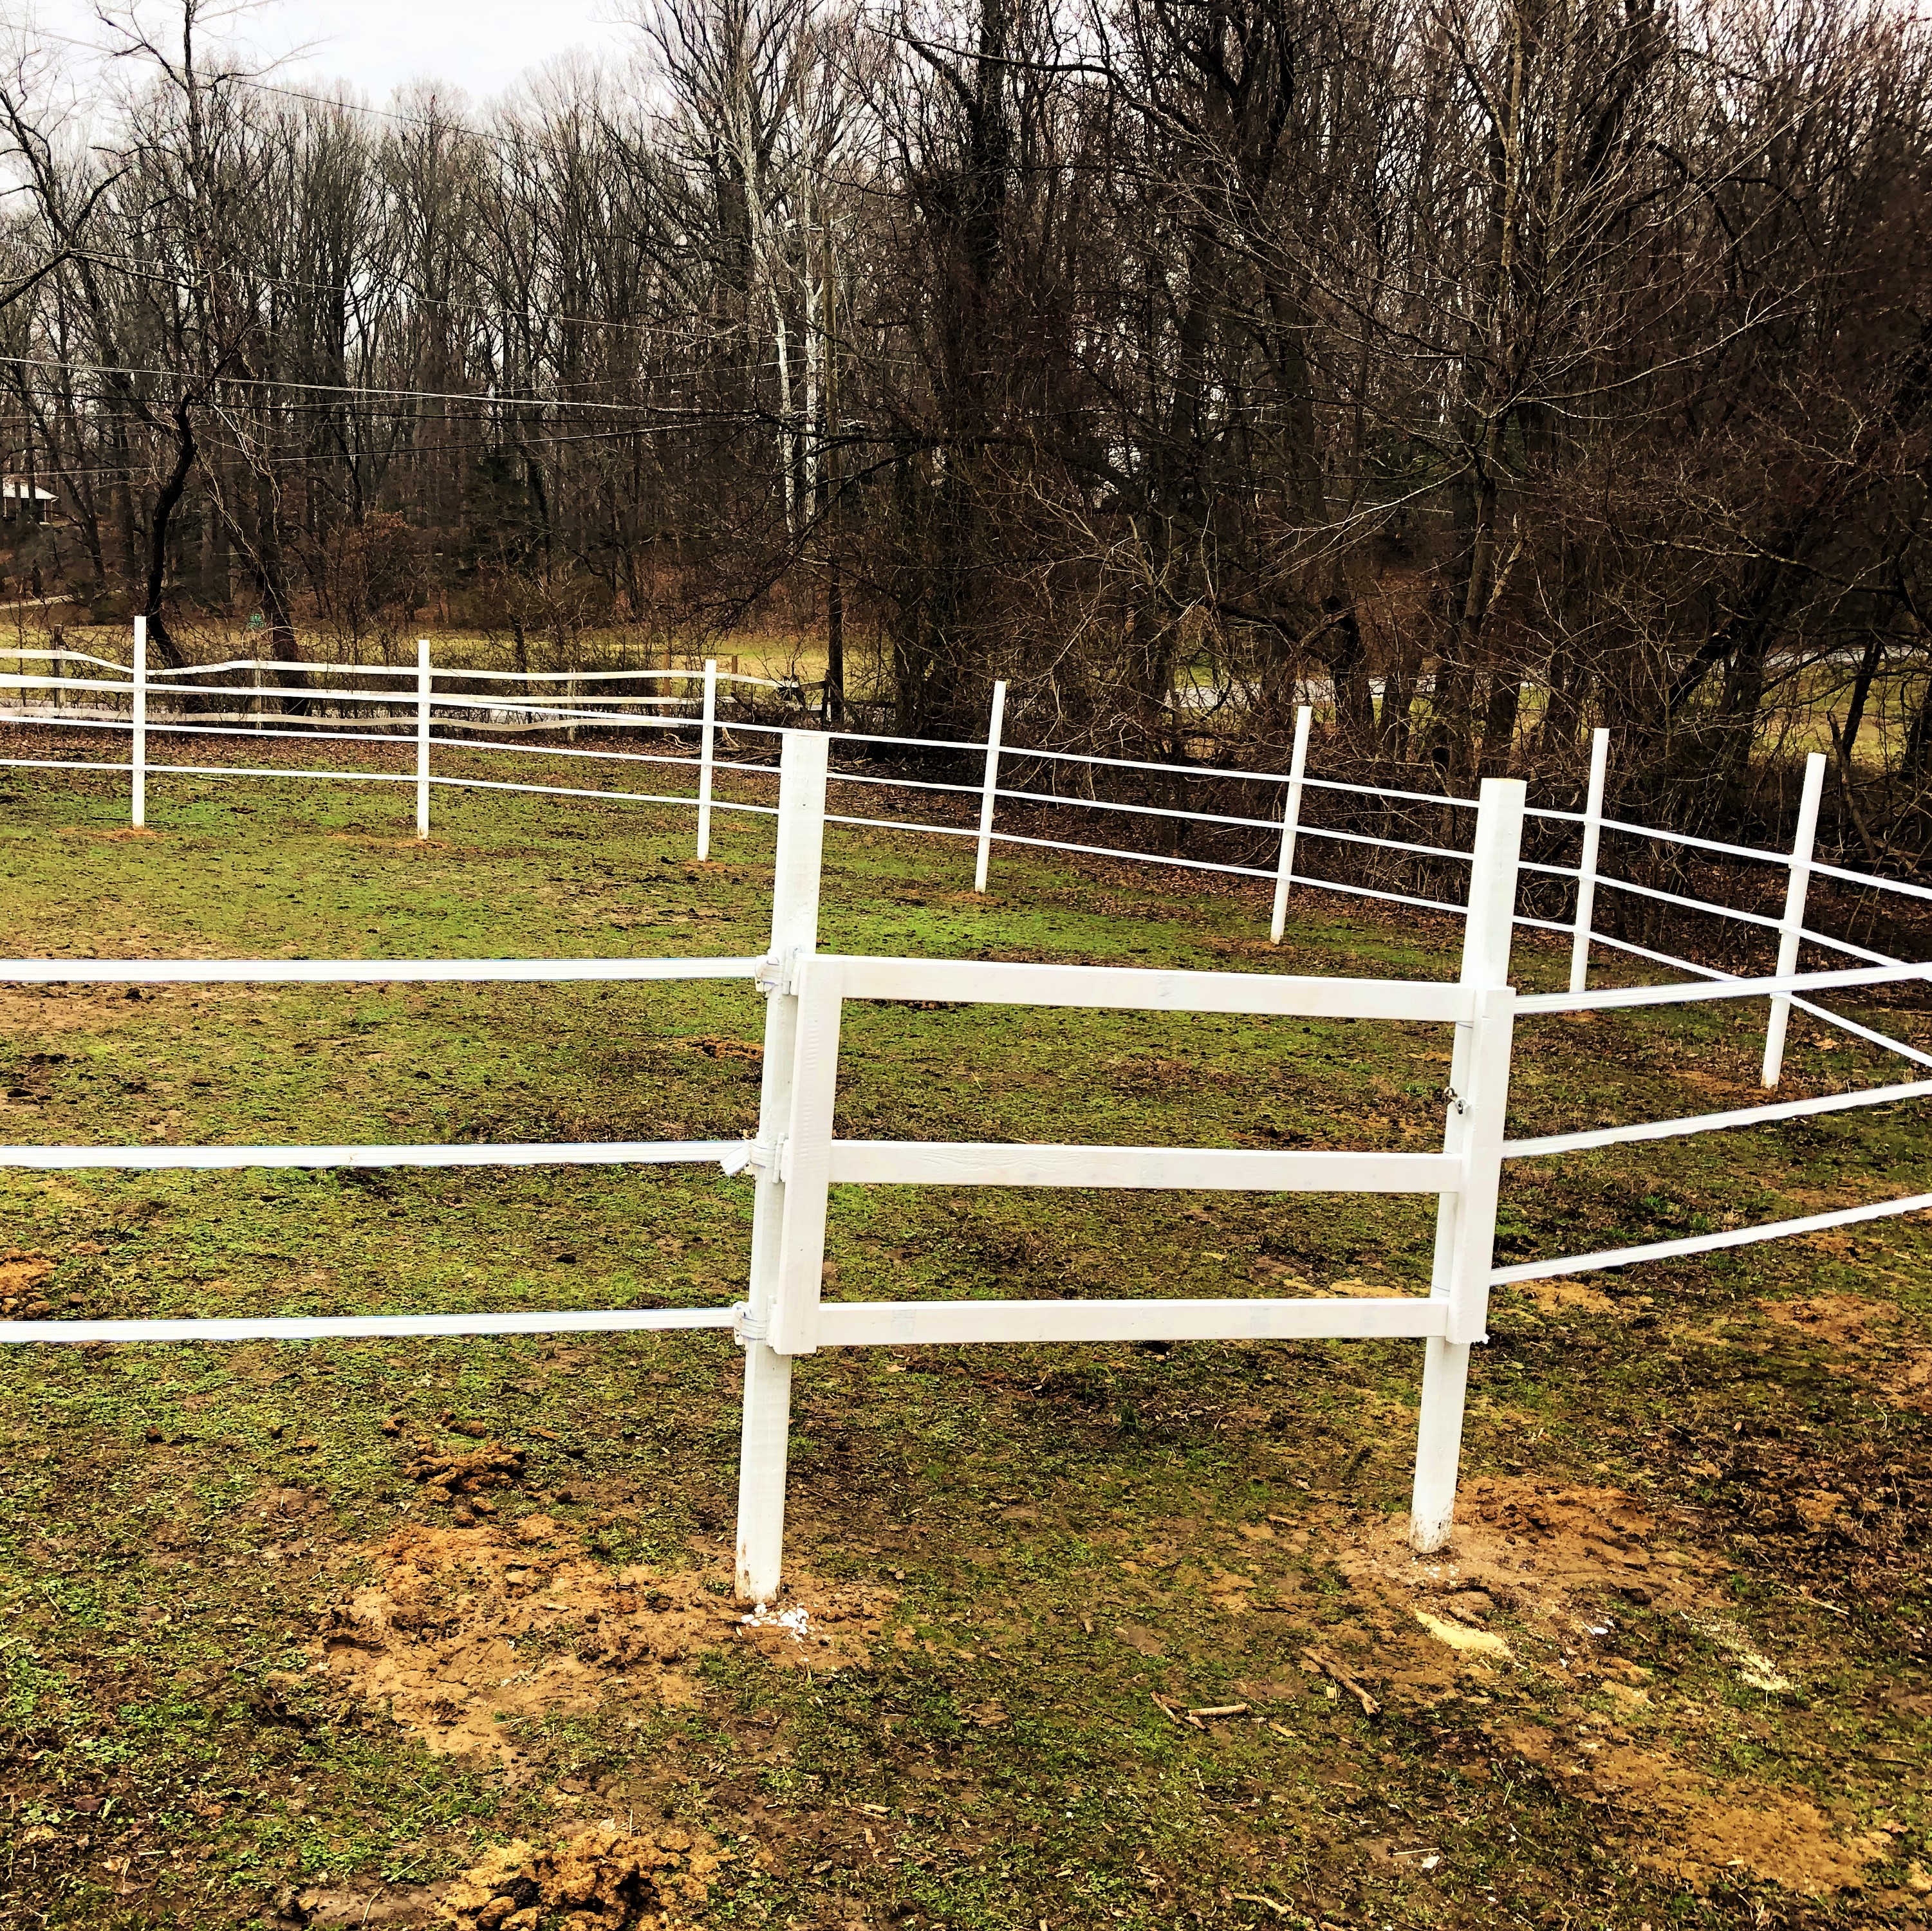
The final product for this DIY project is a 55' bright-white simple round pen than I am extremely satisfied with and excited to work in. Ideally, you would also have a ground foundation with edge borders and sand or proper footing if you were going to do any serious work but my round pen was built with the main intention of doing ground work with my horses and staying active with EQUUS. Some lunging may be done in the round pen area (the slight incline is a partial incentive to allow them to work their muscles without my intervention), as well as having a small and secure location for complete beginners to feel comfortable learning to steer on their own in. However, this round pen is not expected to see any rigorous and continous training back to back to protect the integrity of the ground (aka not tear it into a mud pit). It is also an added bonus that I have a small miniature paddock in the event that a horse may need limited turnout due to any medical injuries, as this was not an option before (I would also like to point out that my mares are relatively well-behaved which is another reason that I am comfortable with this type of DIY round pen). Once again, I am overjoyed with the completion of my project, as it provides many perks including motivating me to do more ground work with my horses during the winter off-season.