DIY Arena Equipment
***** Moving to Horse Mom Hacks! *****
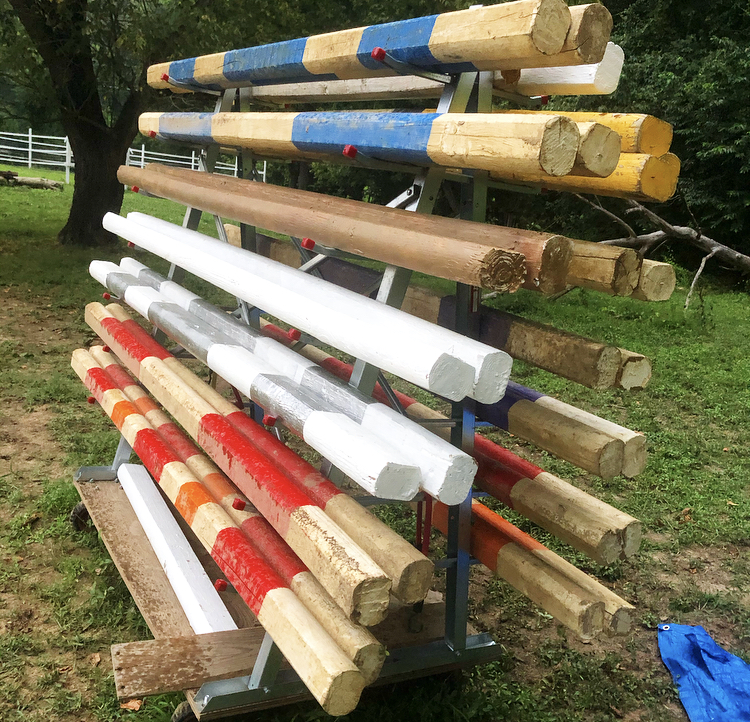
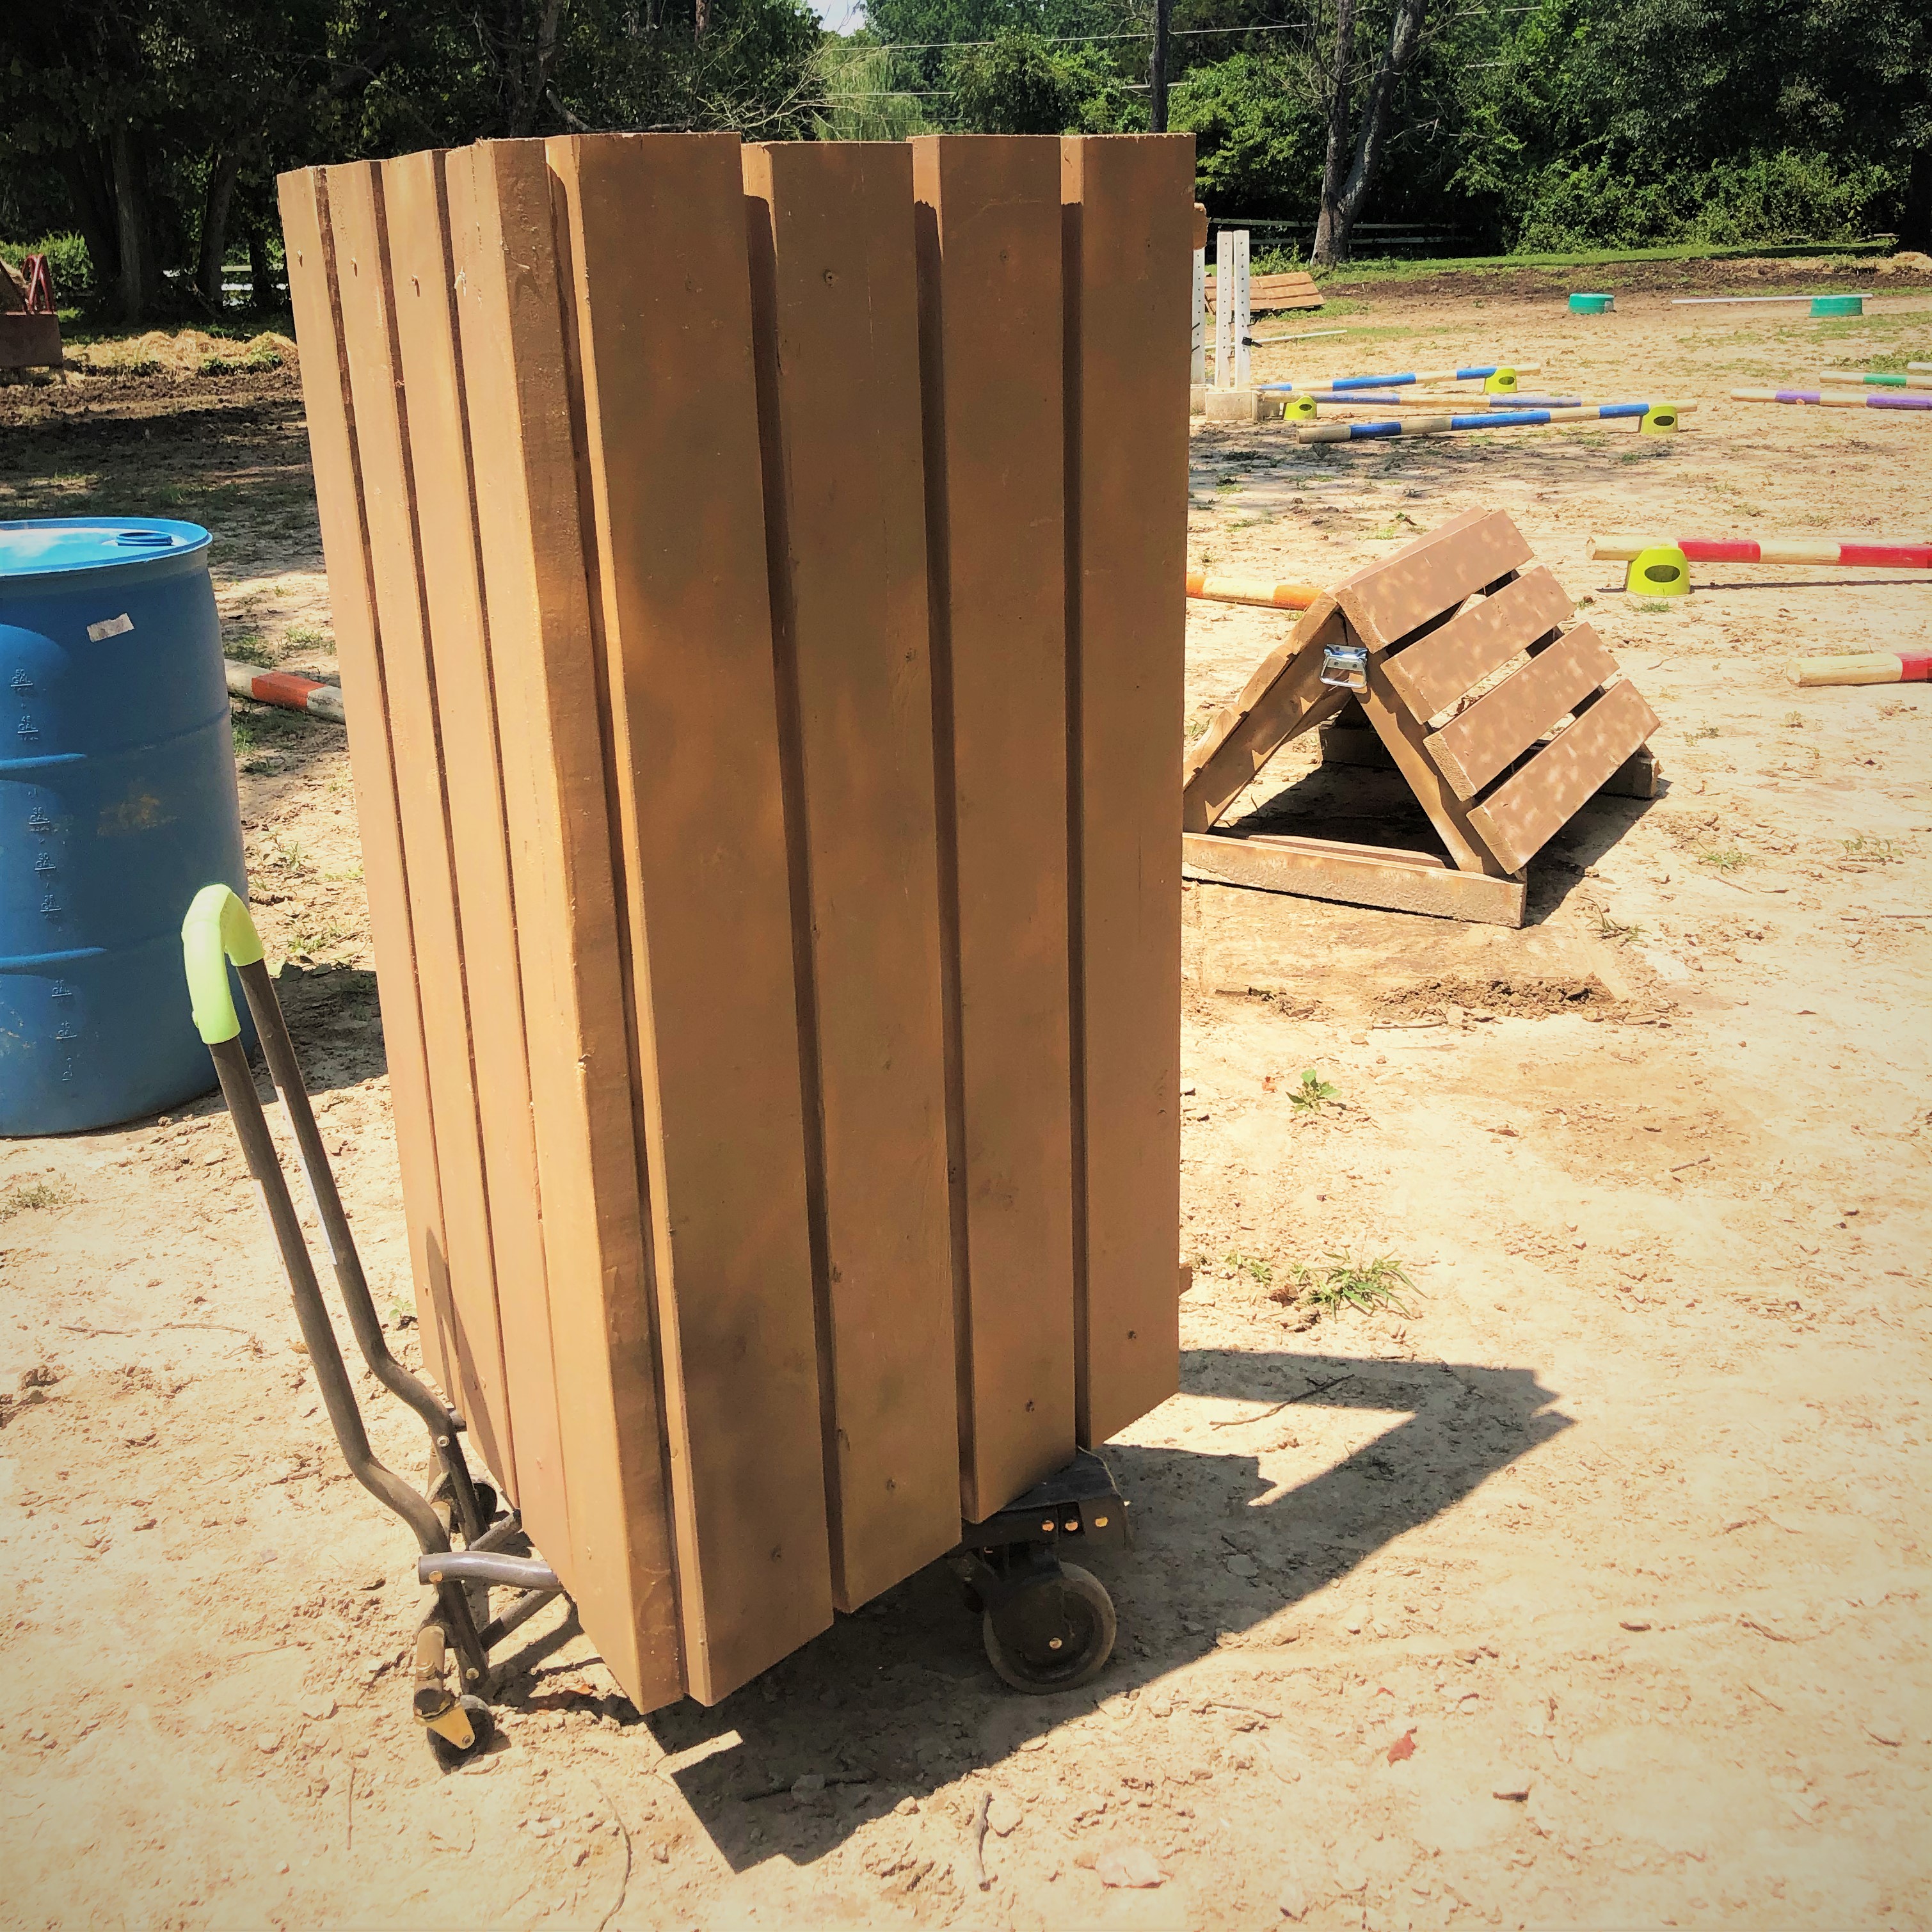
Moveable Jump Pole Storage Rack
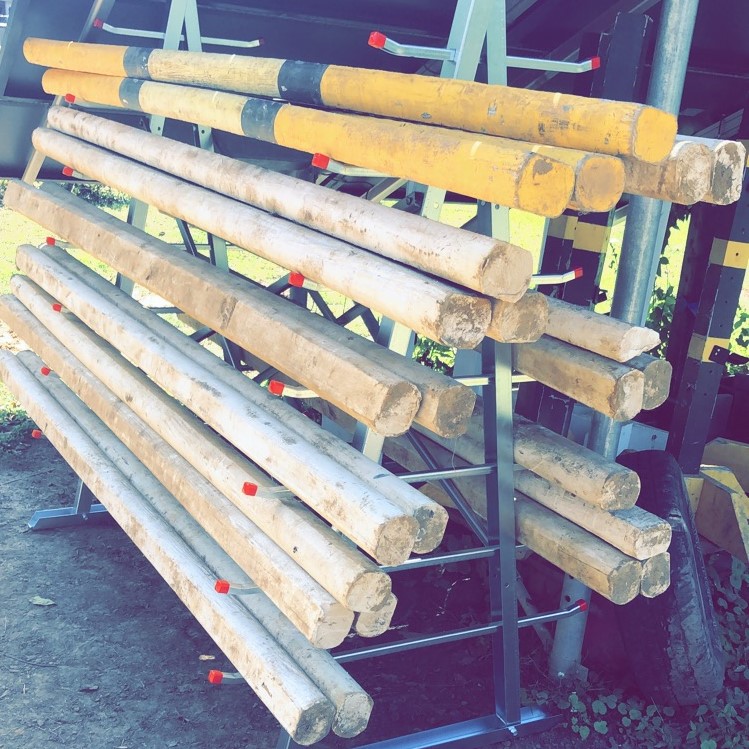
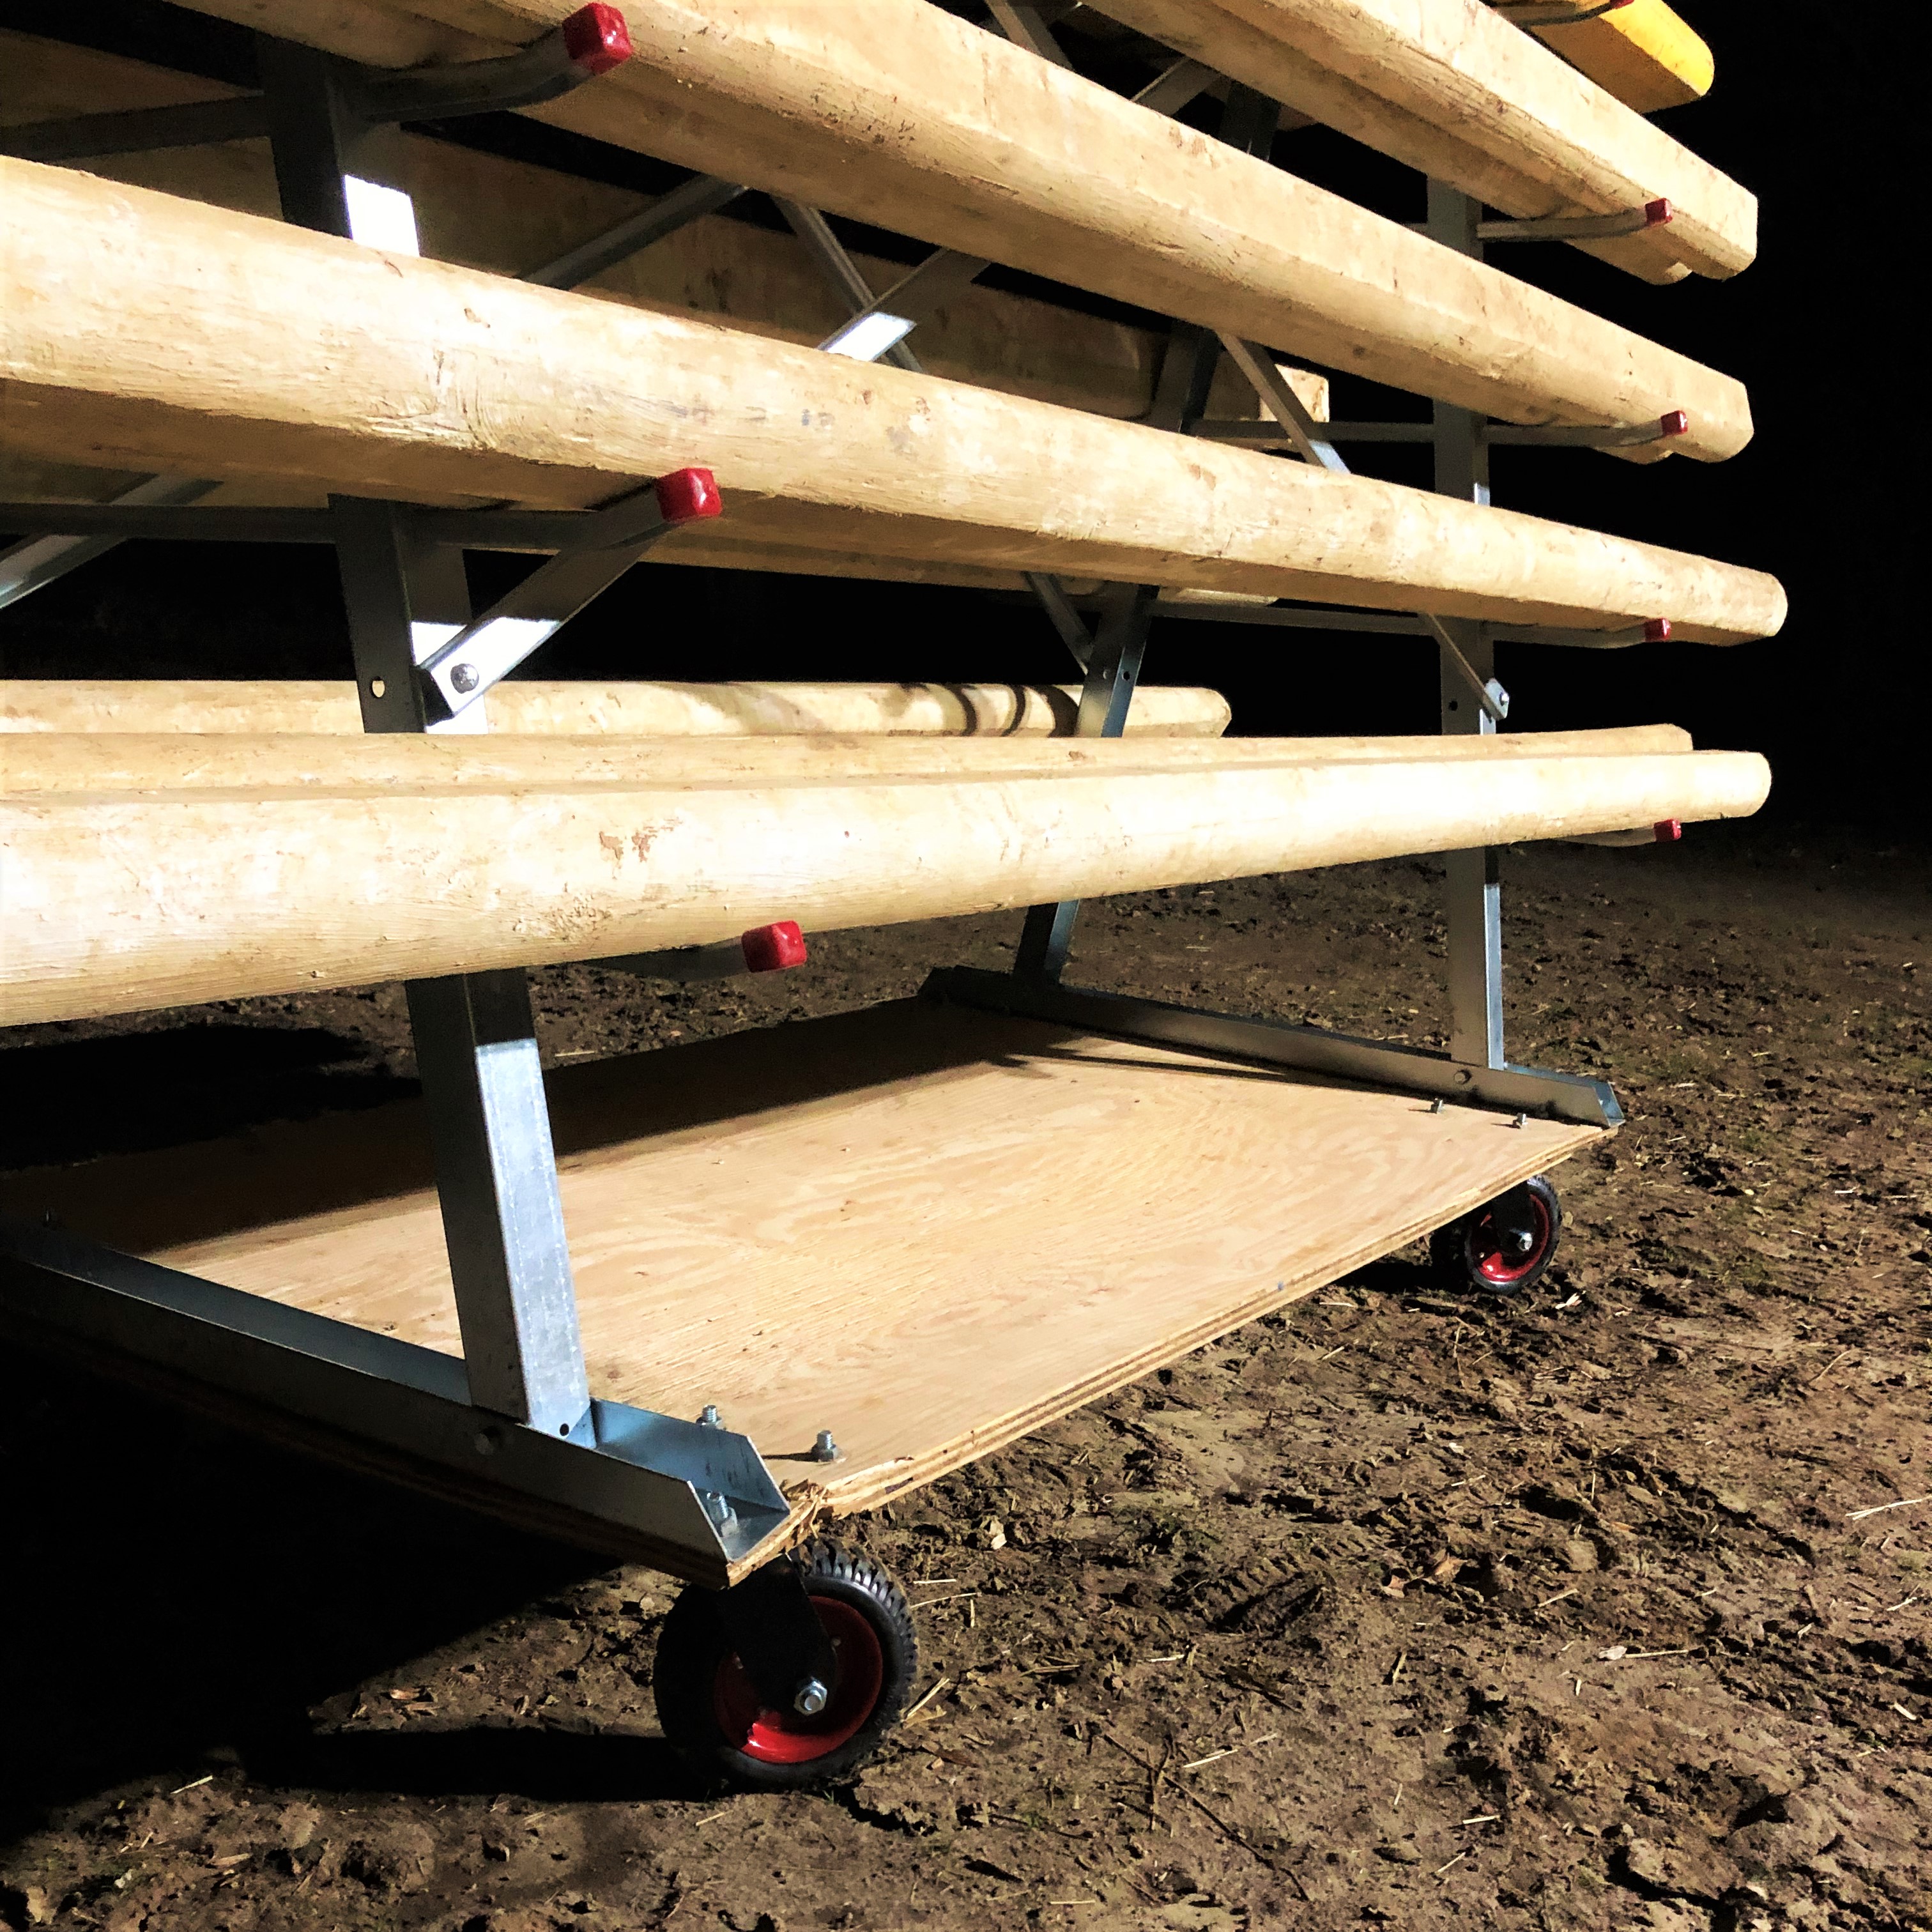
For jump pole storage, RPE has made use of a west horizontal lumber storage rack that is placed on a DIY caster base to be easily moved. I originally got stem casters which works great since it already has holes except that when I completely loaded up the pole rack, the two bases weren't connected for the support needed for outdoor rolling. I ended up bending the base a little as you can see in the close-up picture. Continuing to work the problem, I invested in plywood to connect the two bases as one and heavy duty 6" plate swivel casters that have been working great! I attempted to simply put my stem casters in the plywood as you can see it's a little torn up in the picture, but I'll find another use for them in the future. I also had already cut the plywood to 5'x3' as was the size of the lumber storage rack. I could've gone bigger, especially for the plate casters, but since I've gotten the materials that I have to work, I'll hold off on replacing the plywood unless needed.
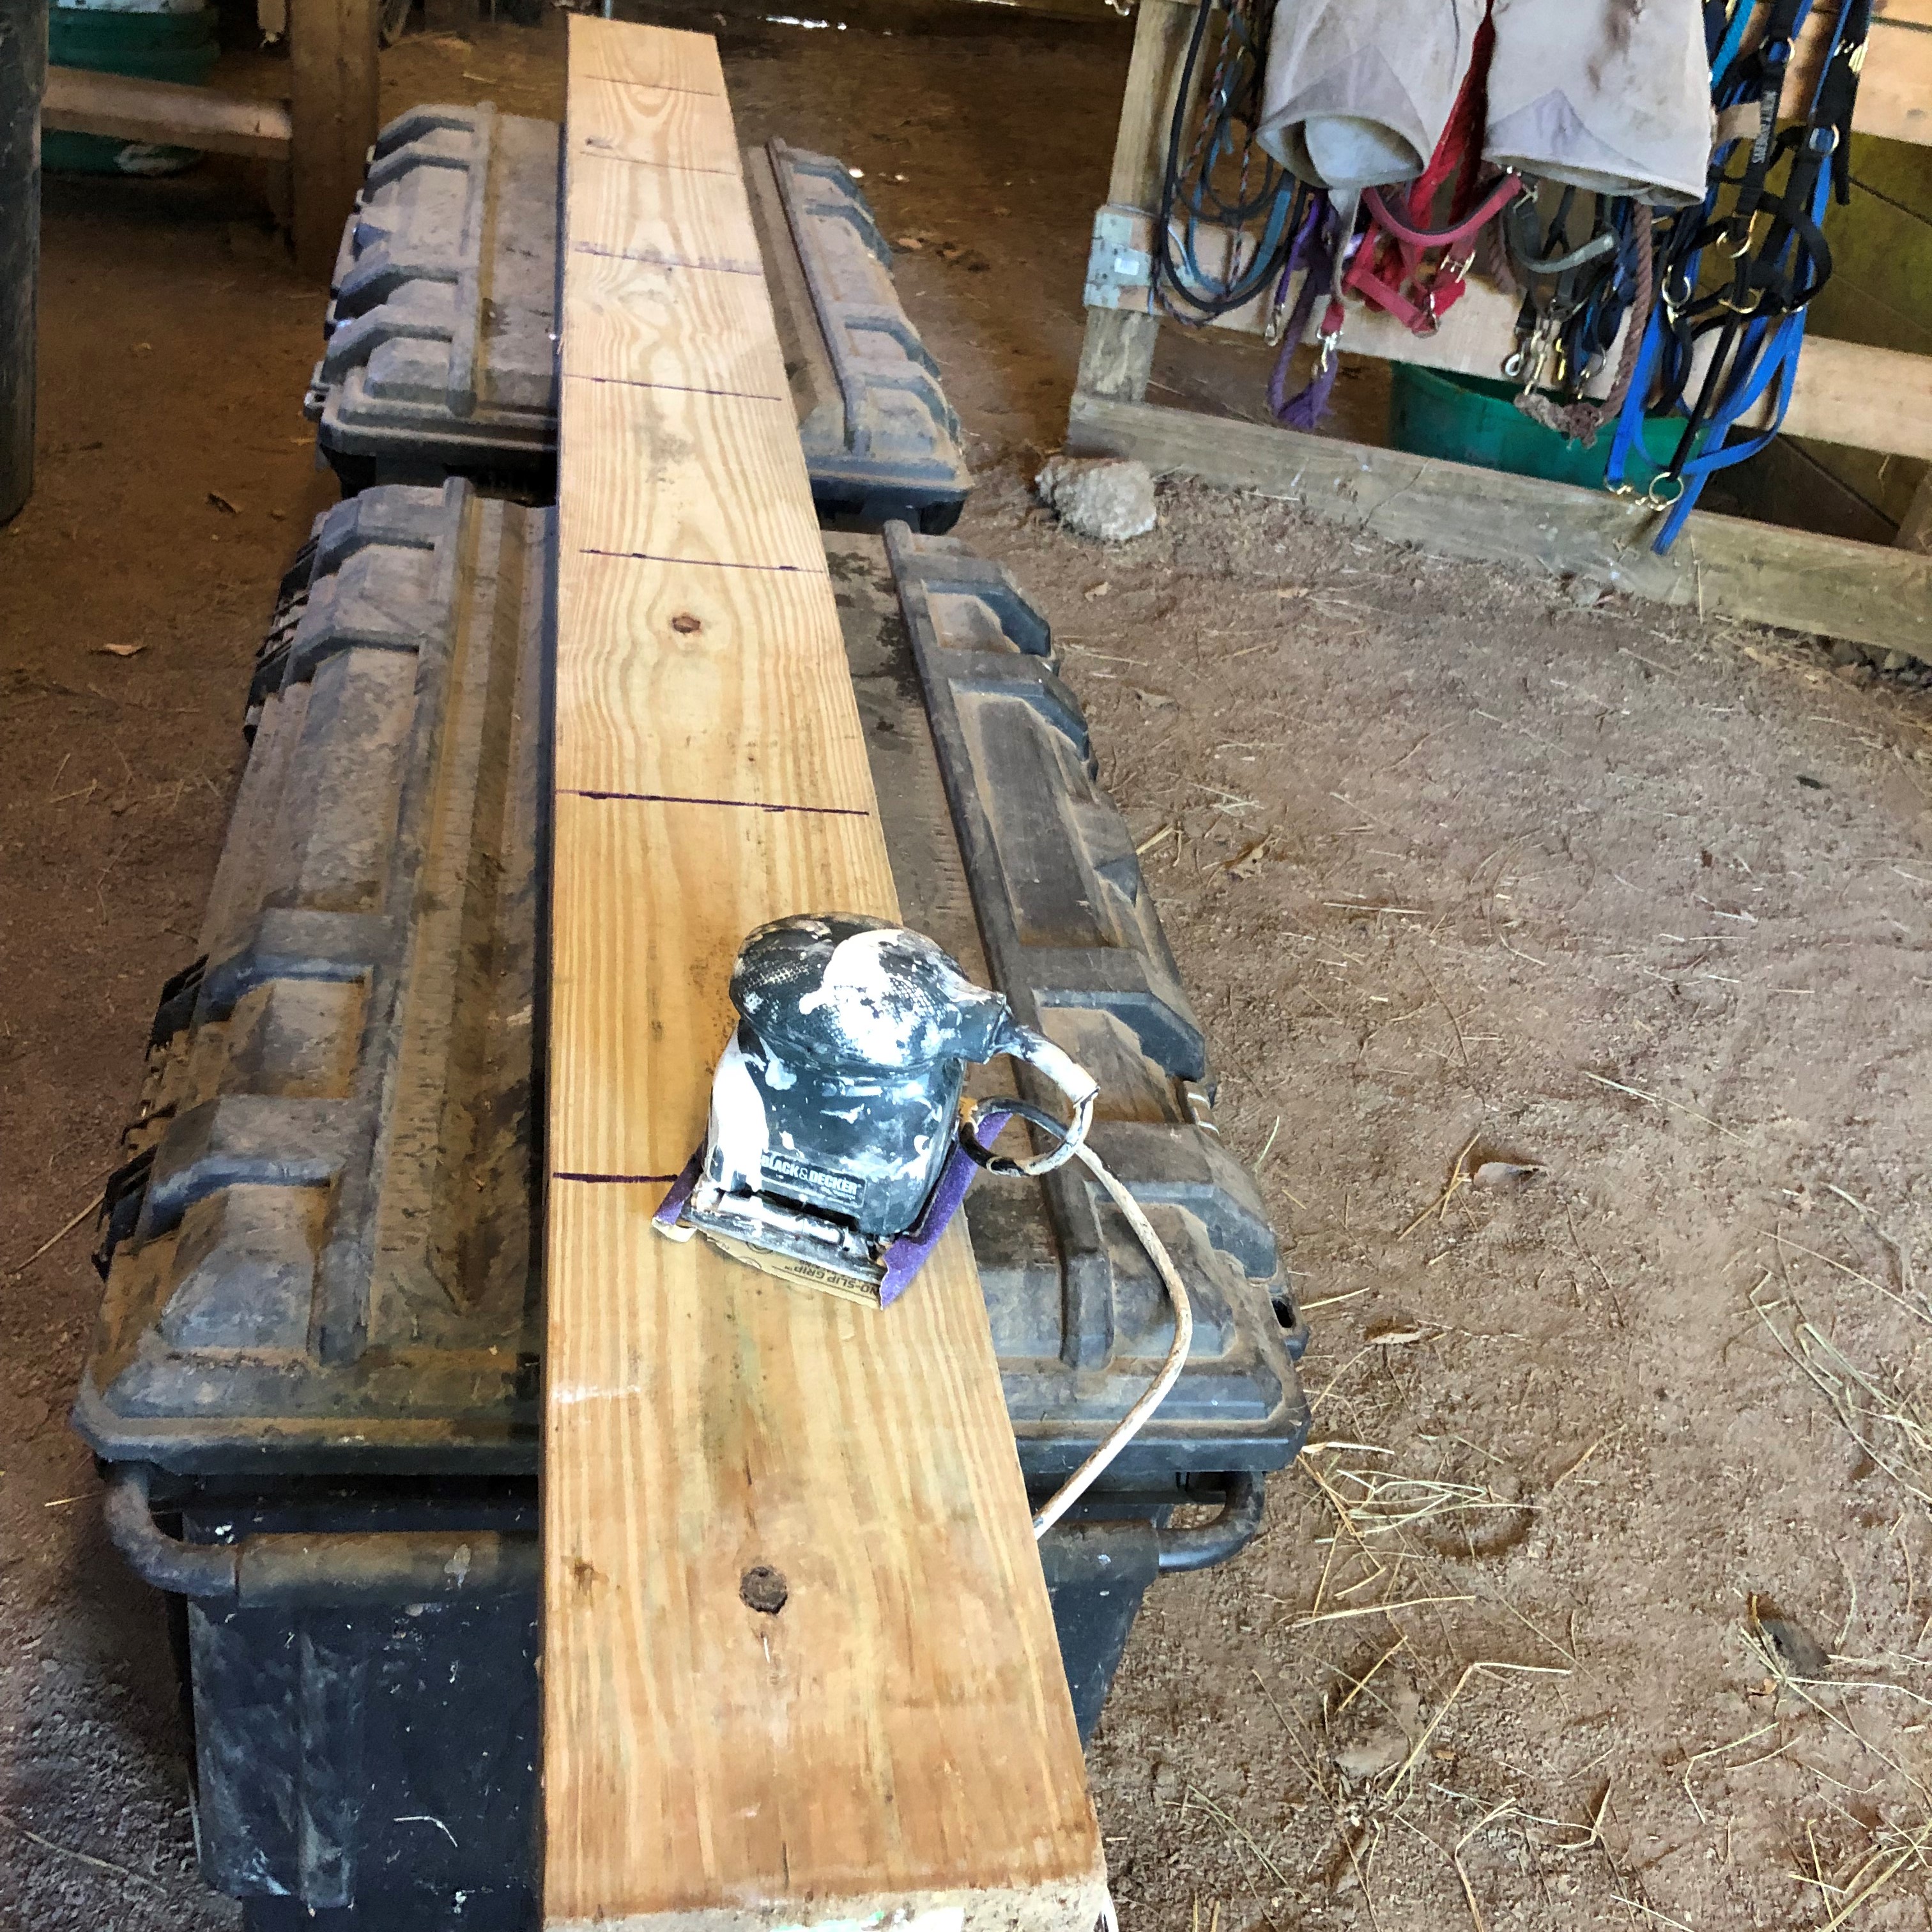
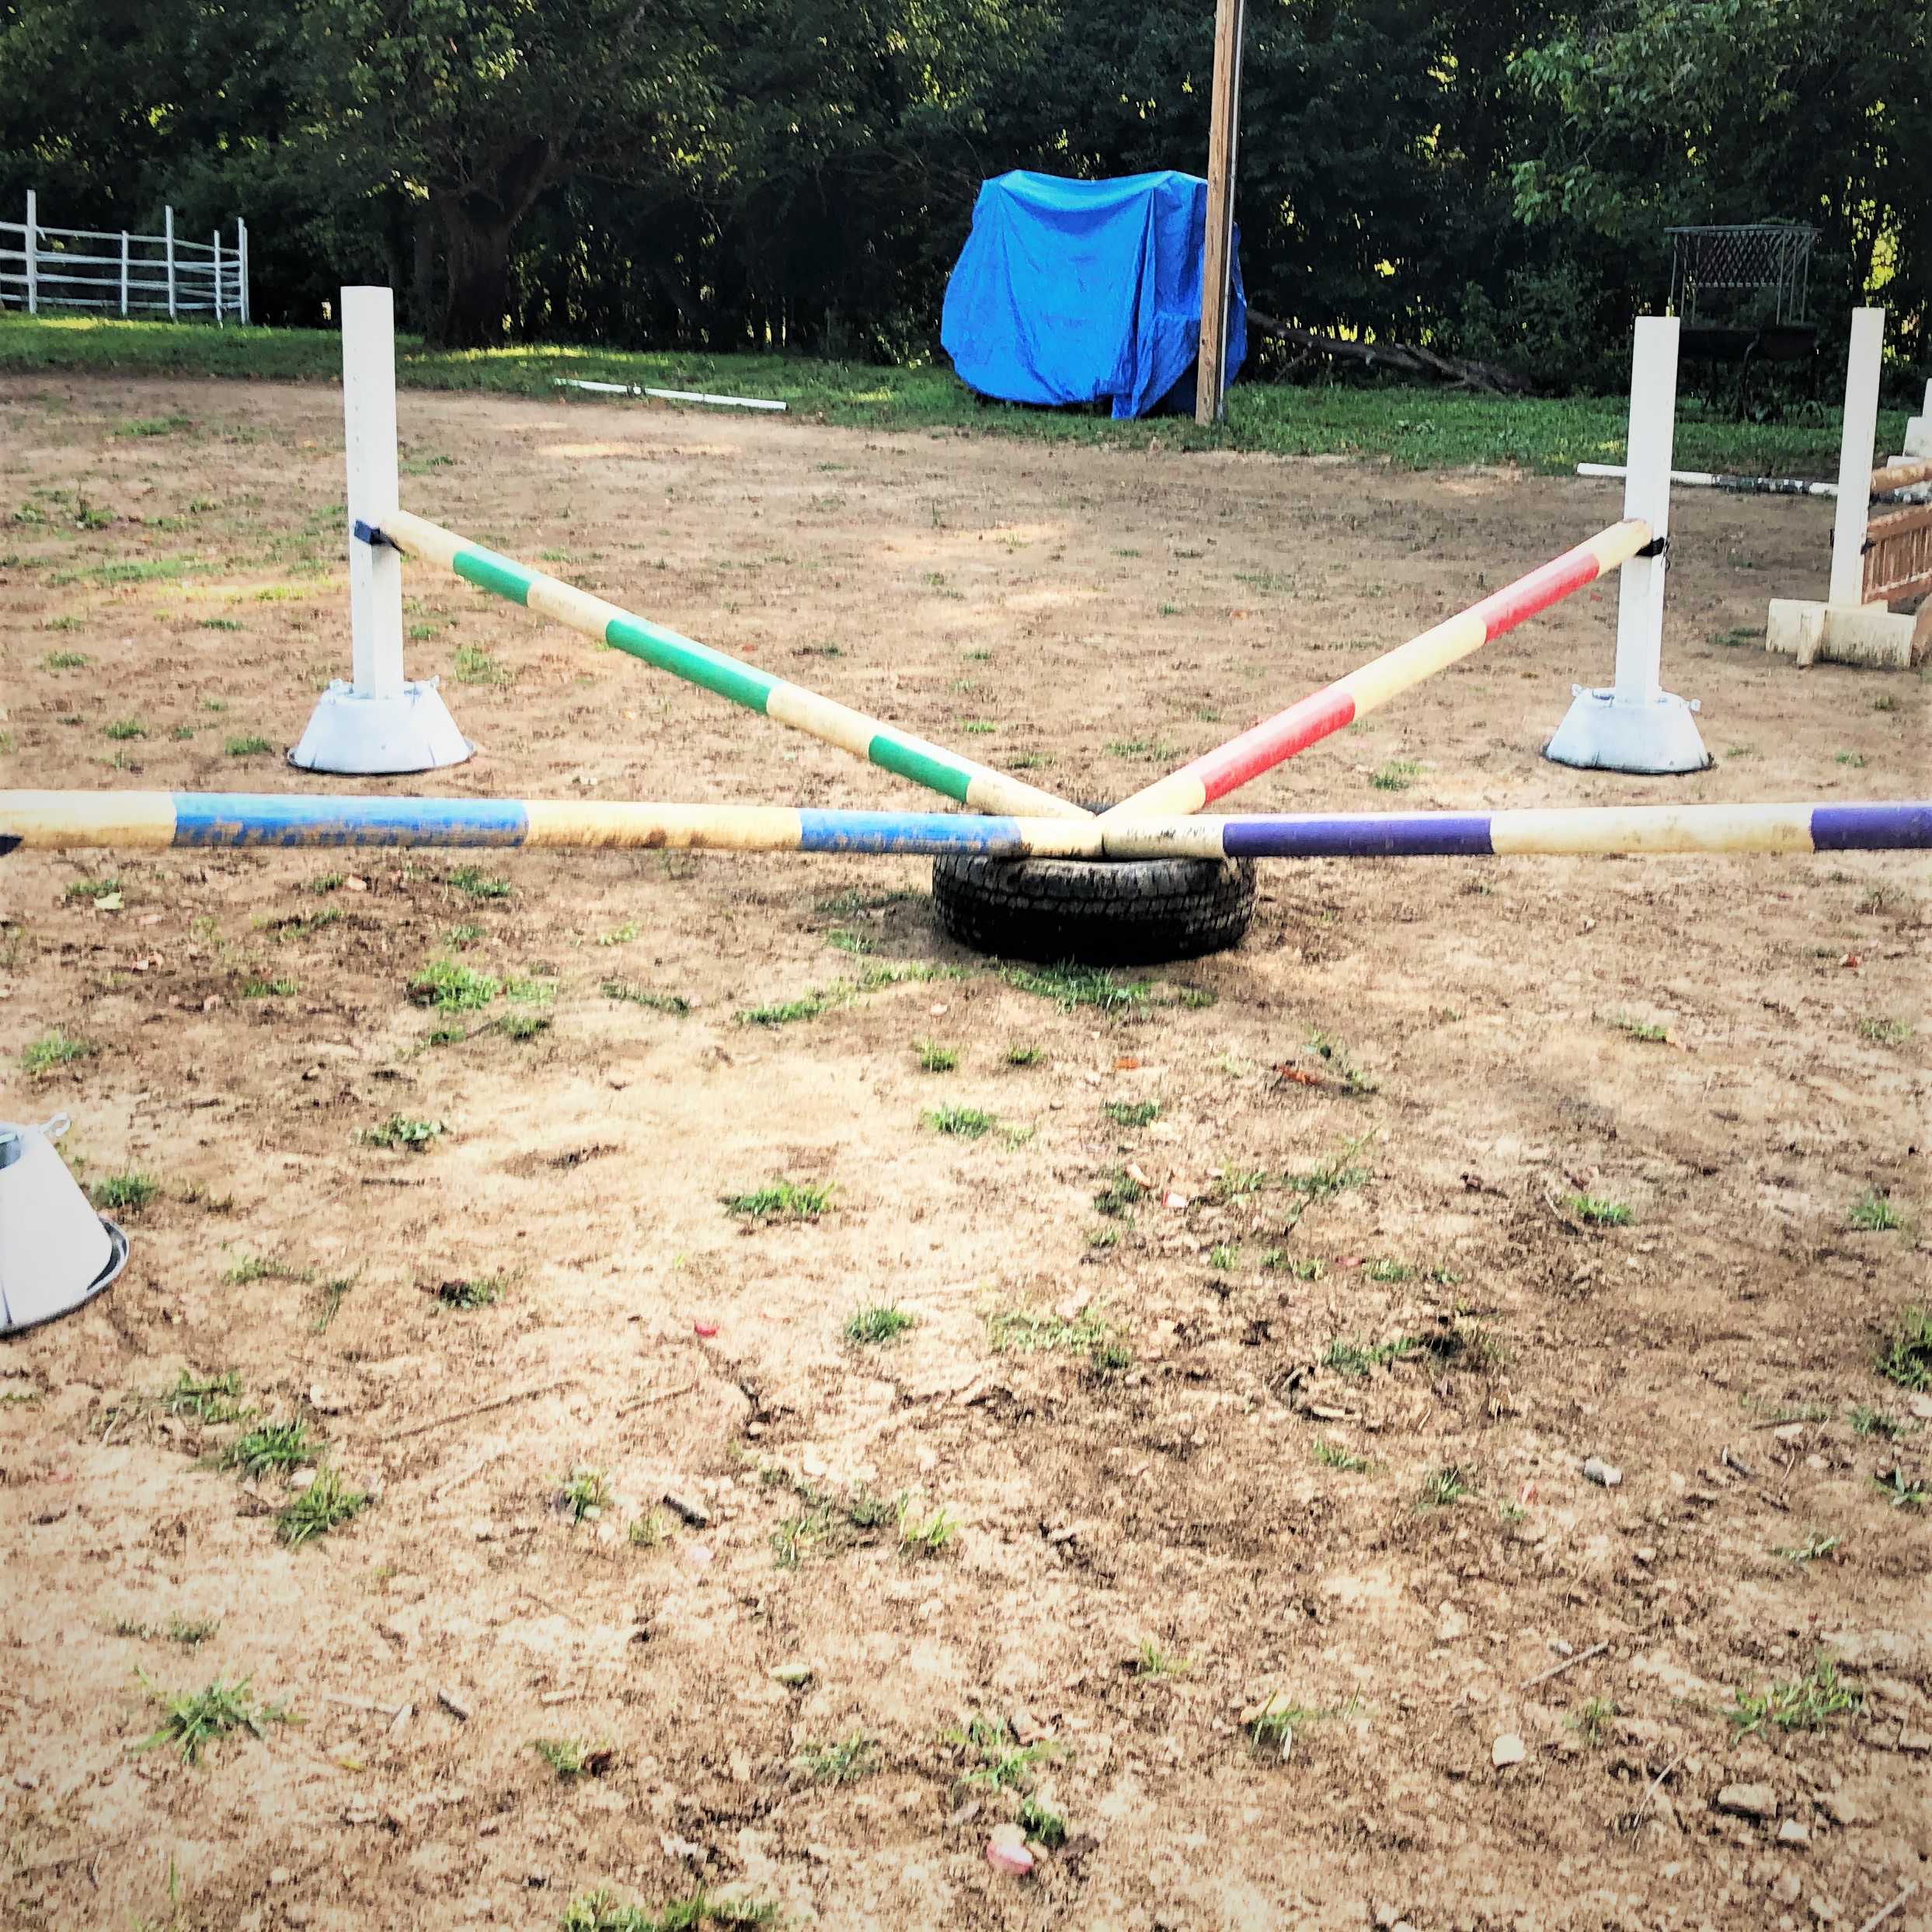
Jump Poles
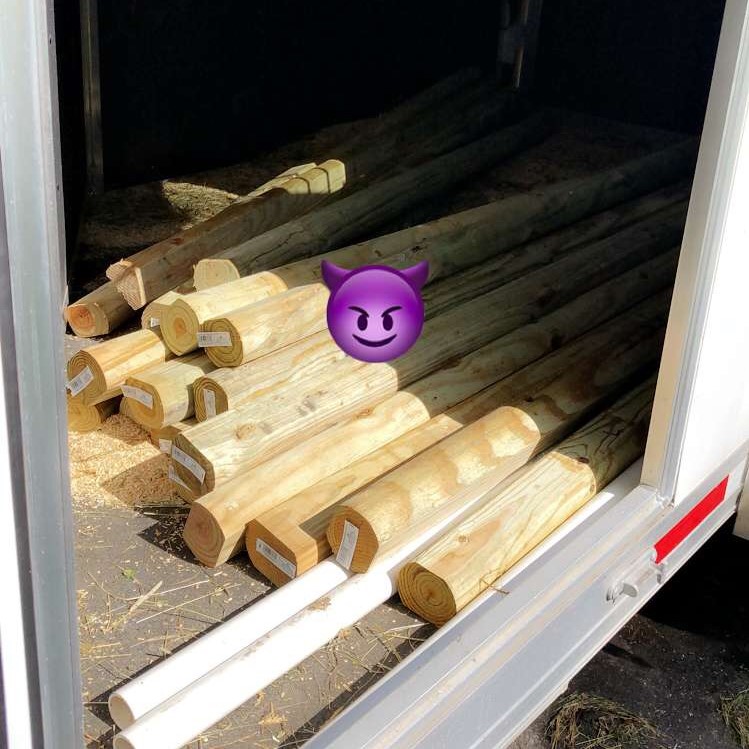
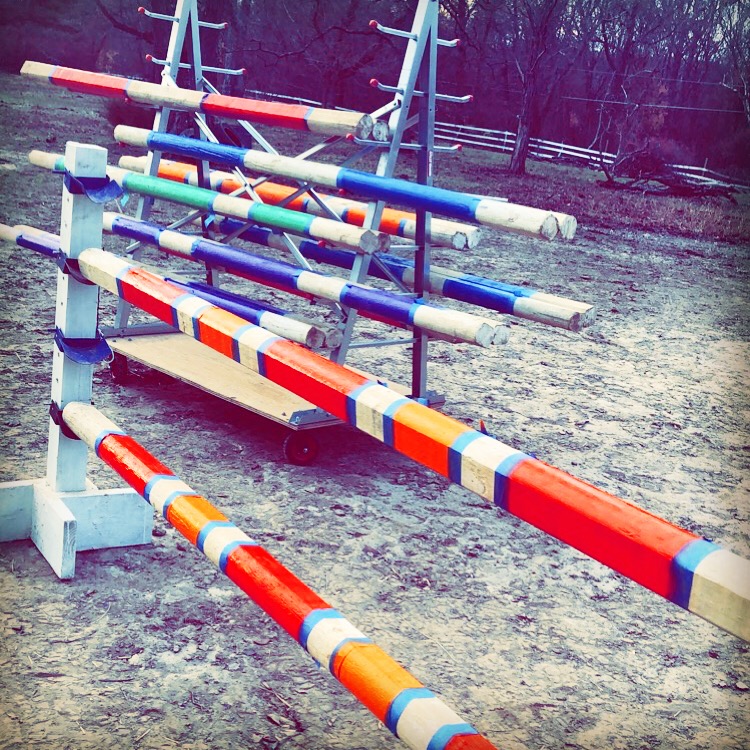
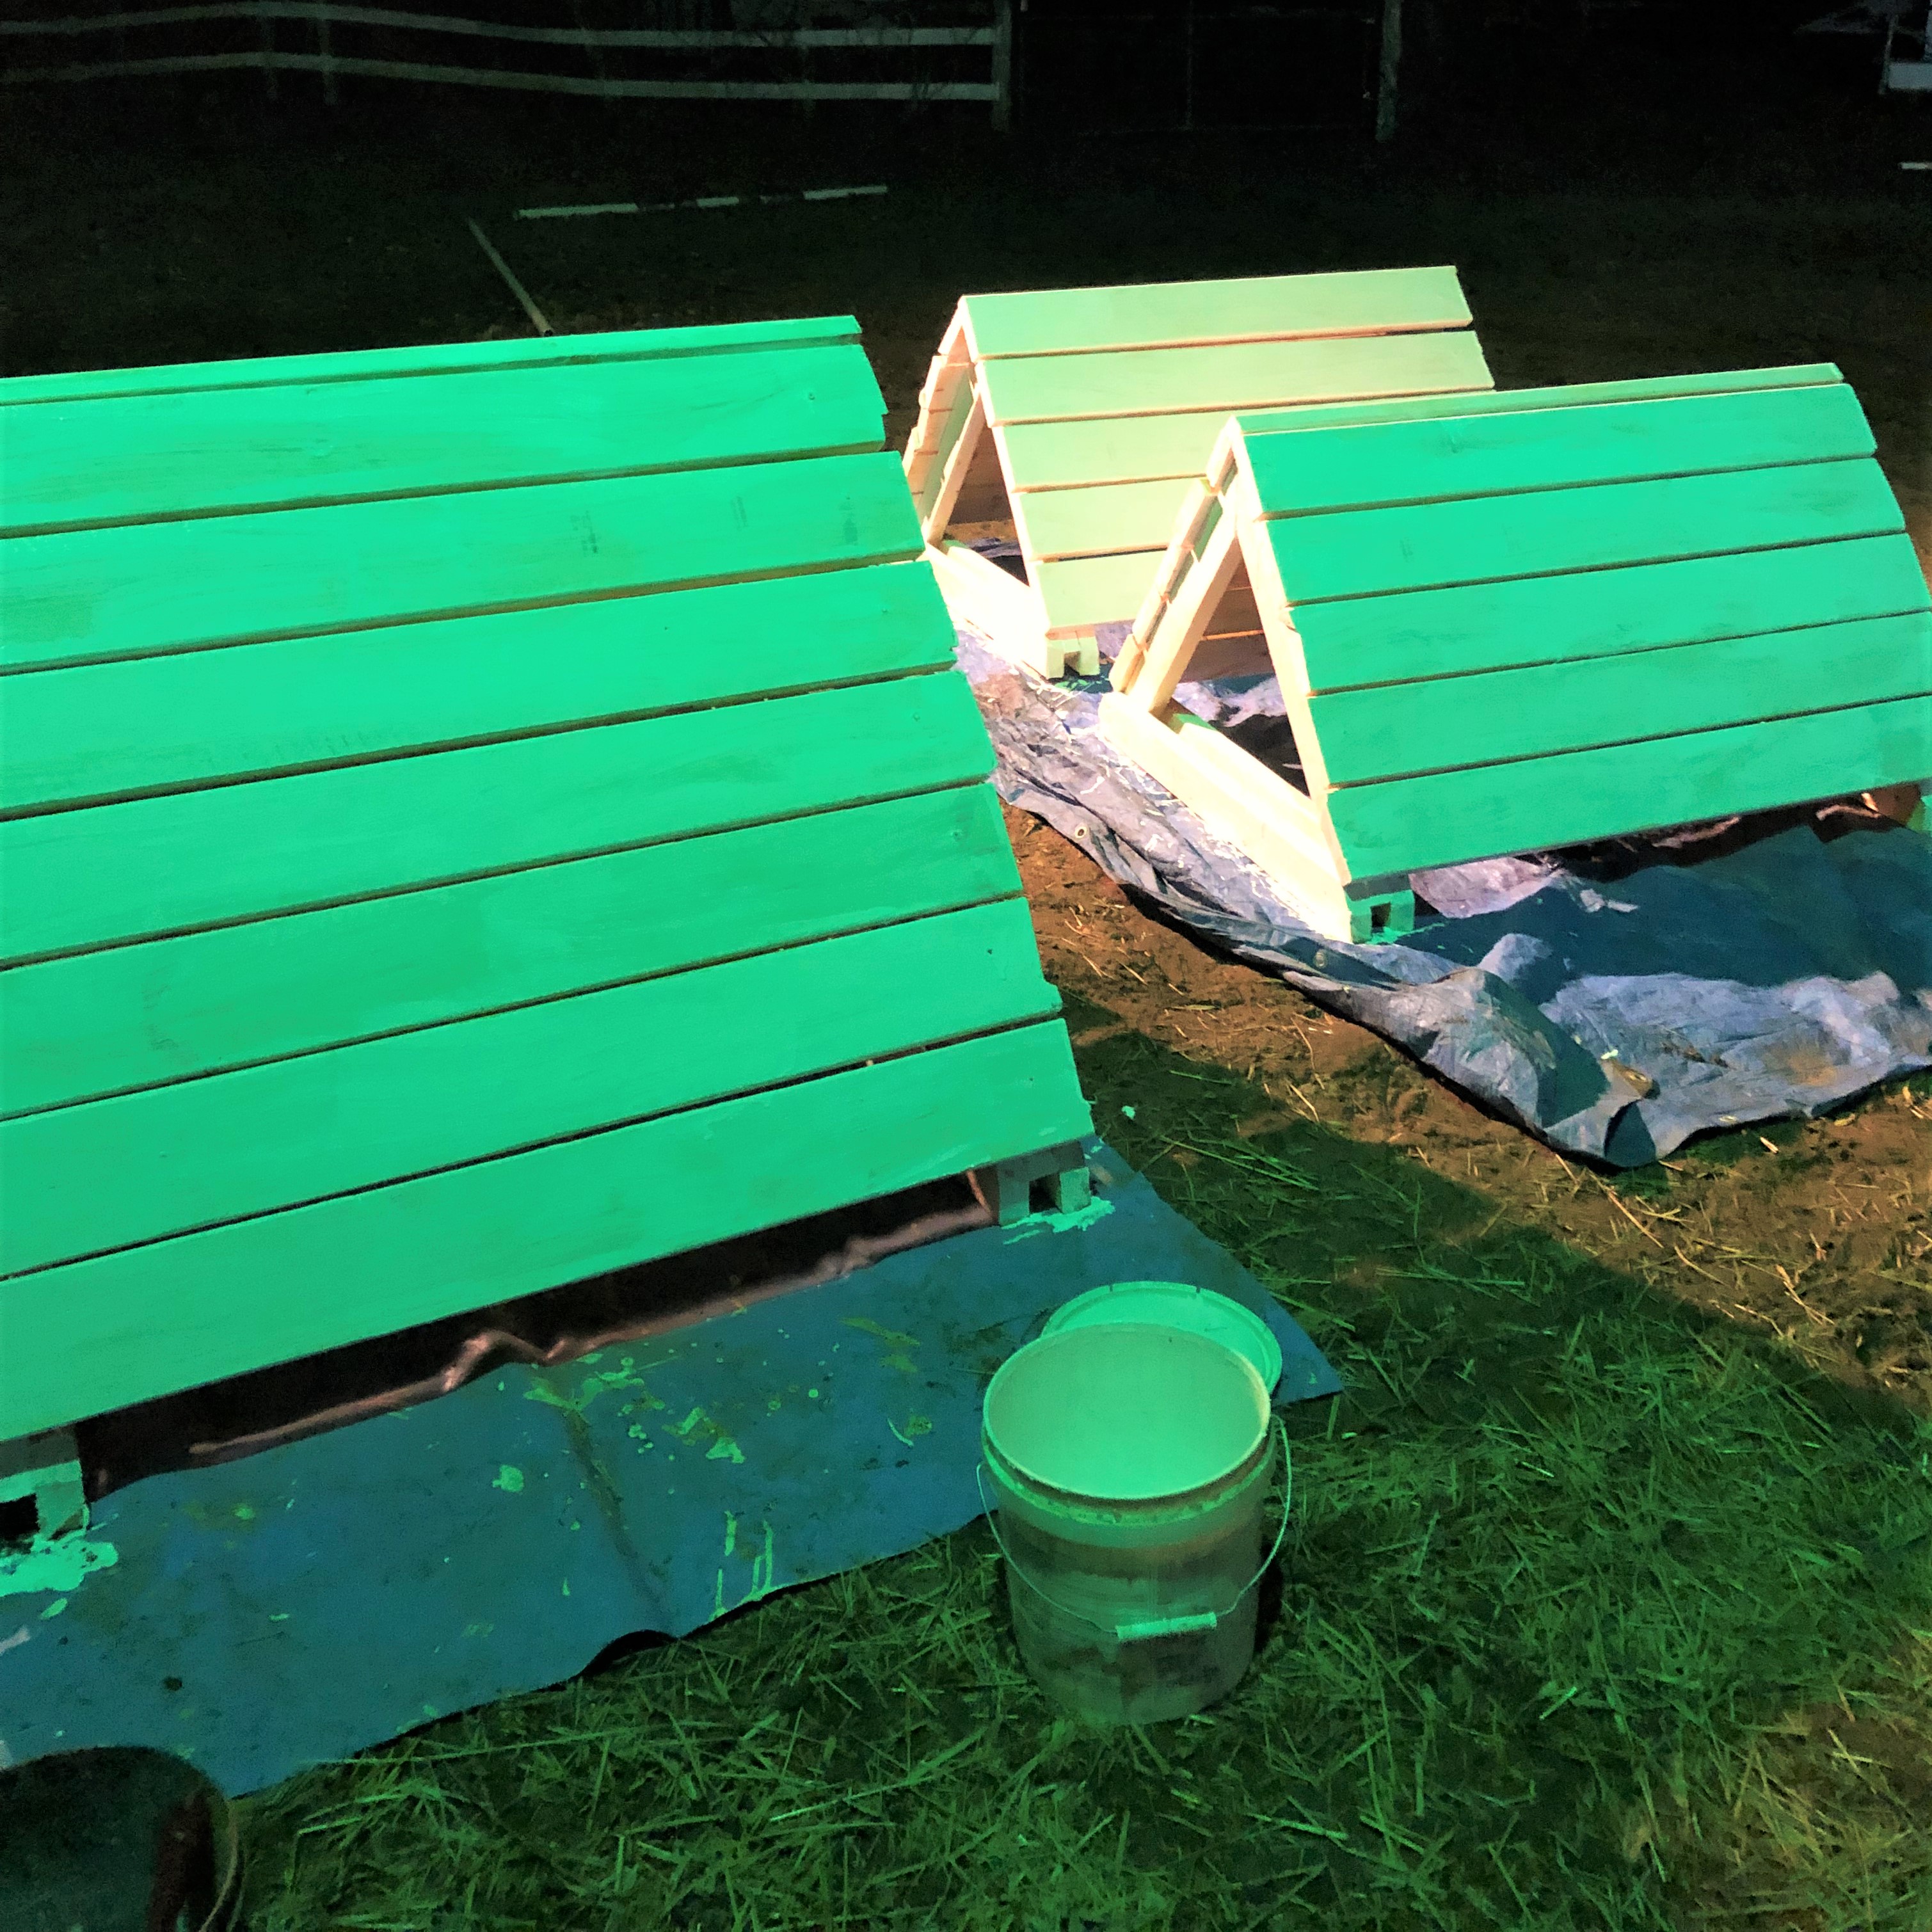
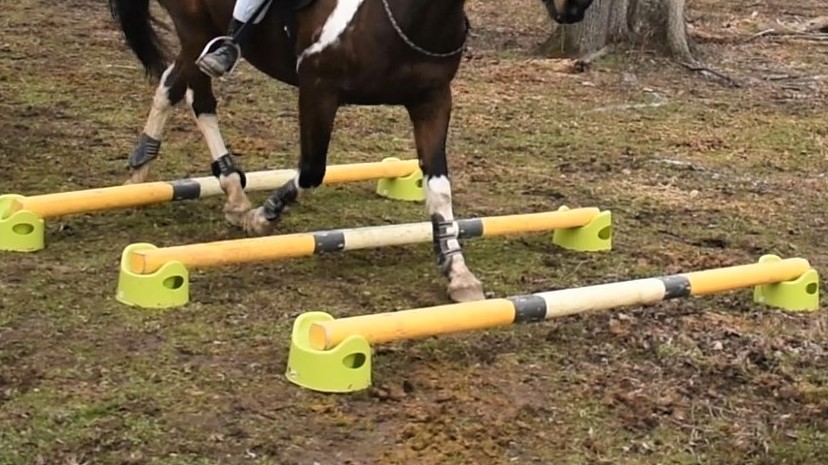
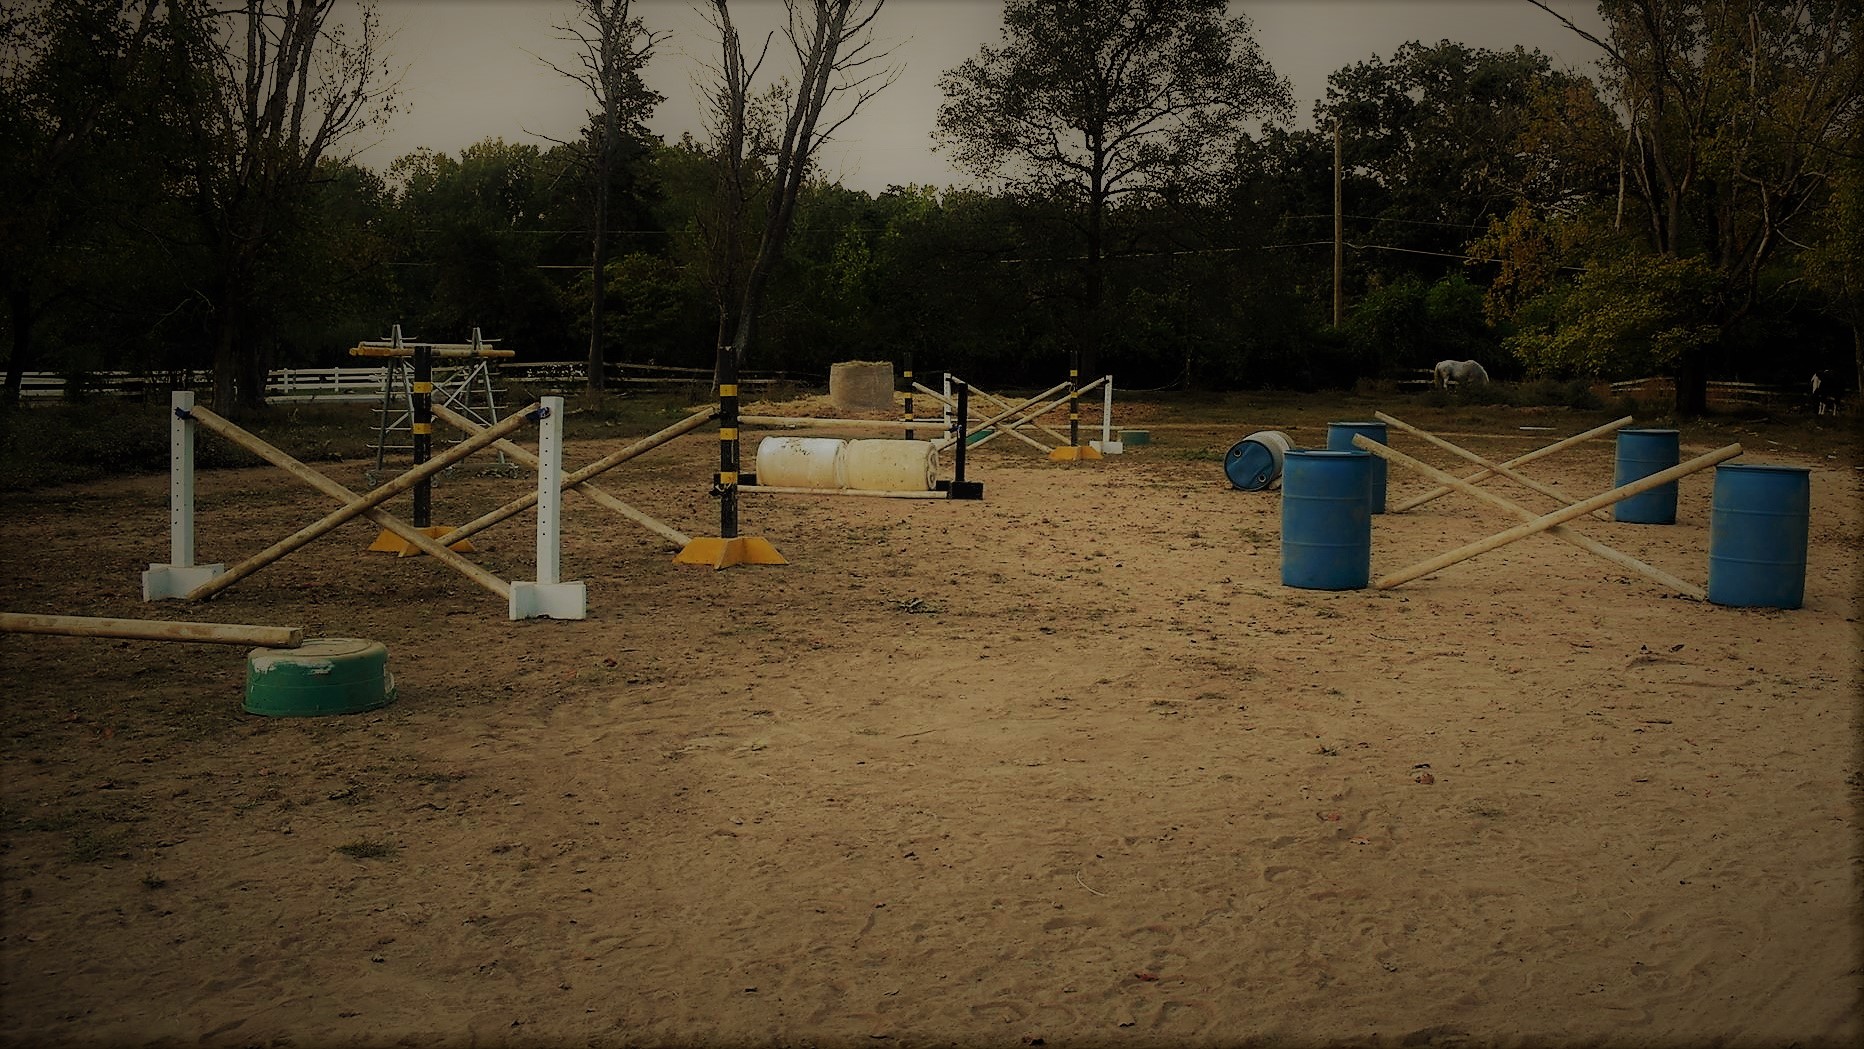
Arena jump poles are crazy expensive and are rather easy to make solo. While some jumps are preferred to be purchased (such as cross-country jumps), basic jump poles are much more cost effective as DIY. To make it simple with the least amount of effort, 8' landscape timbers serve as reliable and sturdy wooden poles that are already cut with round edges. And if you time your shopping wisely, many holidays bring half-price sales on landscape timbers at Home Depot which means you can buy twice as many poles for the same amount of money. To make them nicer, you can sand the wood, followed by caulking the poles and finishing with priming the poles. If your primer is white and you are satisfied, then you have white jump poles. If you want more color, add some color. Easy!
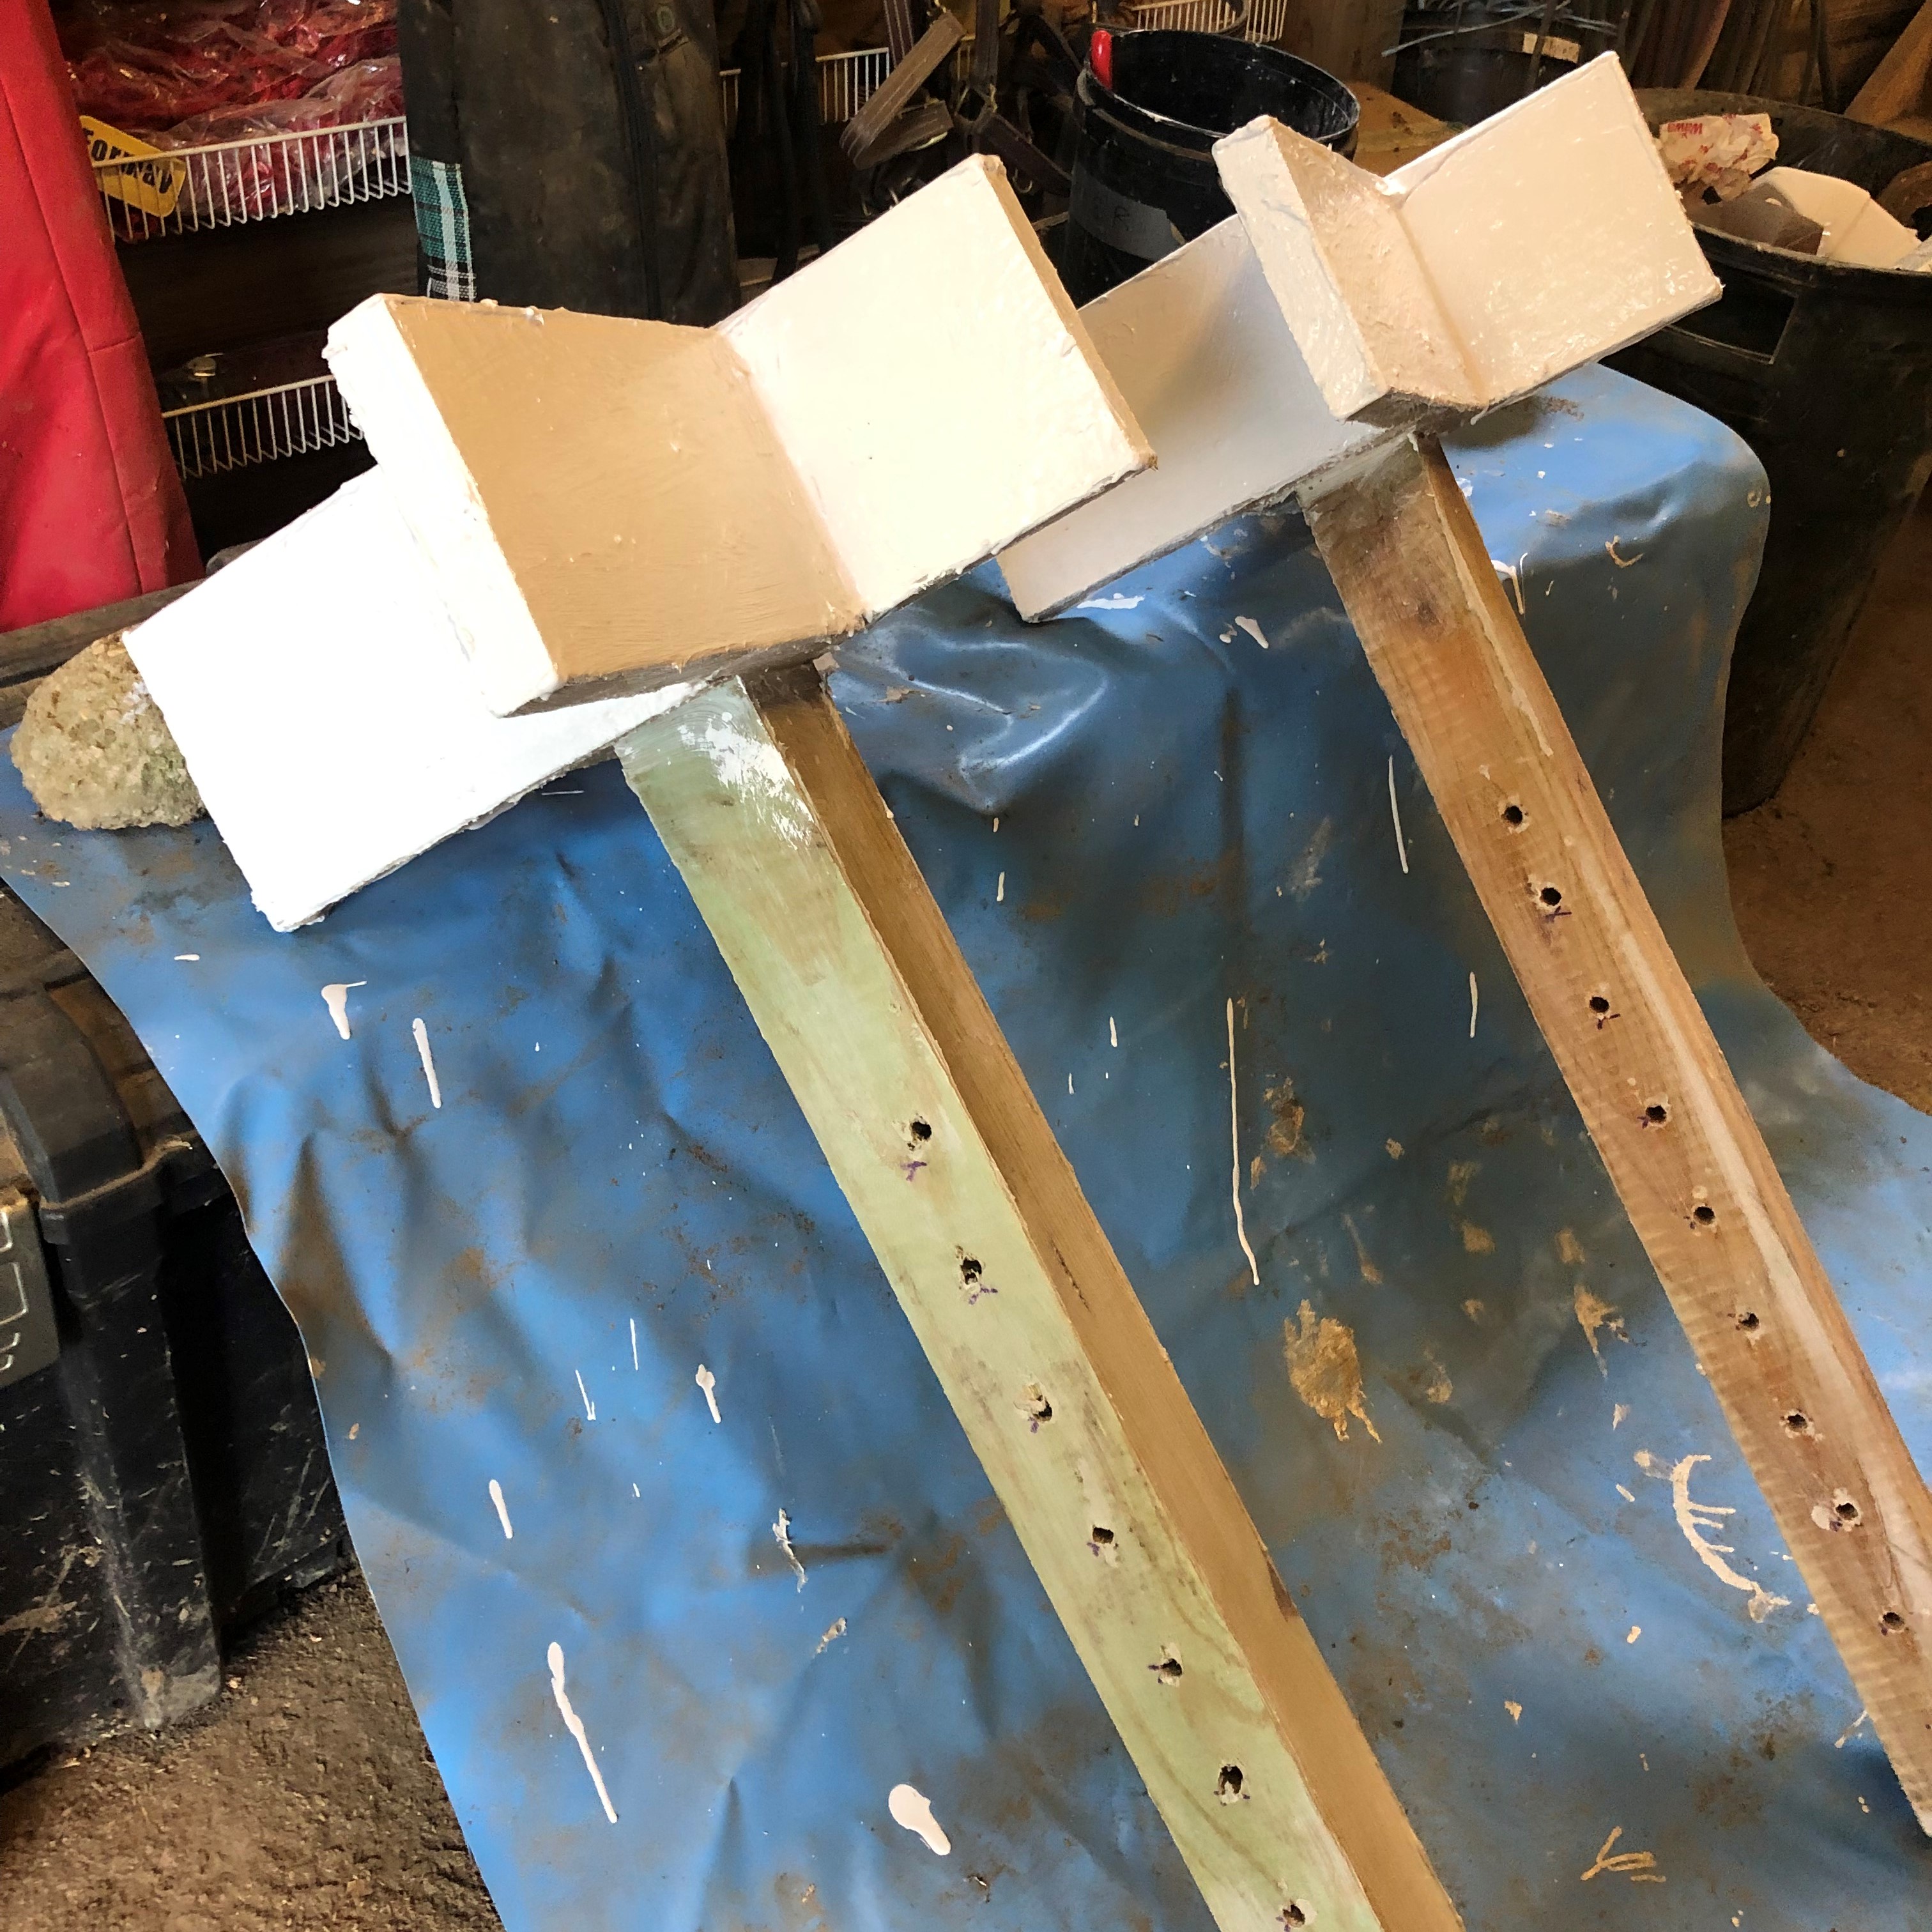
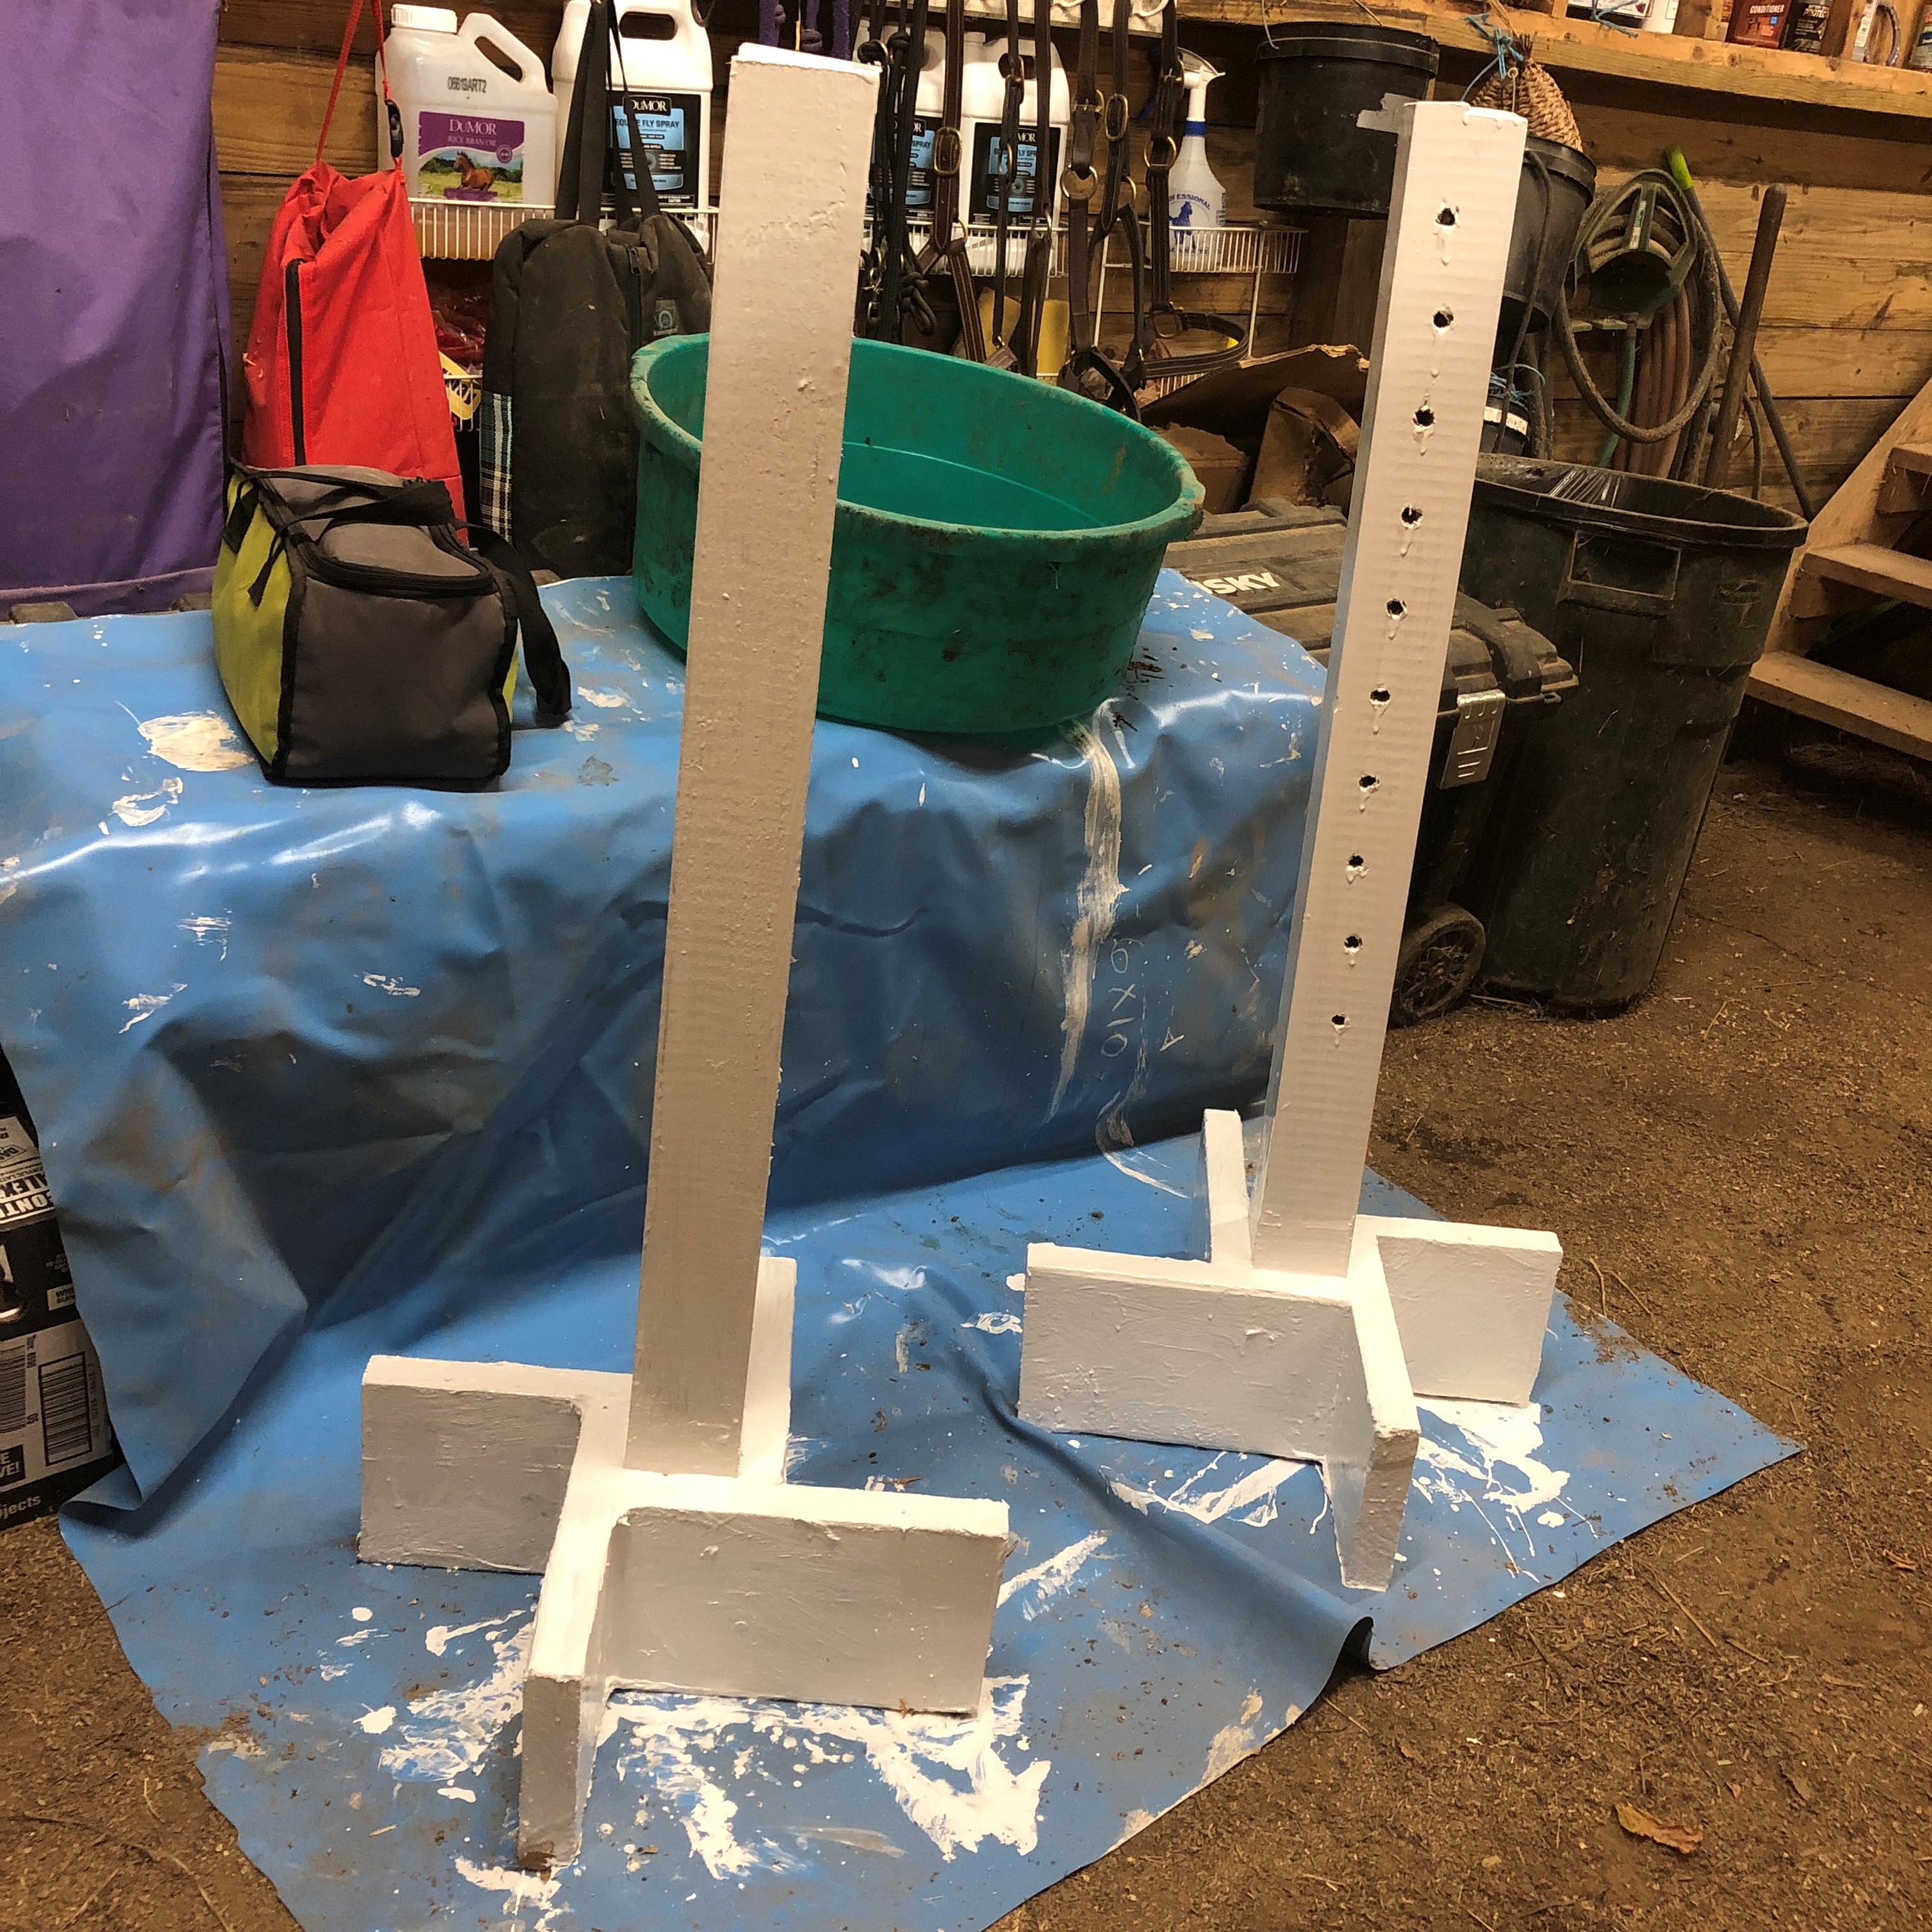
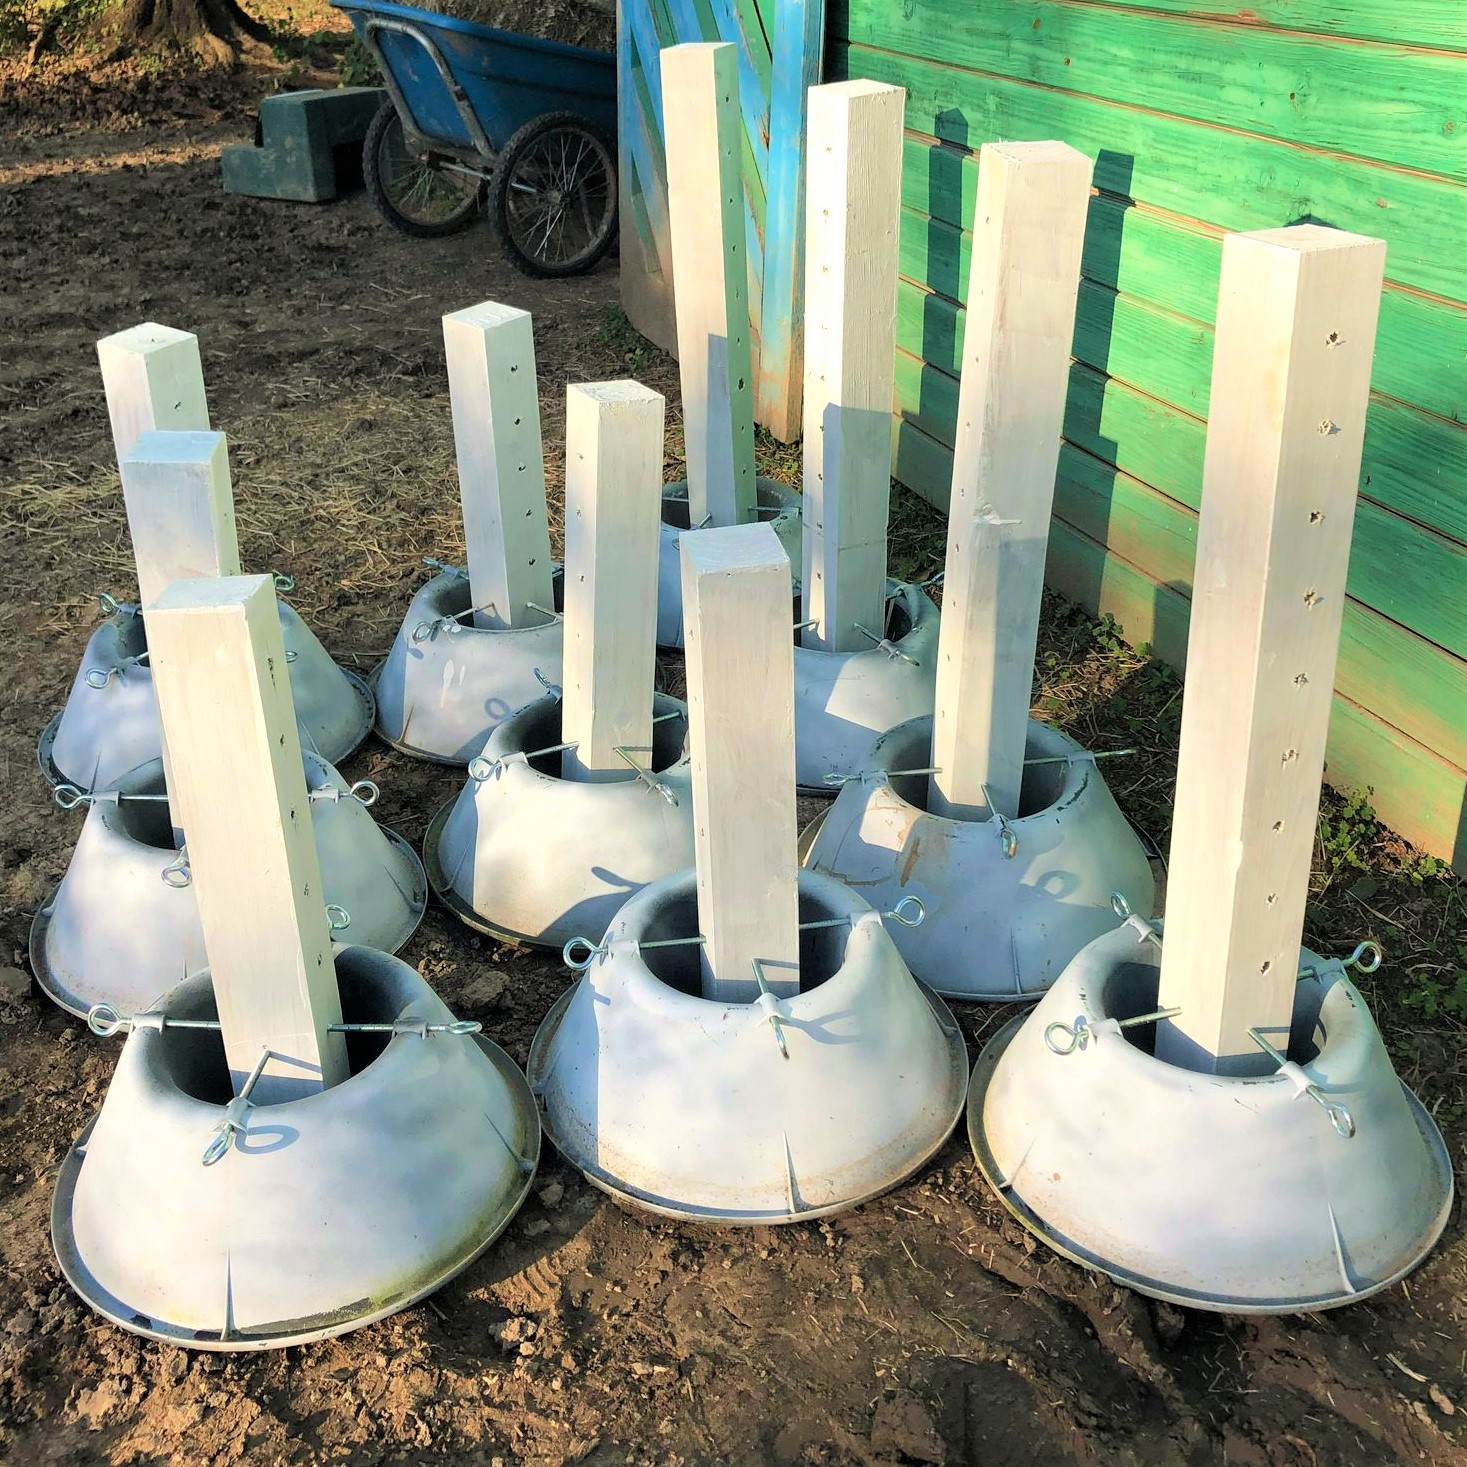
Jump Standards
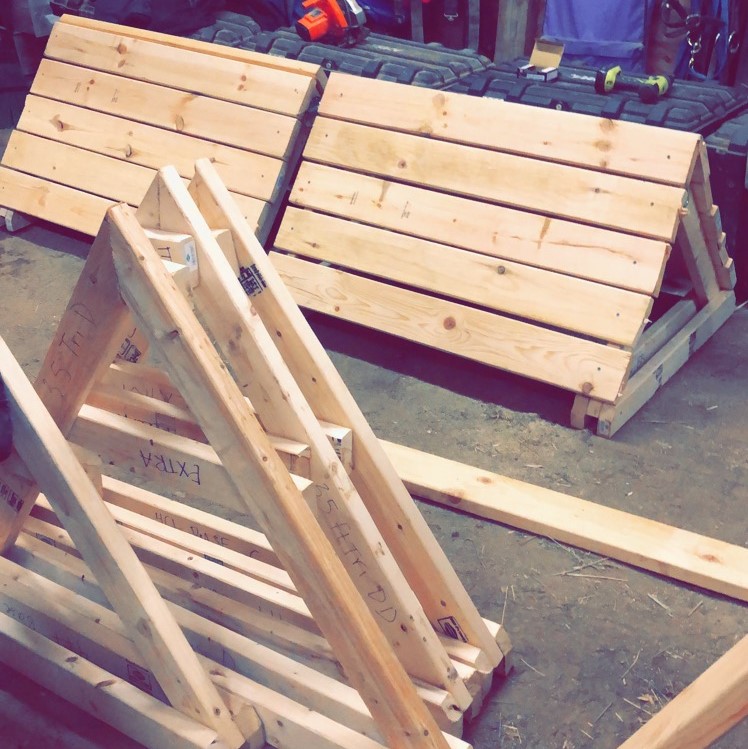
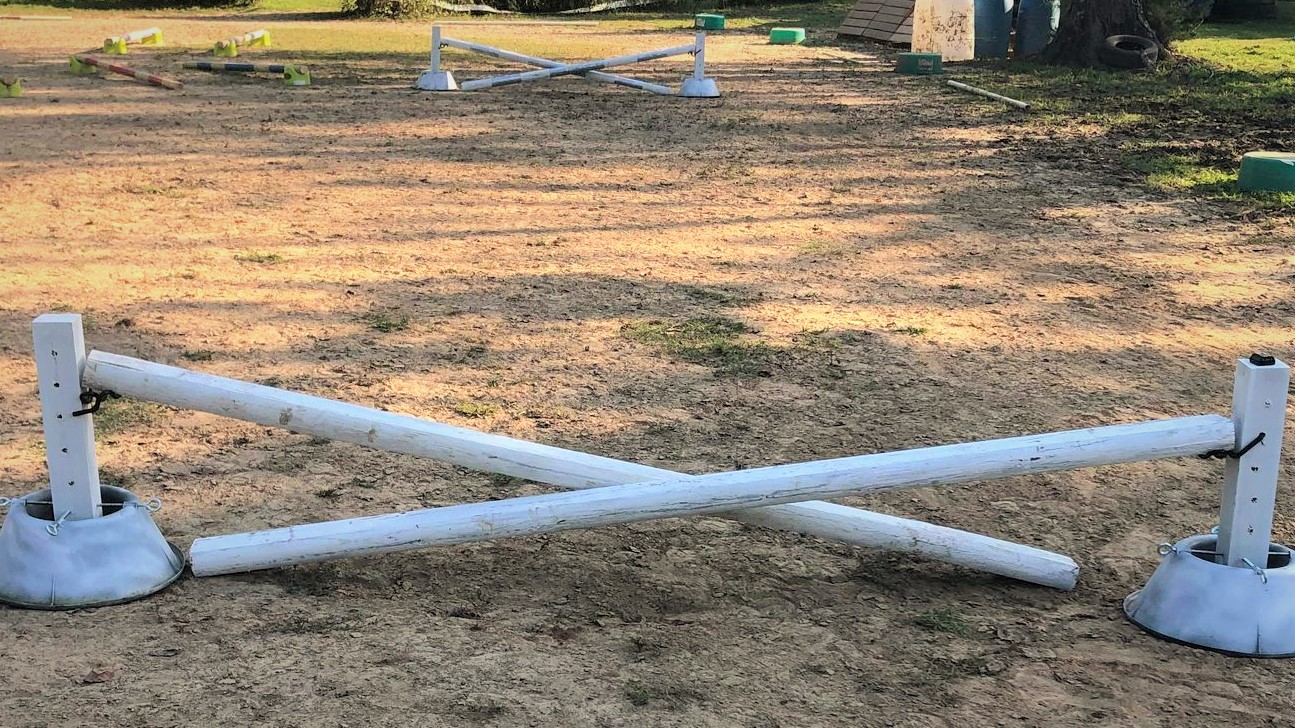
Arena jump standards are crazy expensive and are rather easy to make solo. While some jumps are preferred to be purchased (such as cross-country jumps), basic jump standards are much more cost effective as DIY. To make it simple with the least amount of effort, an 8' pressure-treated 4"x4" wooden post serves as a reliable 4' jump standard when cut in half. Depending on your standard base preference (I prefer a 2"x10"x8' board cut into 1 ft bases for a pair of standards), purchase a board for the base to be cut into four equal parts. If you want to get extra, you can cut a downhill slope of the ends of the base boards for a more traditional look. Personally, I'm too lazy and I don't think not doing it ruins the look. Once all wood pieces are cut, sand the wood down for a finer finished look. When sanding is complete, assemble the base boards to the standard with screws (I prefer 3" screws for the bases with two into the post and two into the short end of the neighboring base board) and then caulk the bases. You may either drill jump cup holes before or after wood assembly depending on preference but make sure to test the holes with an actual jump cup to ensure that it is ready for use. Prime the standards once they are ready and if desired, spray paint the standards. Once satisfied, you have a pair of basic jump standards!
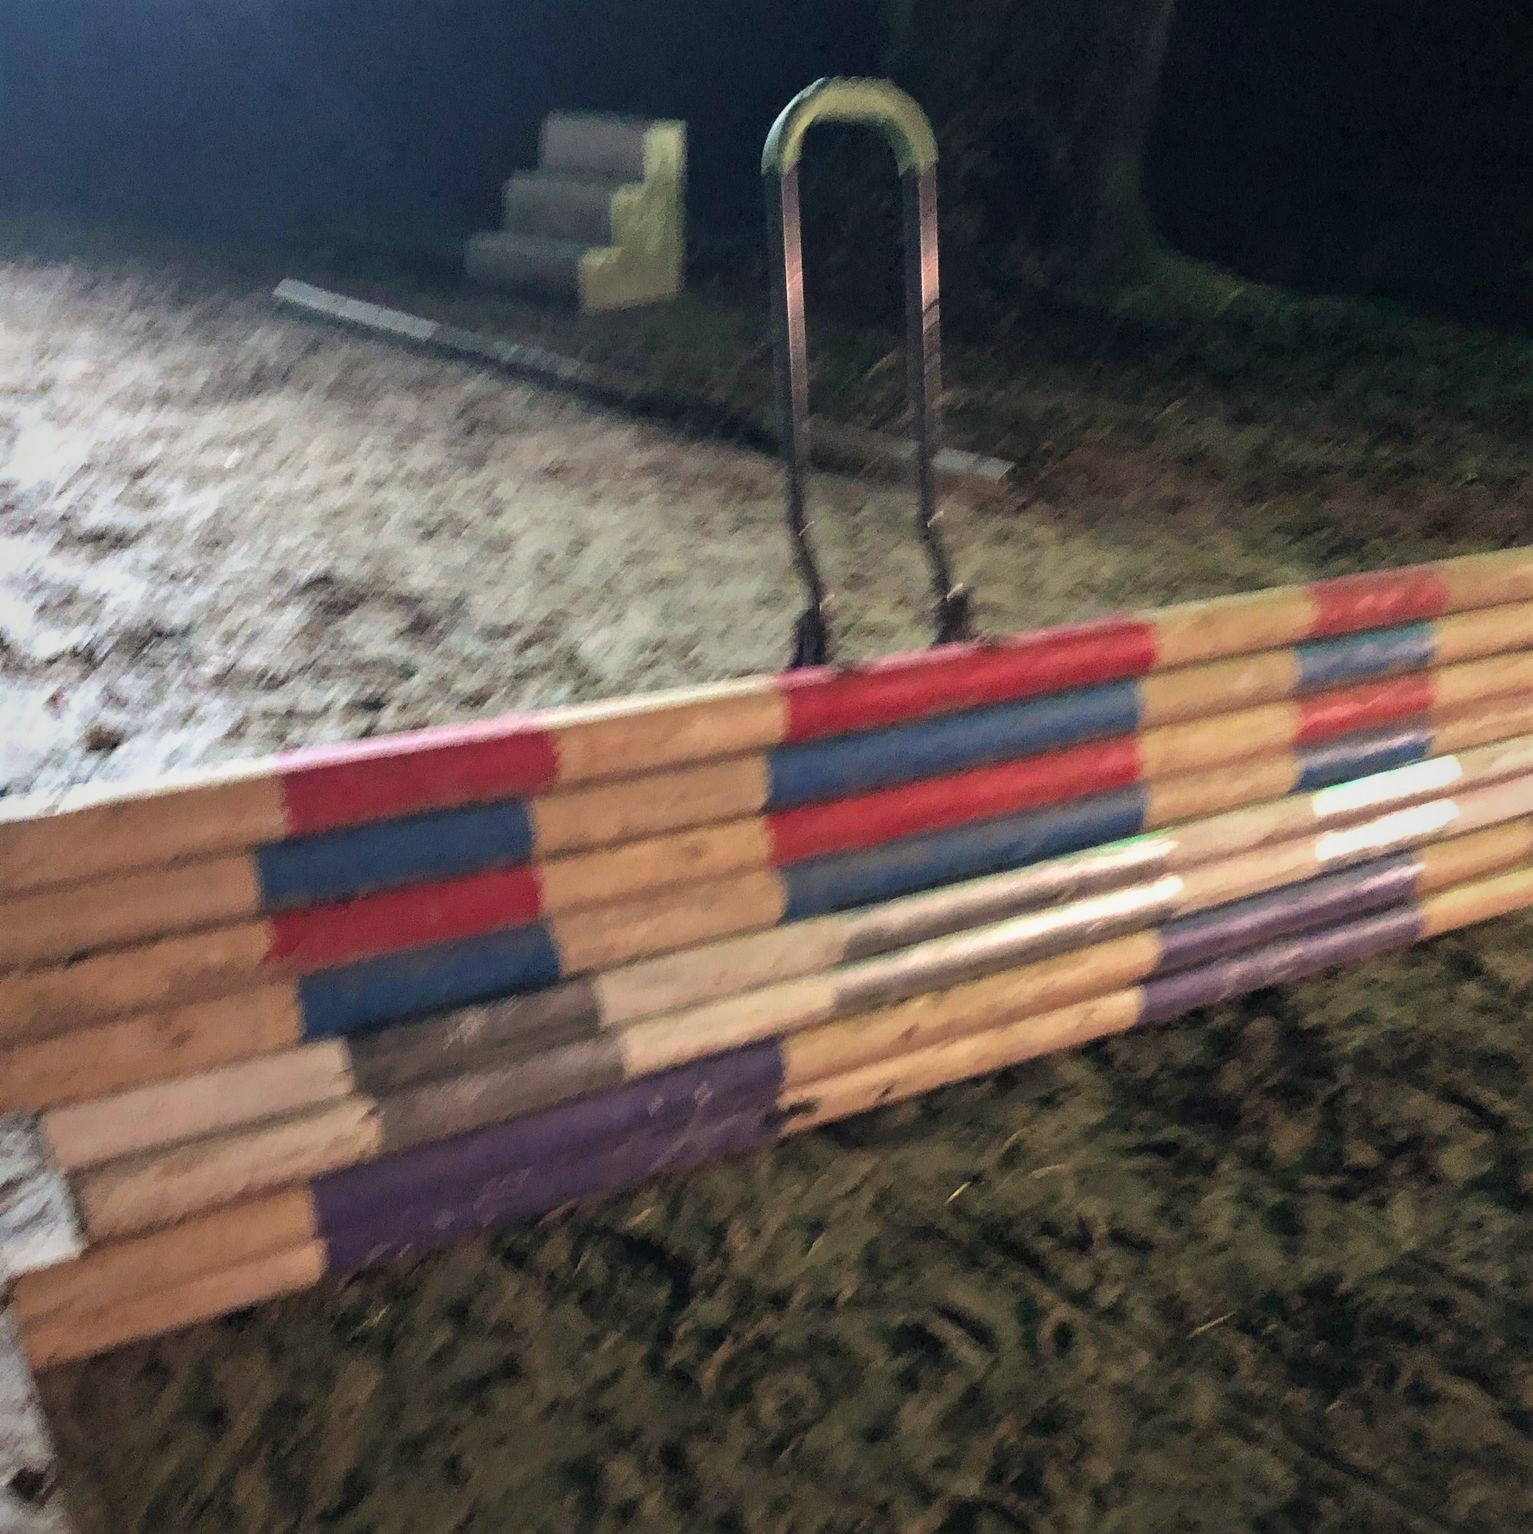
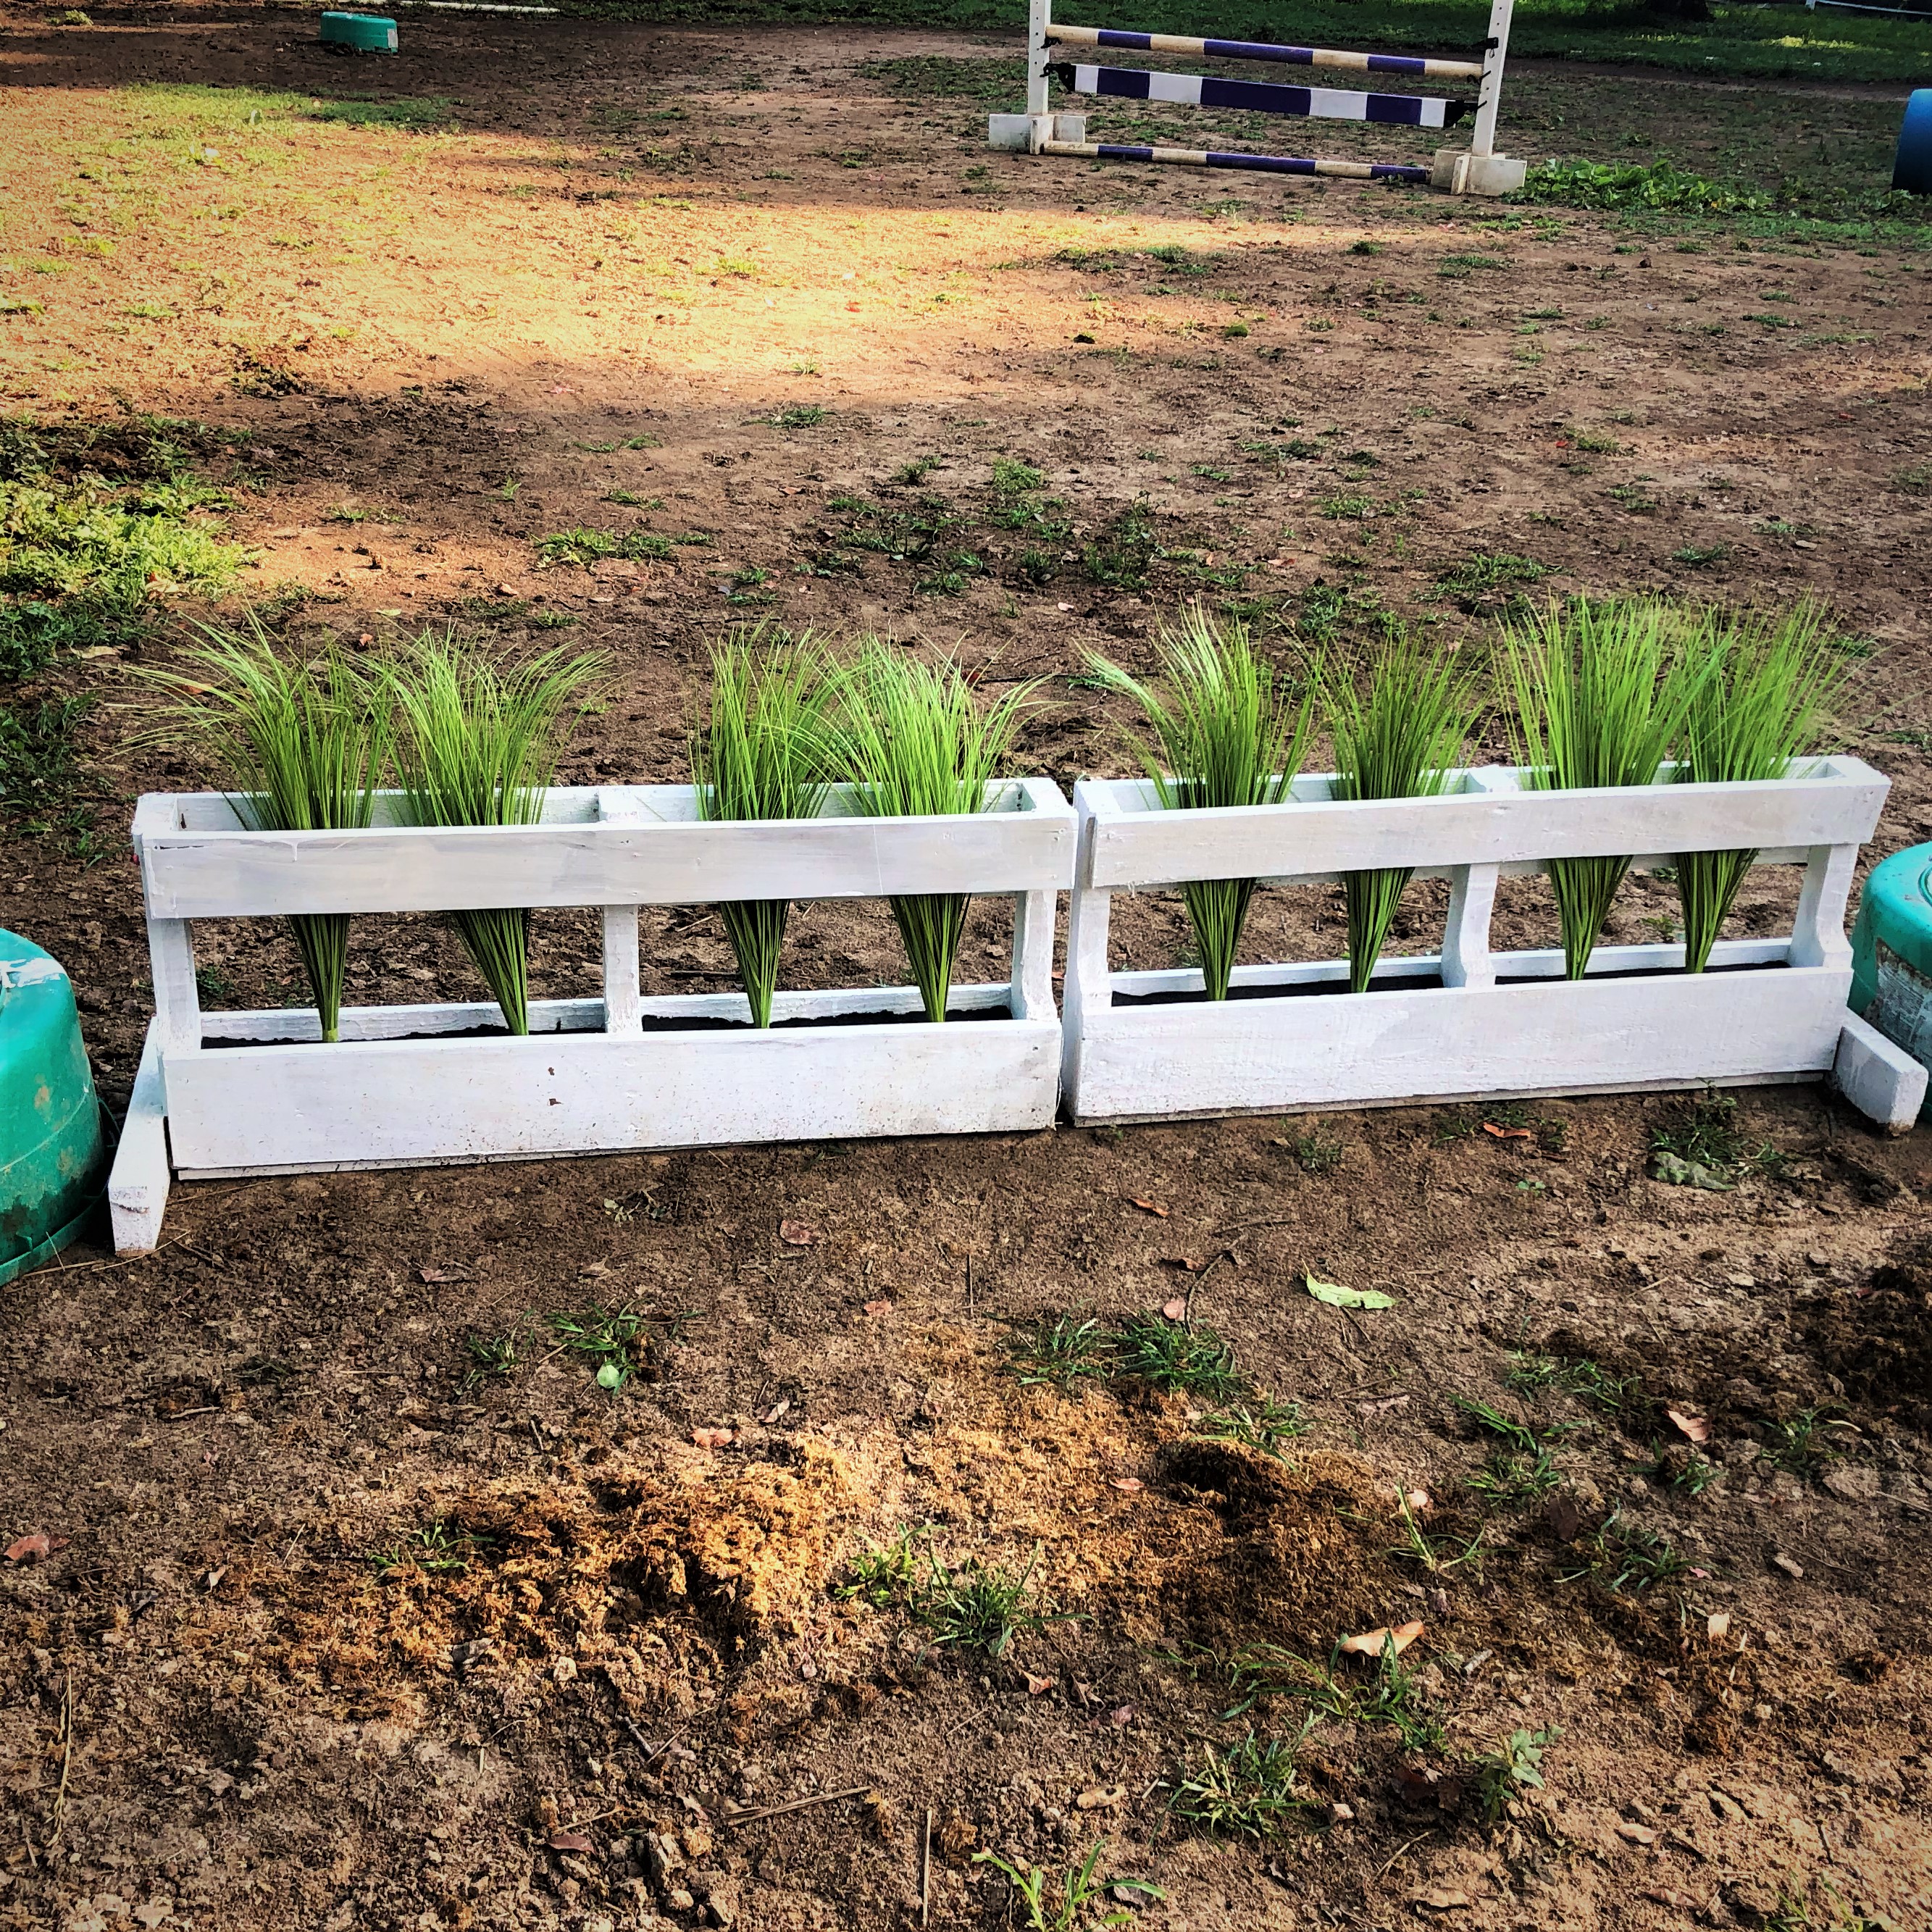
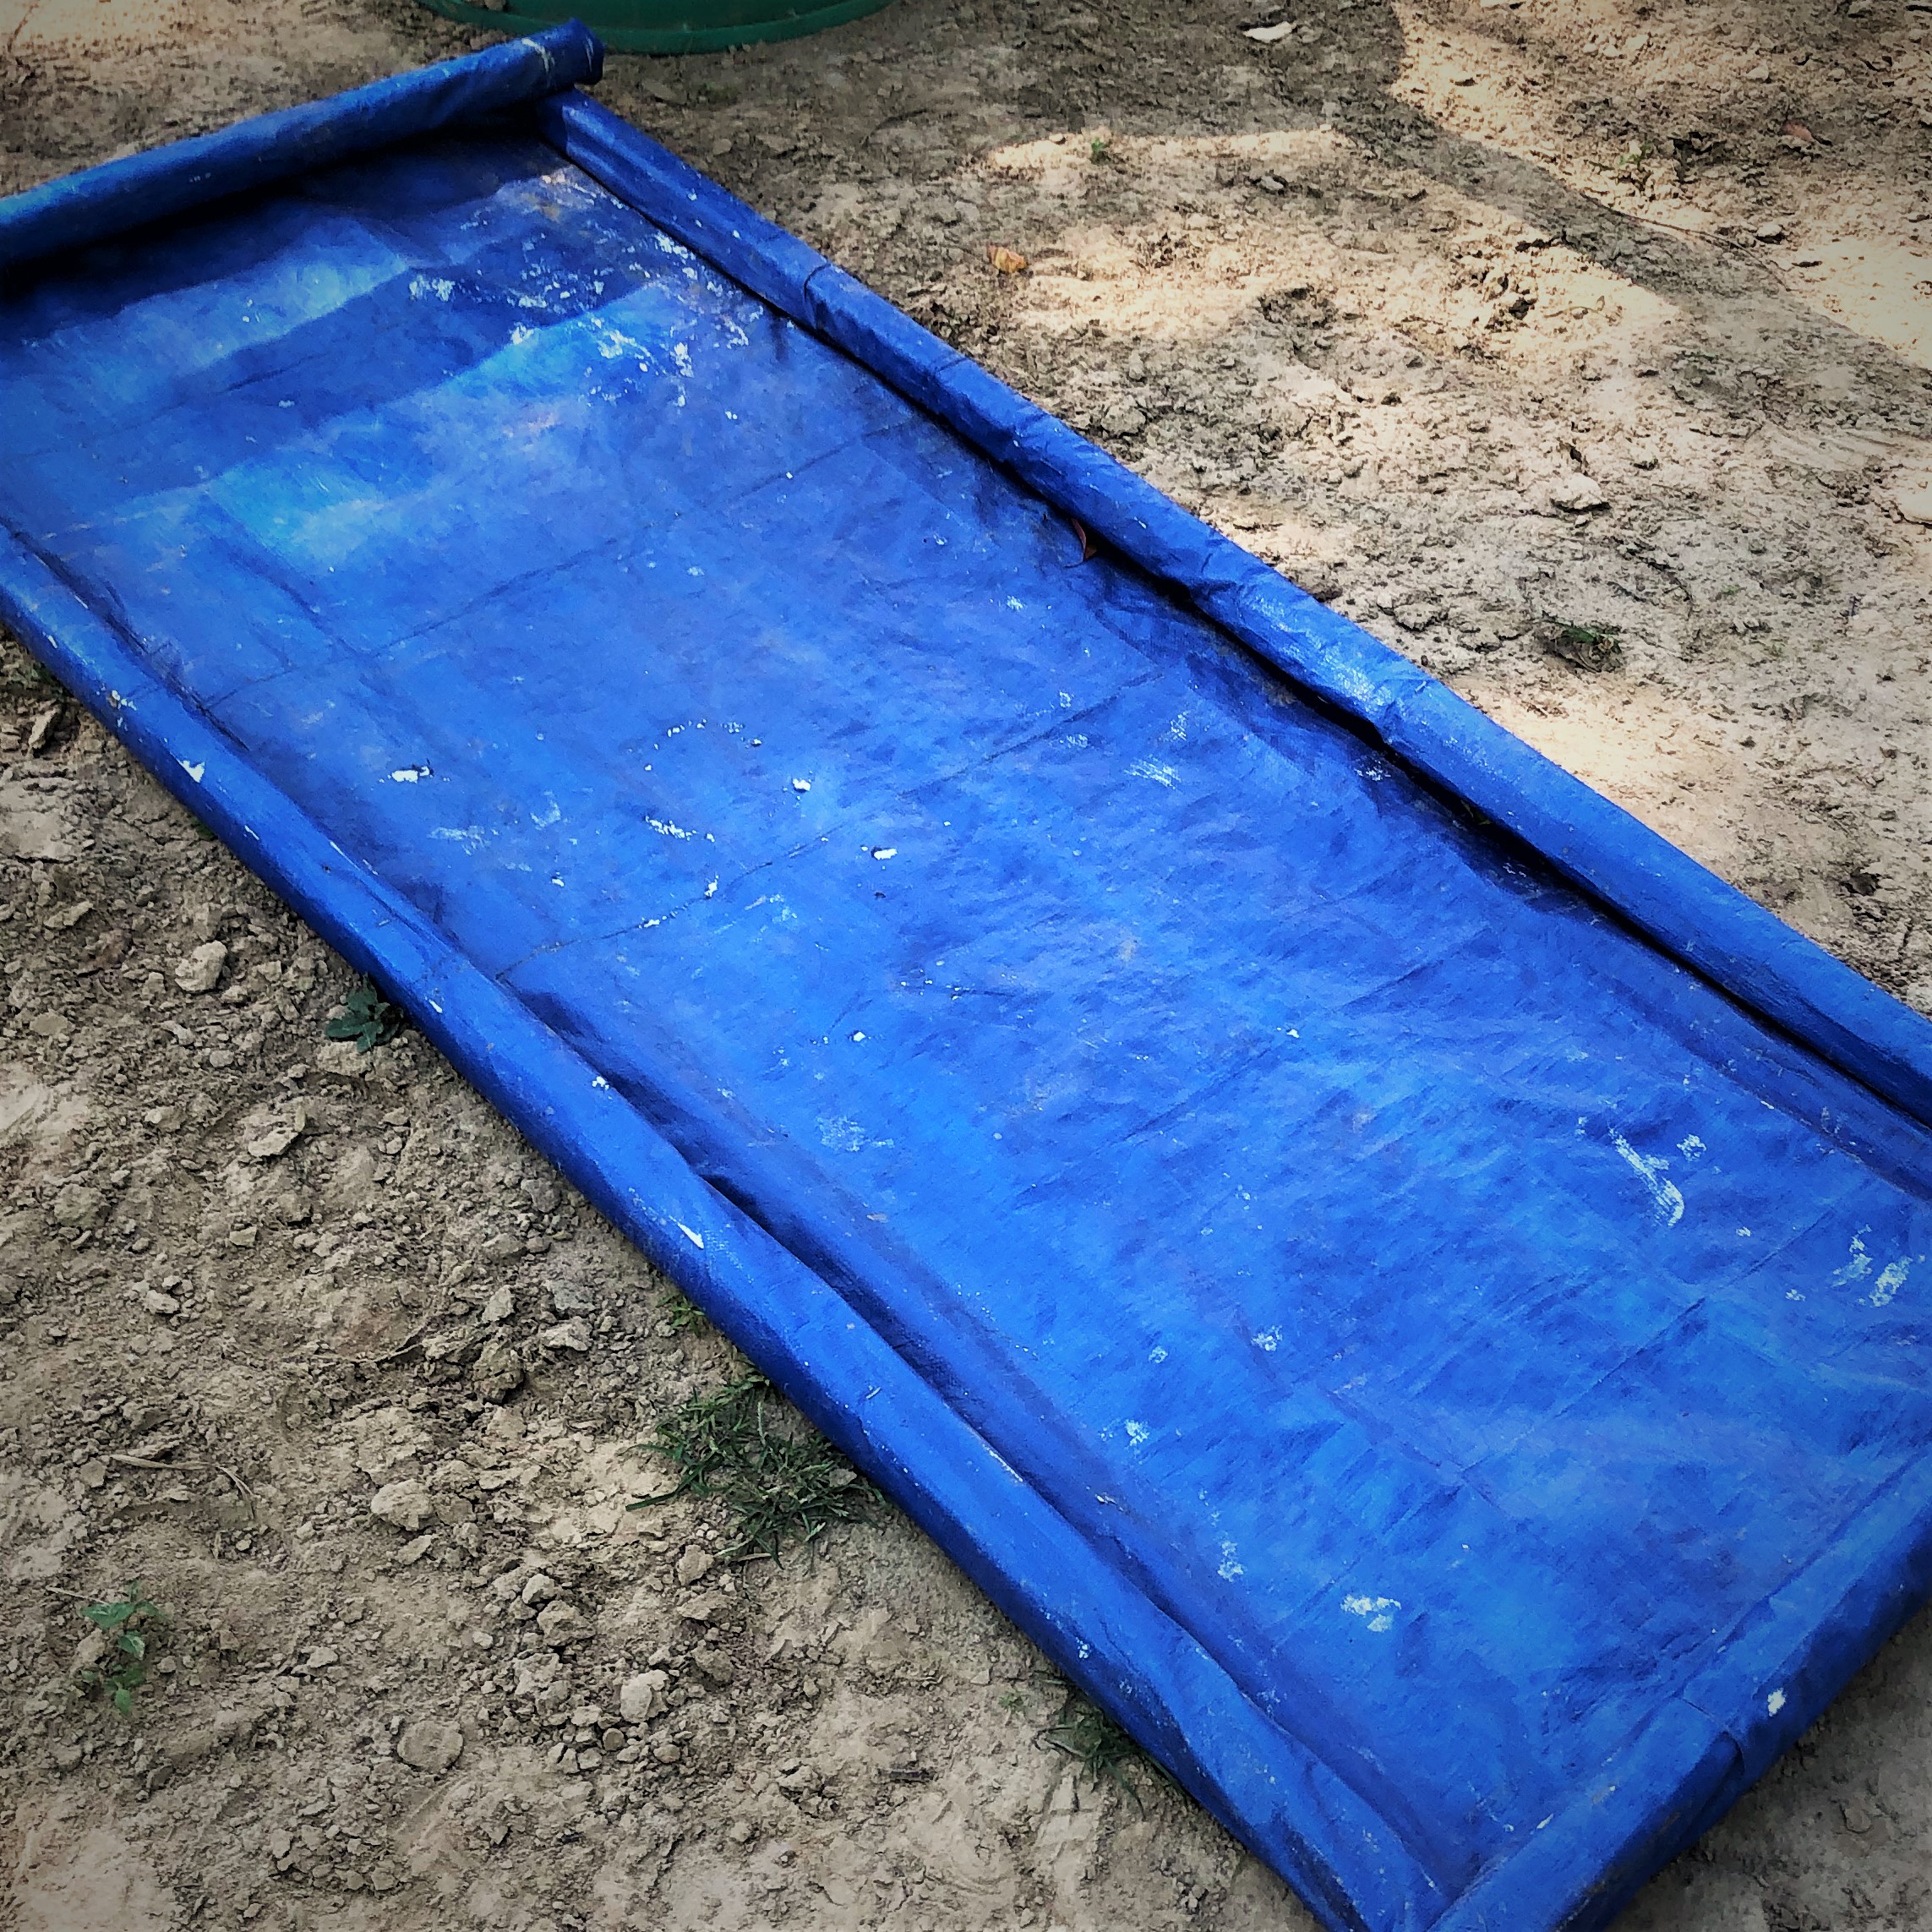
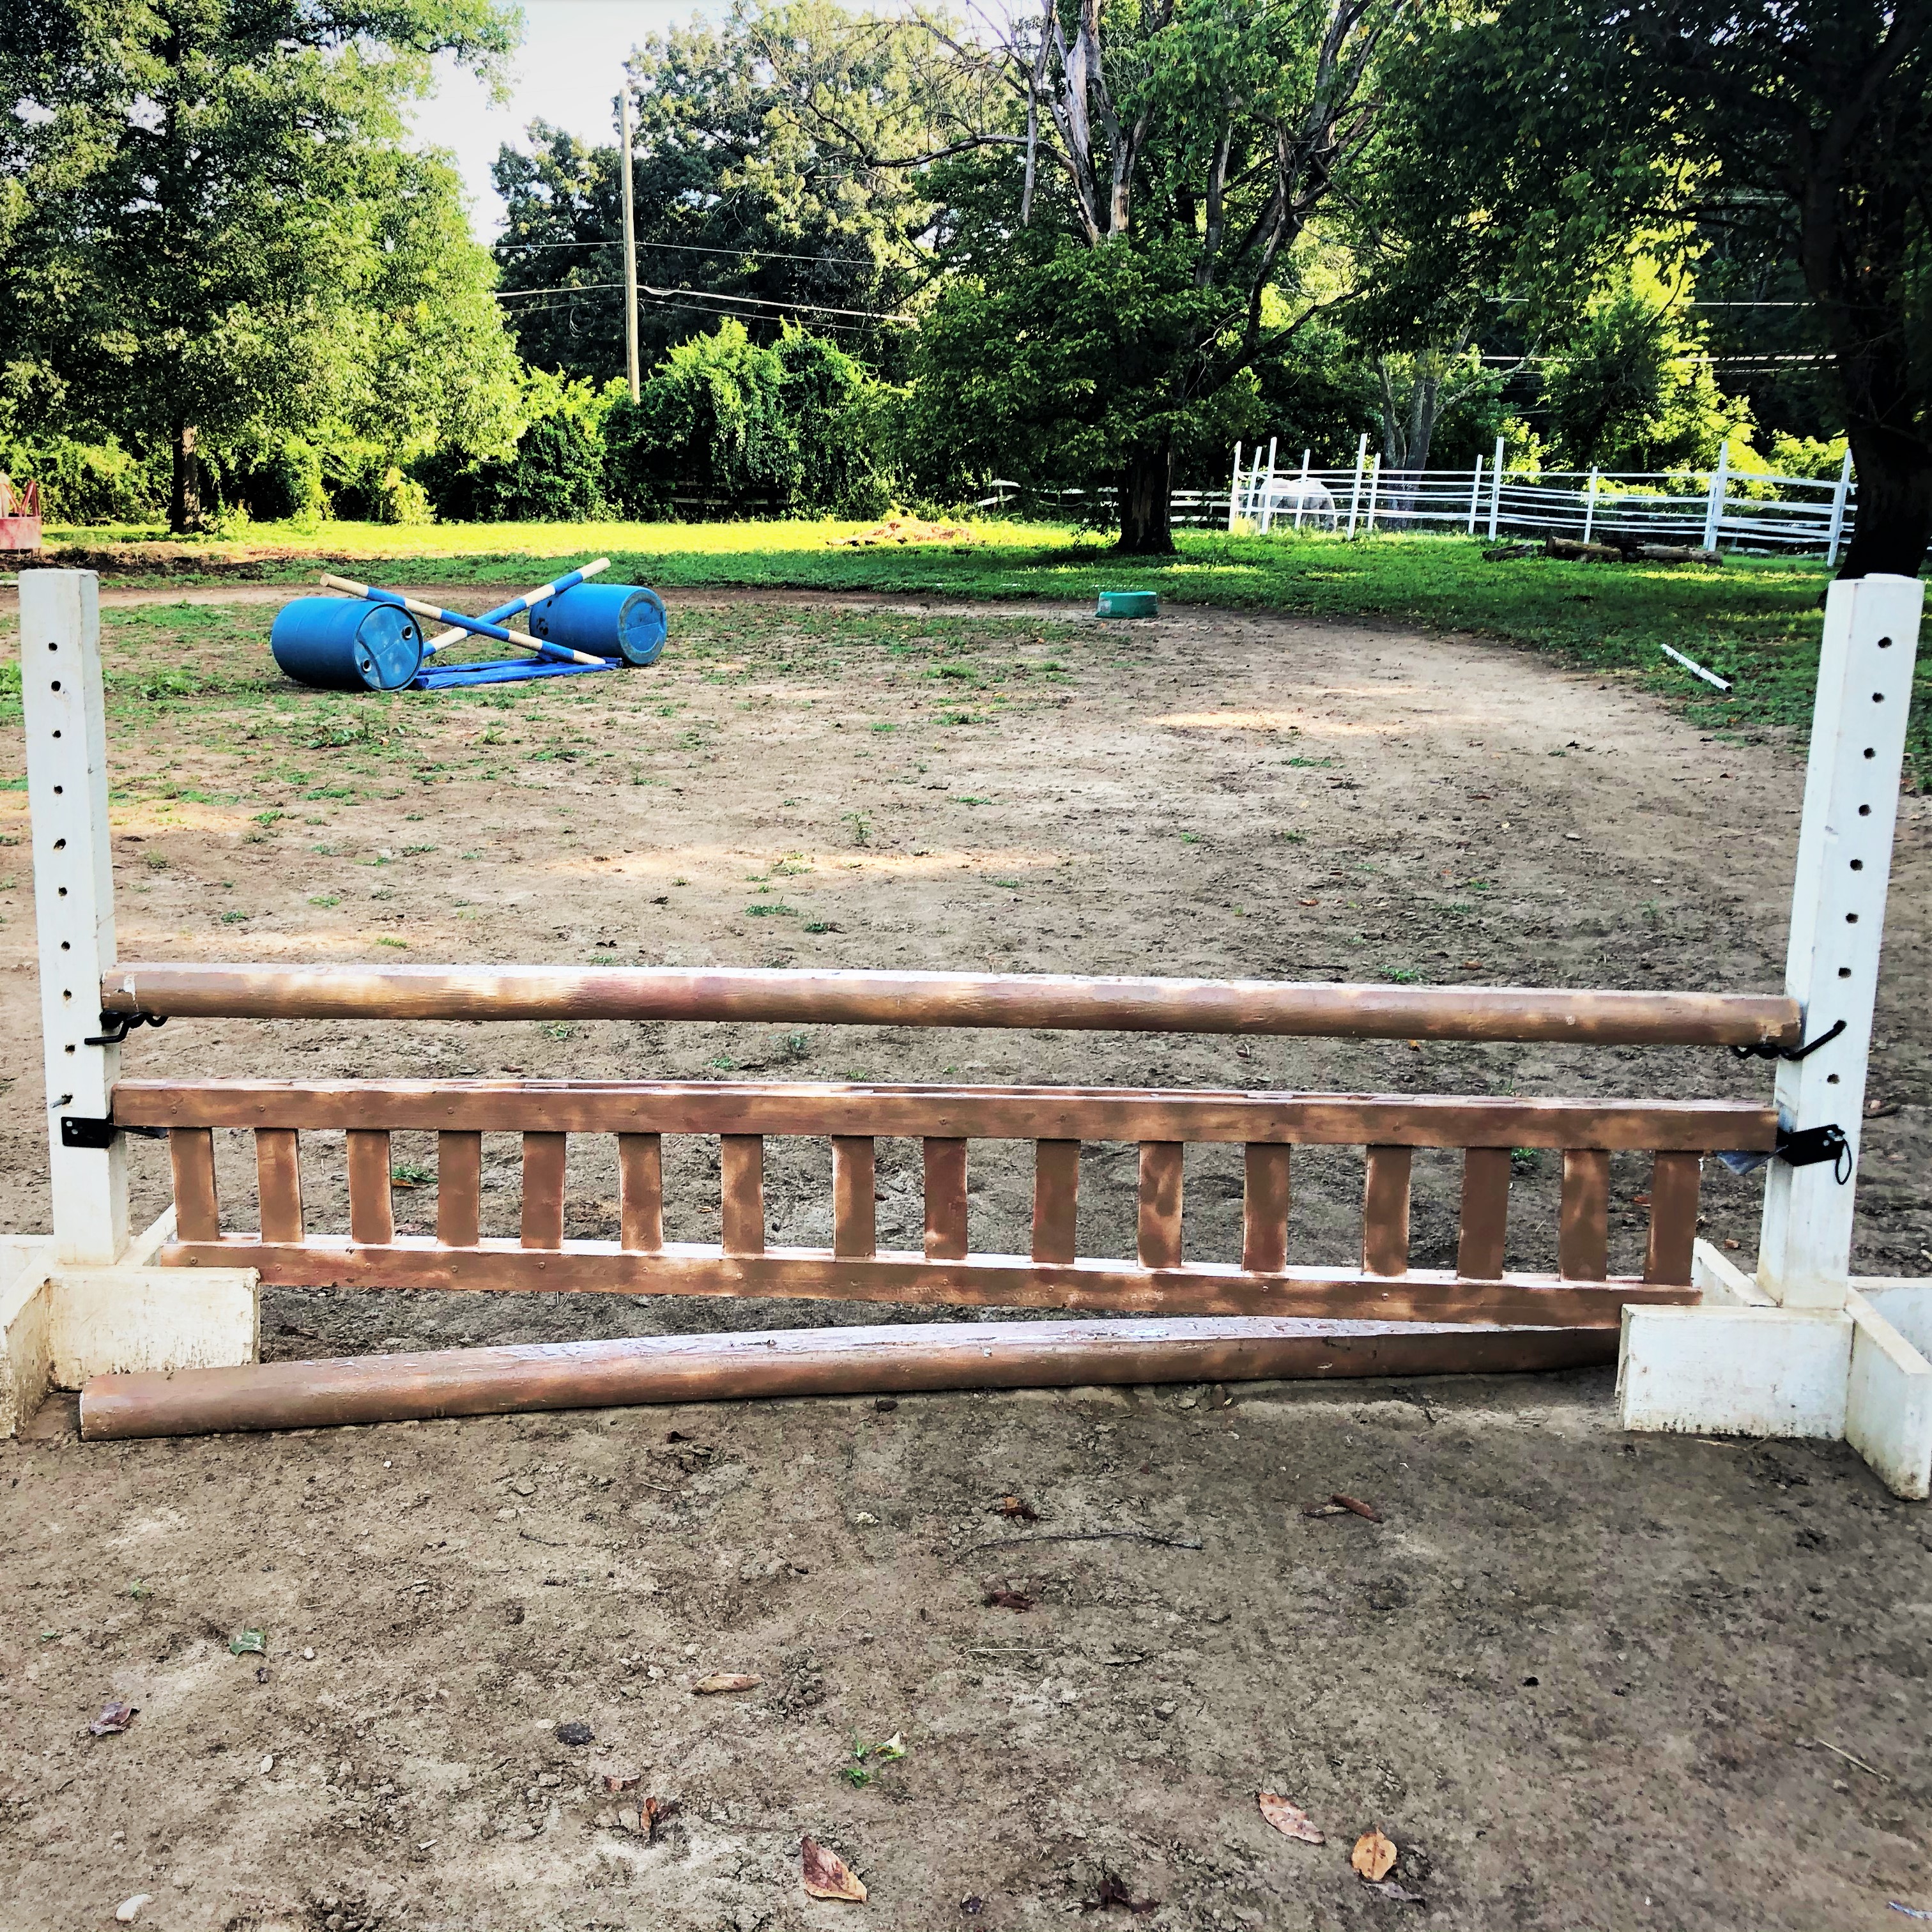
Jump Gates
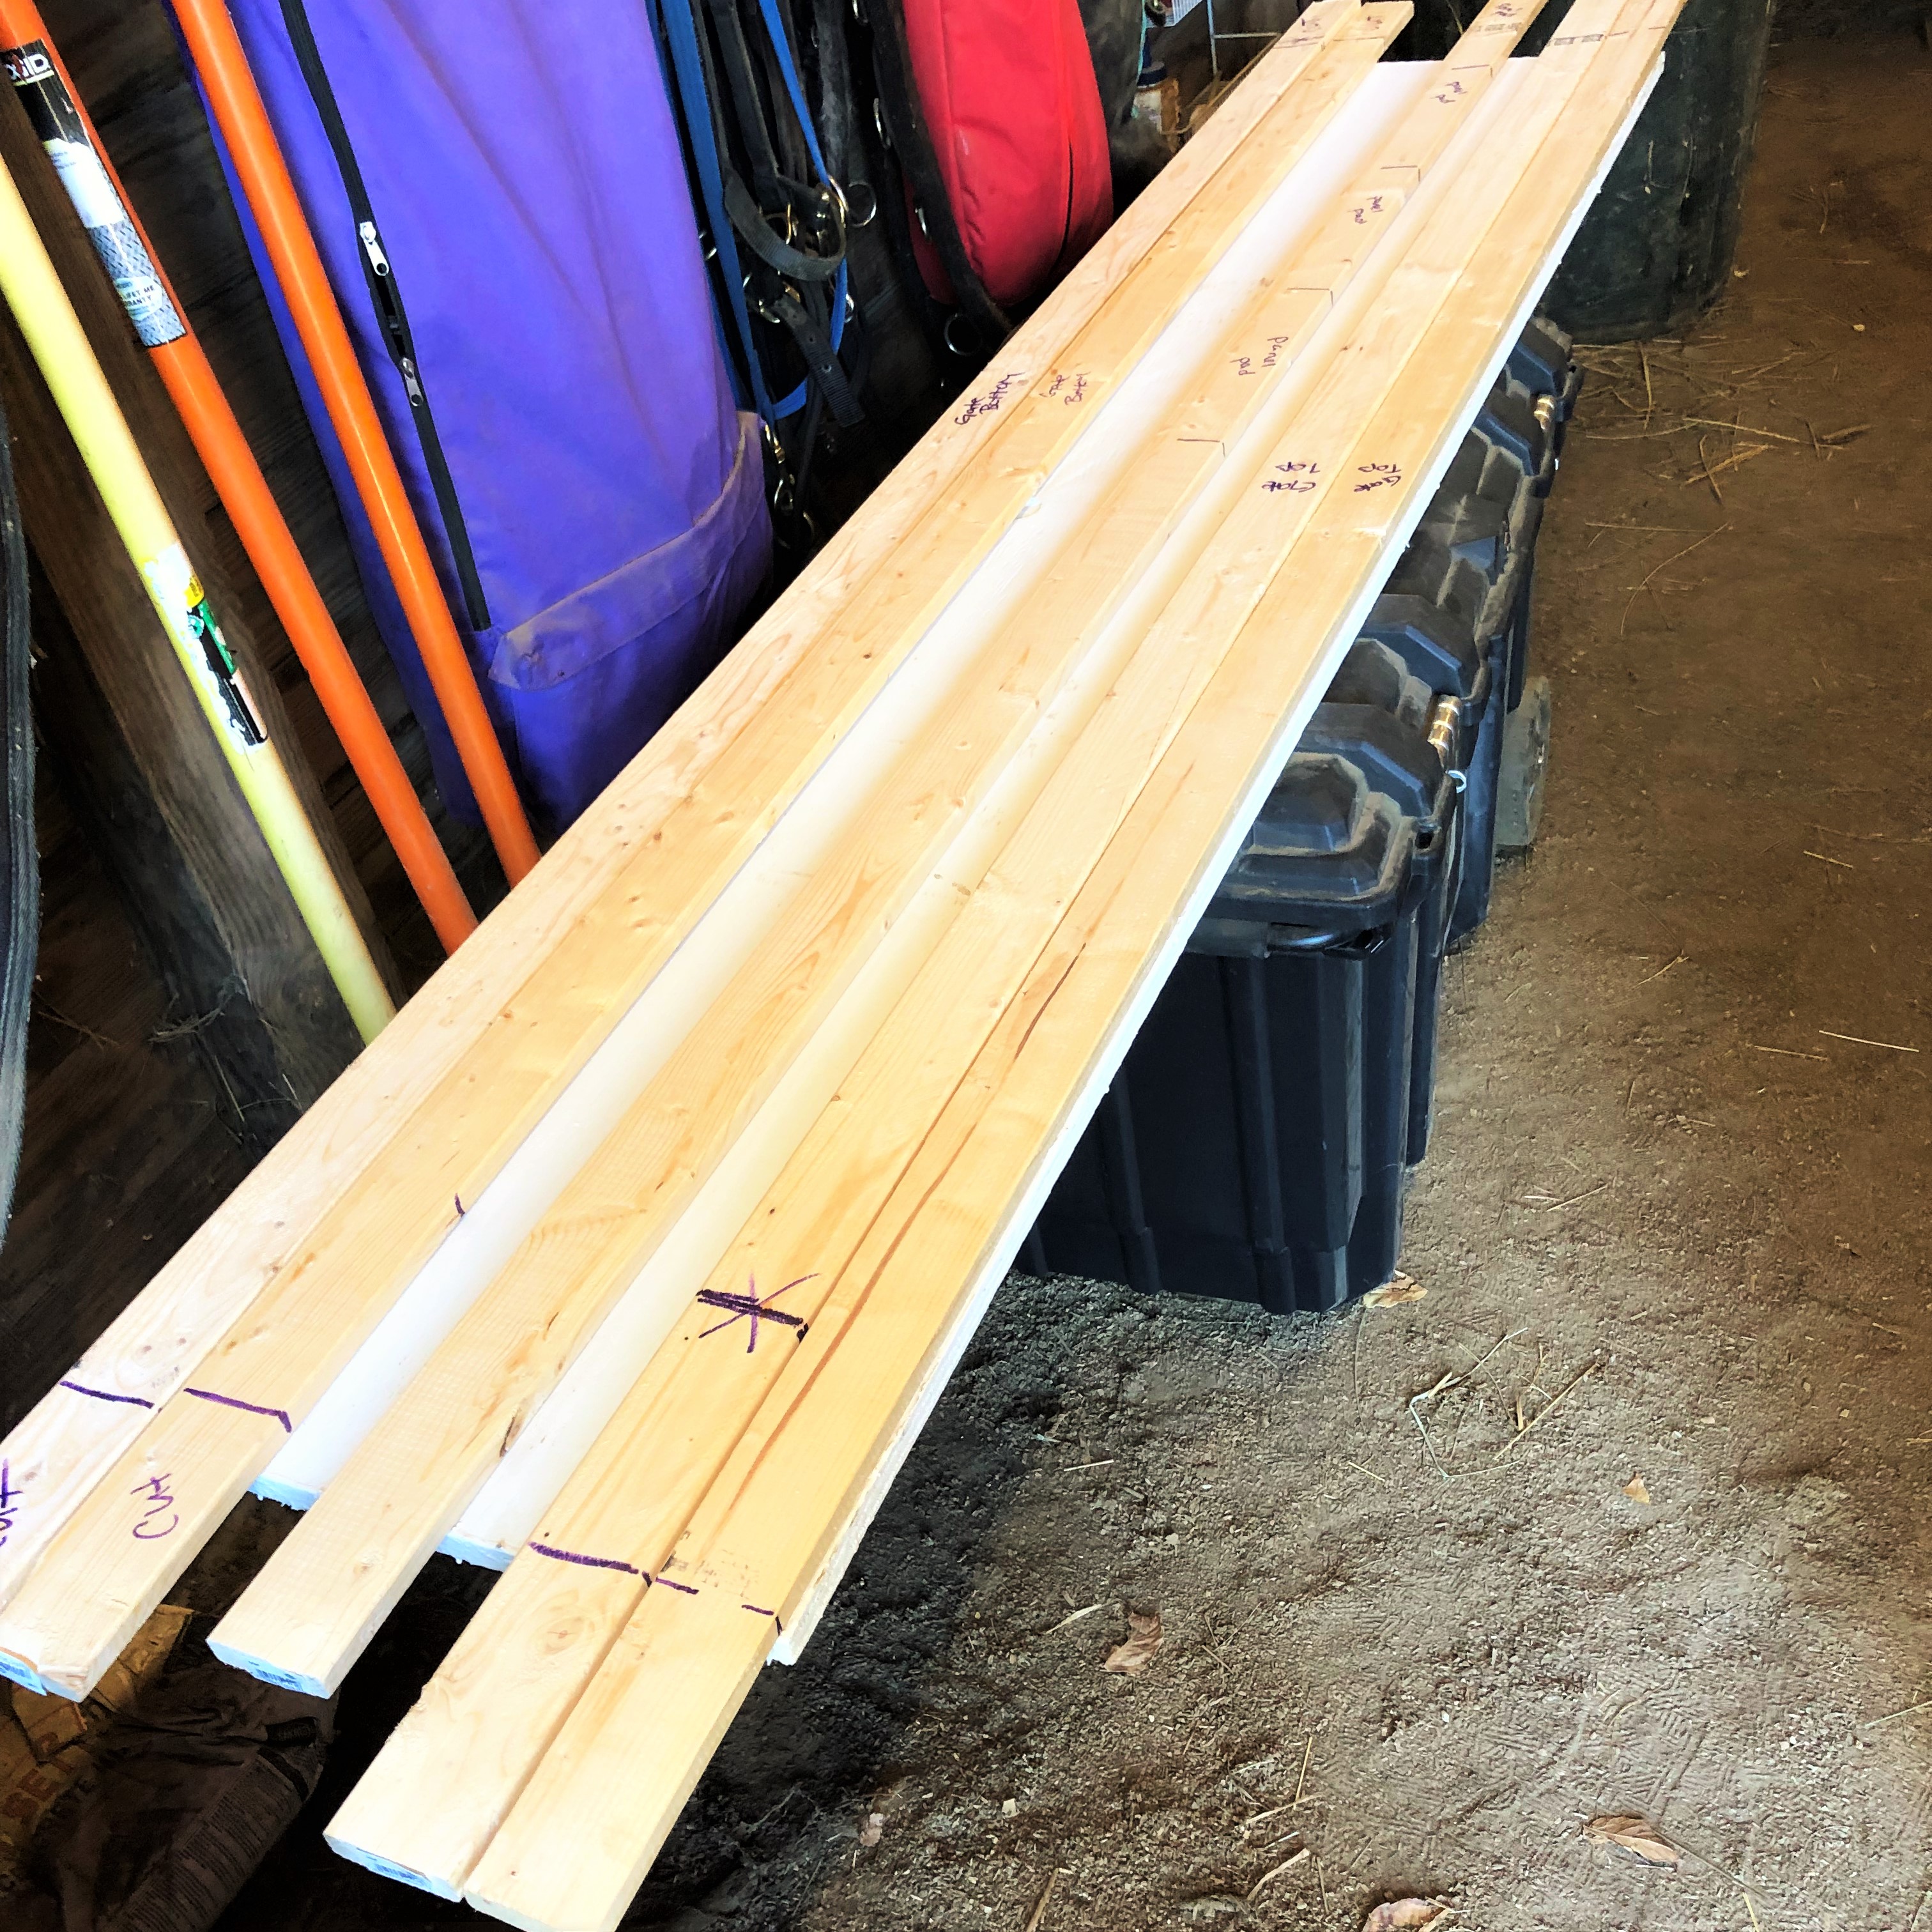
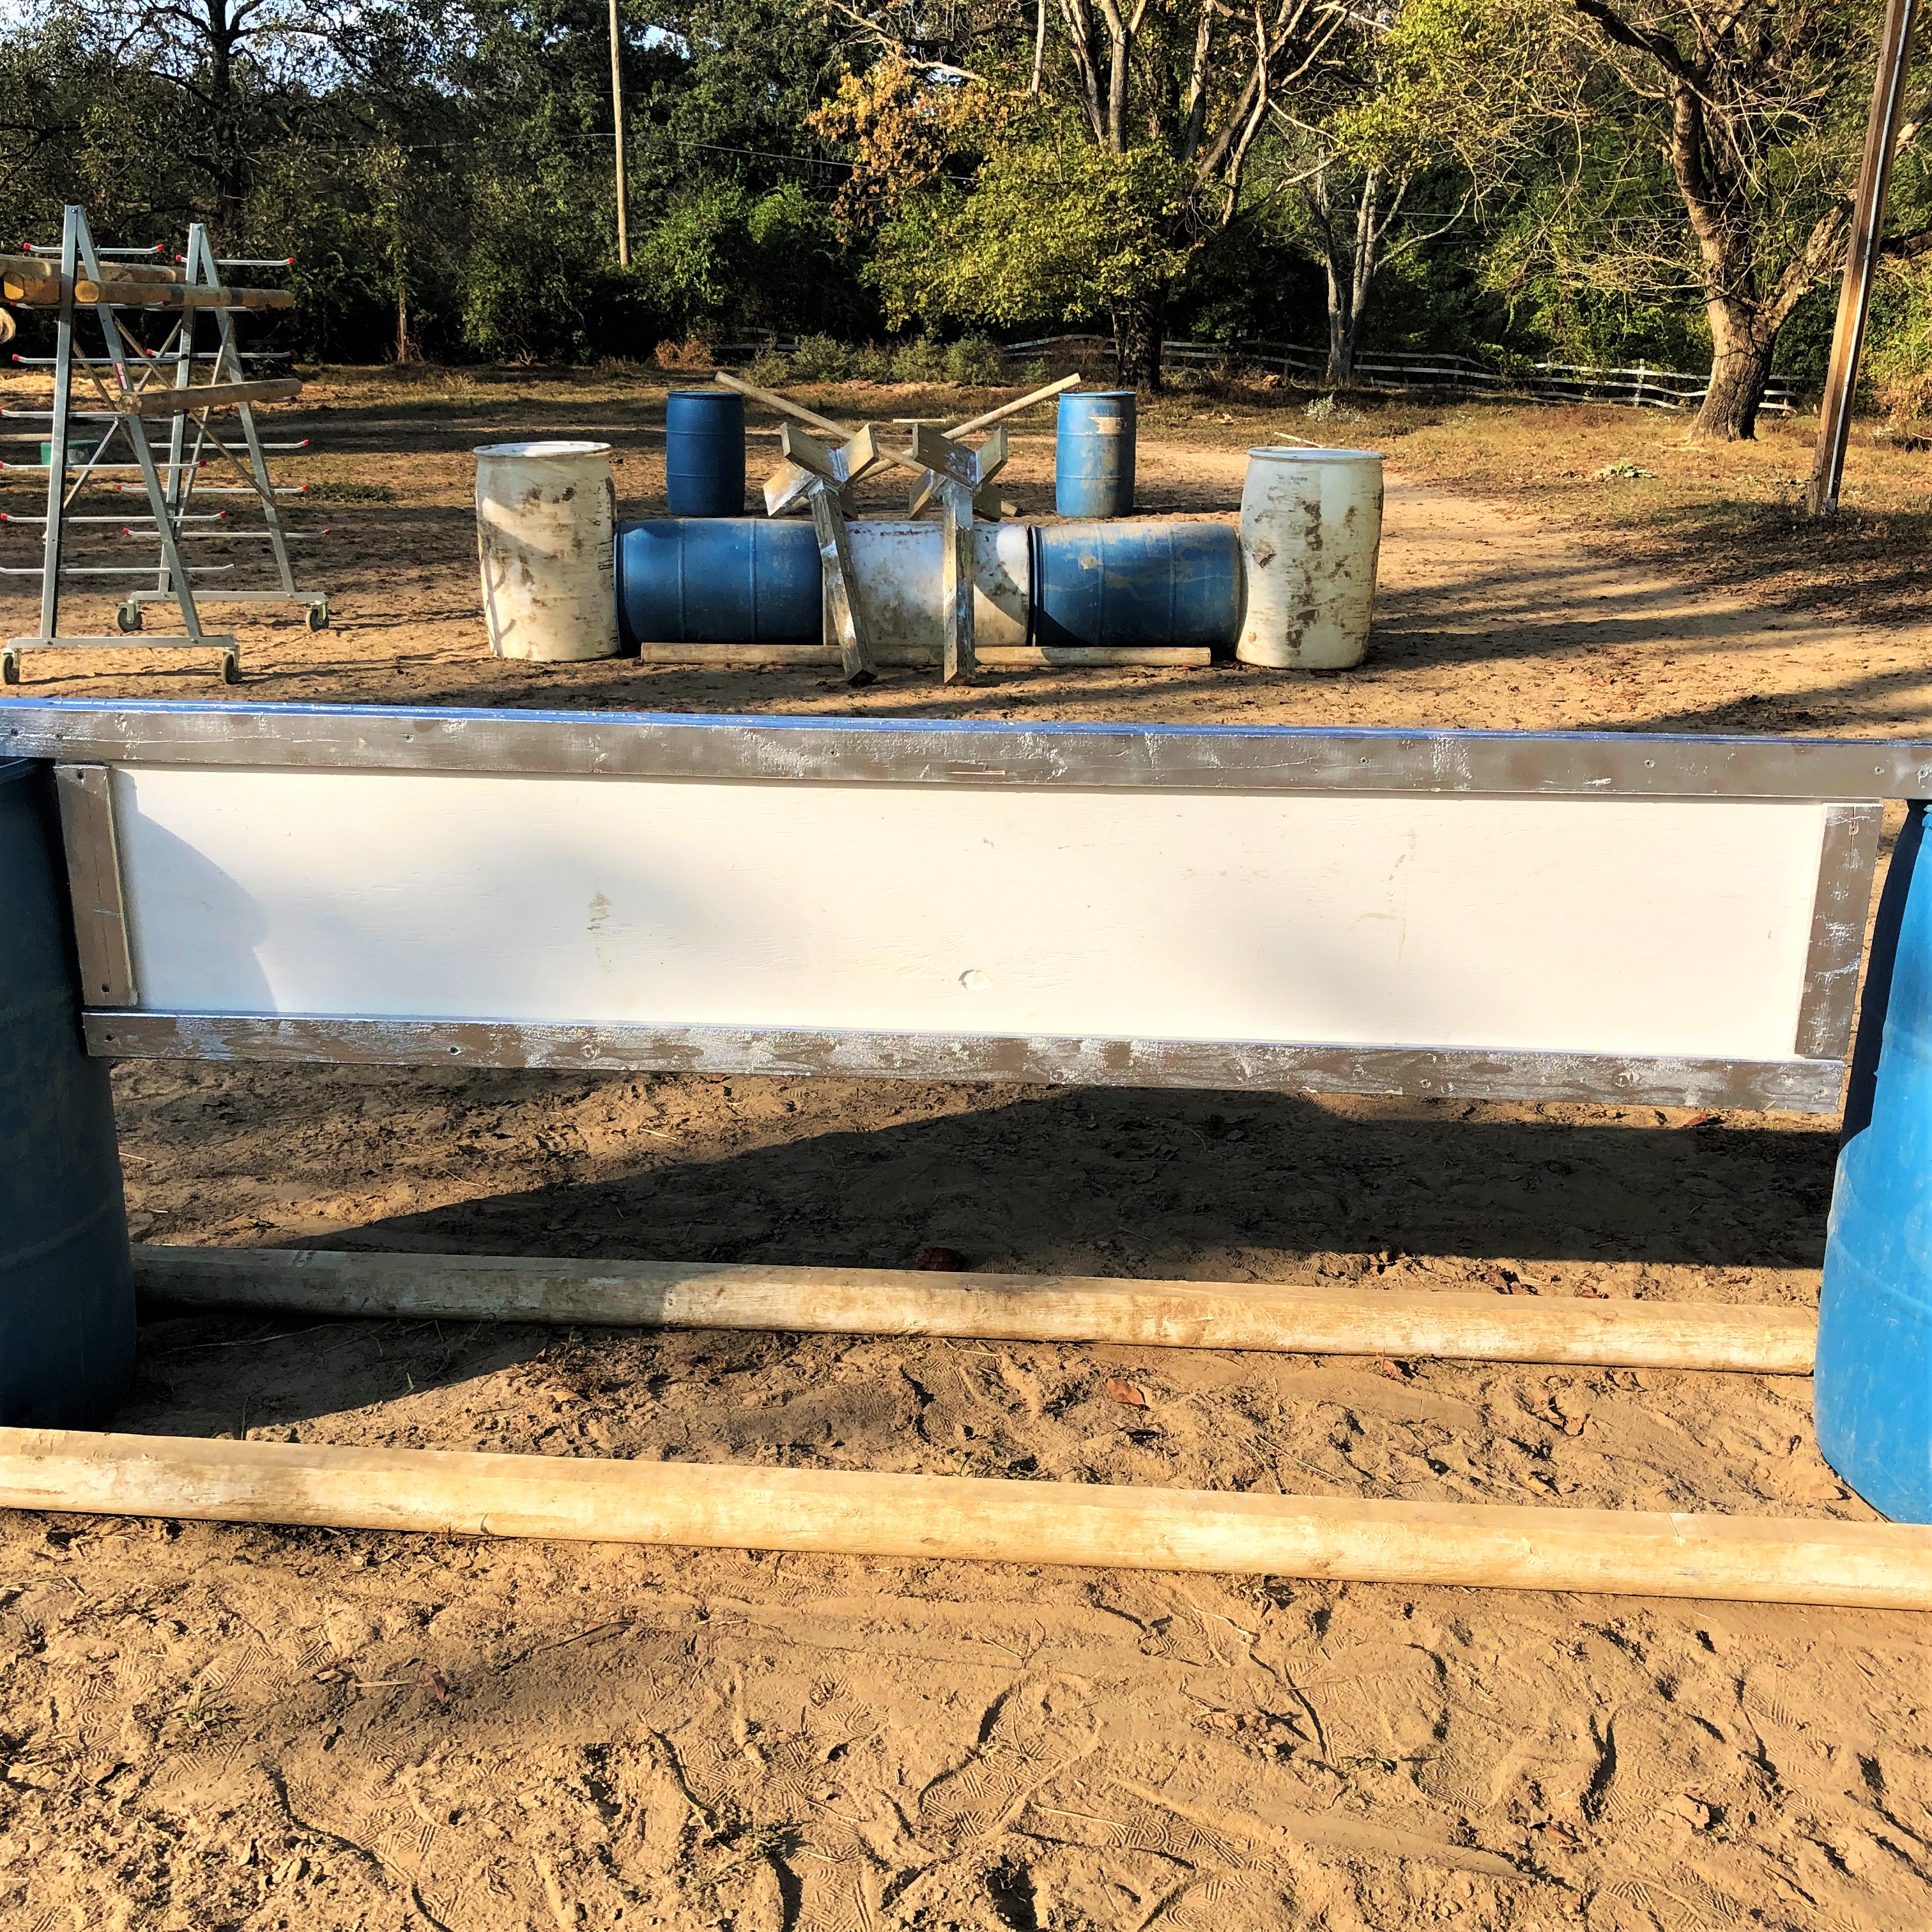
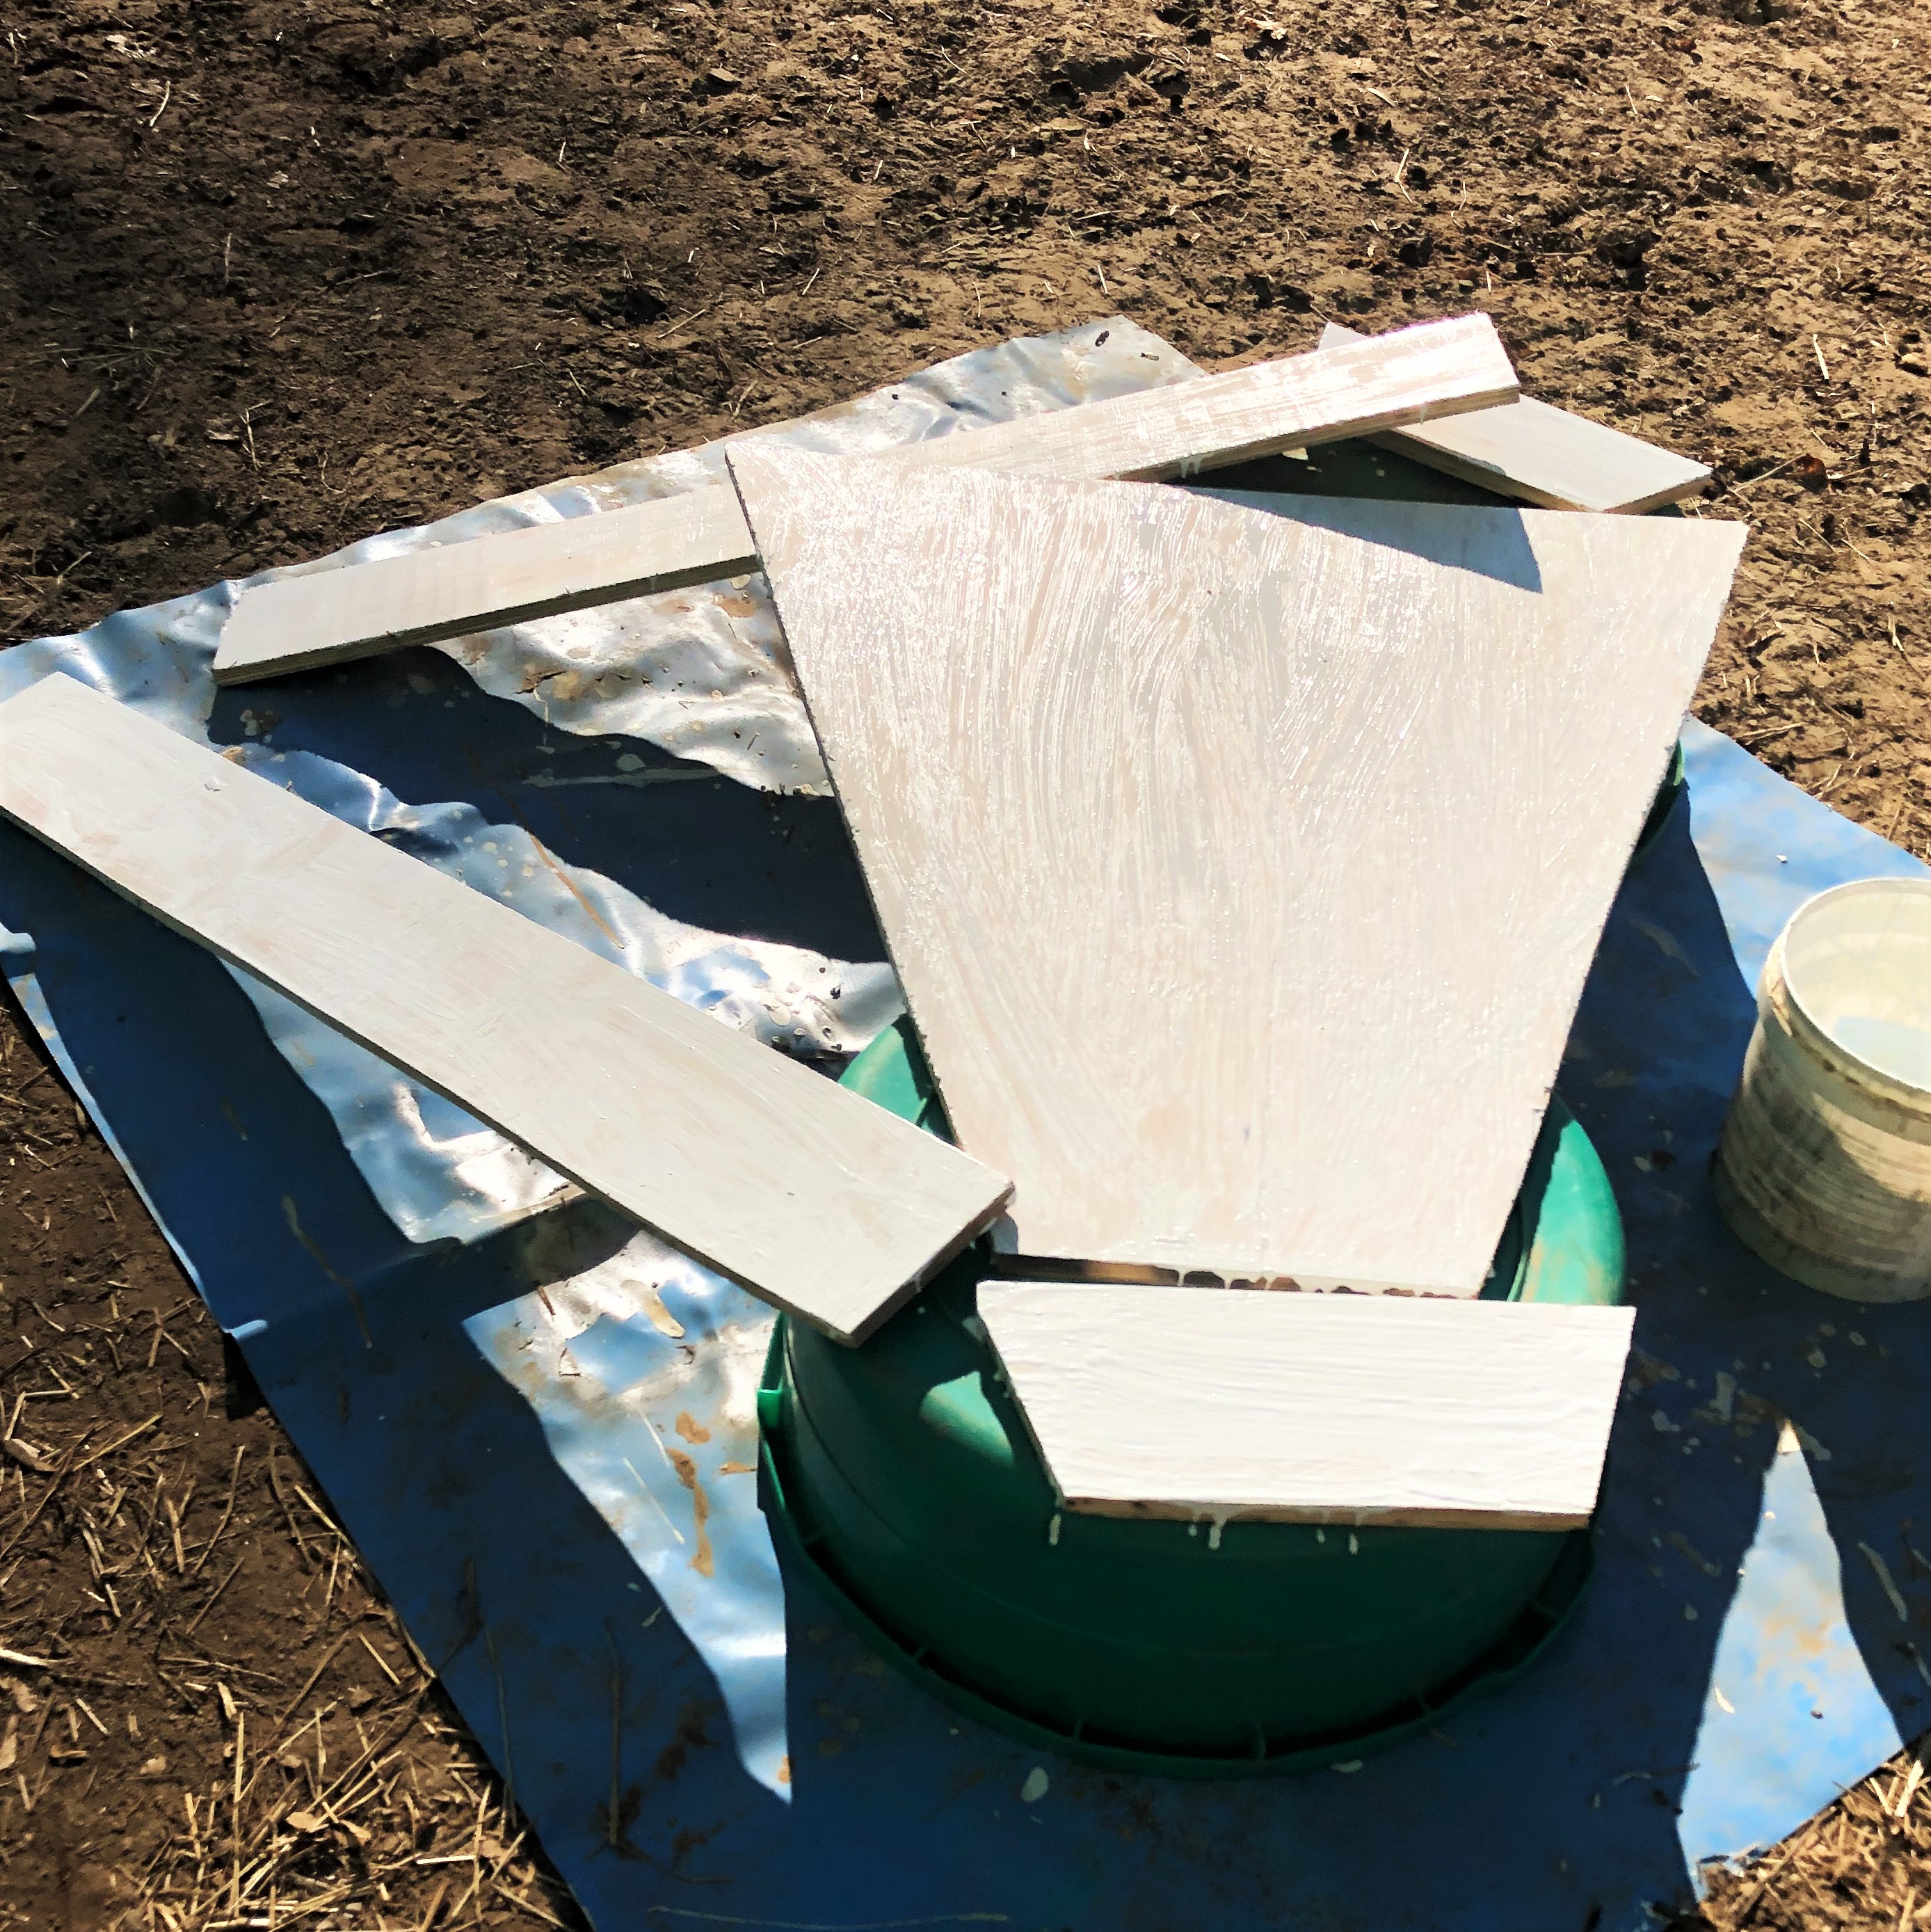
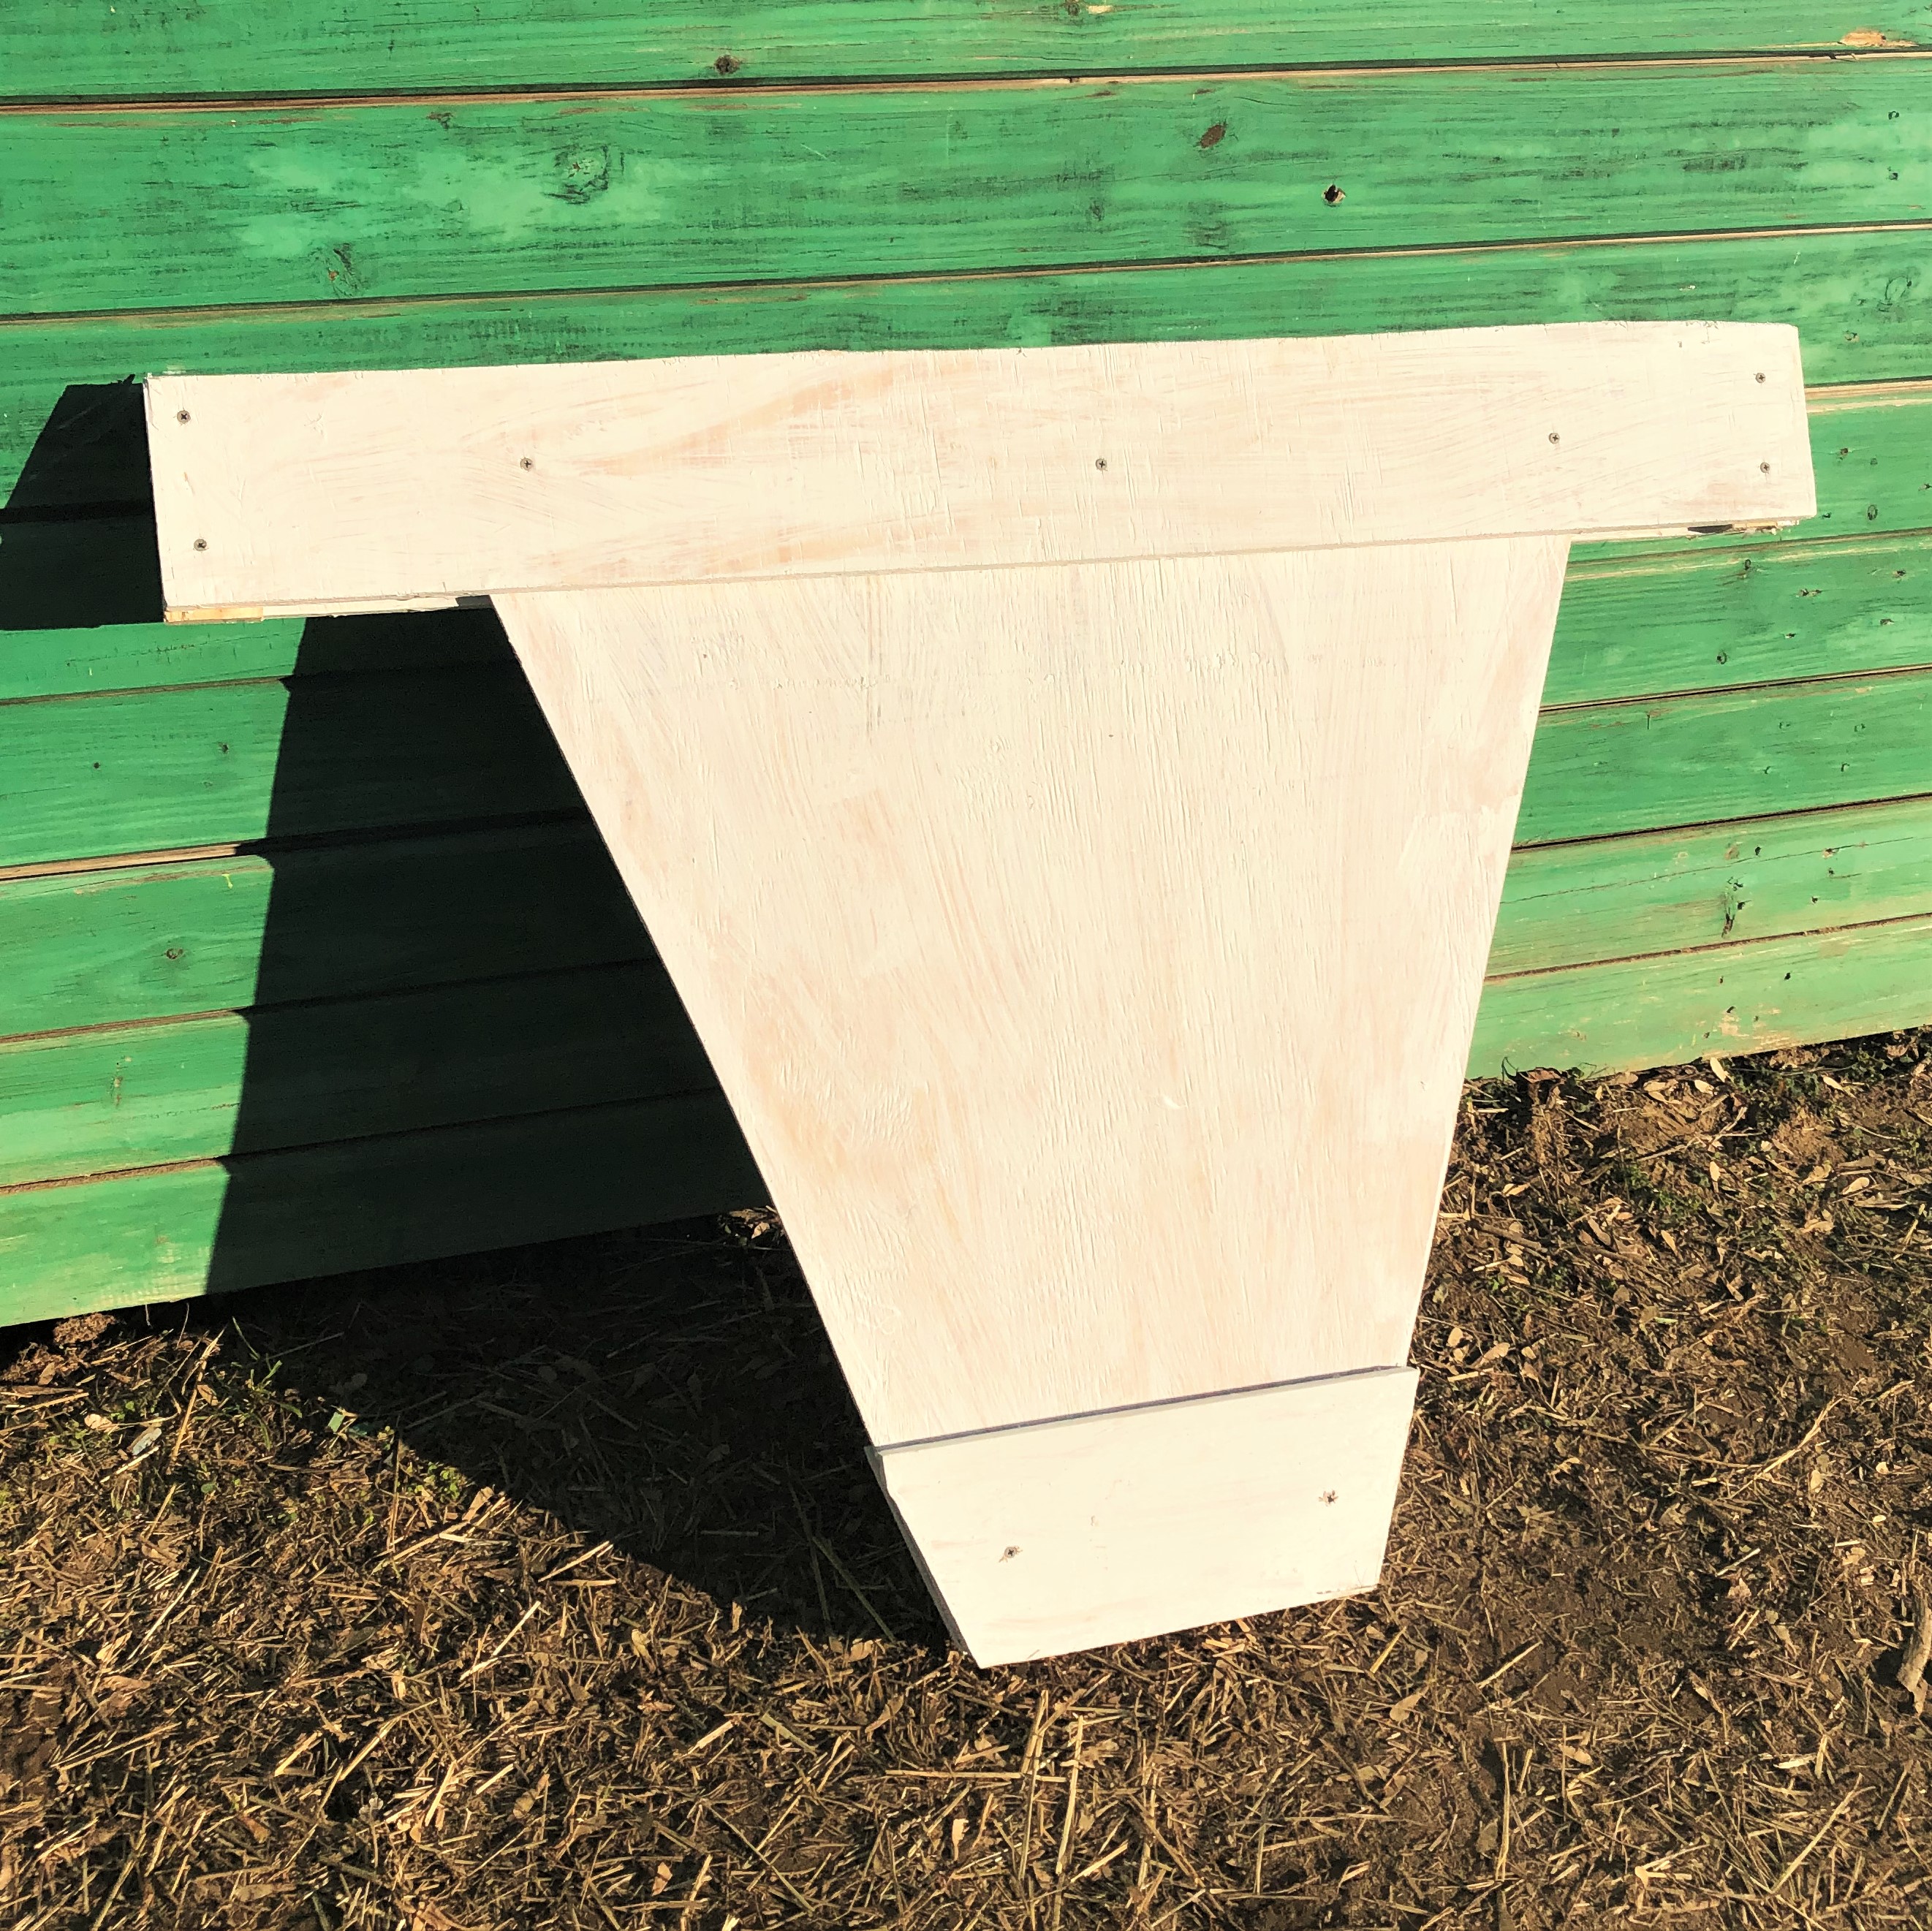
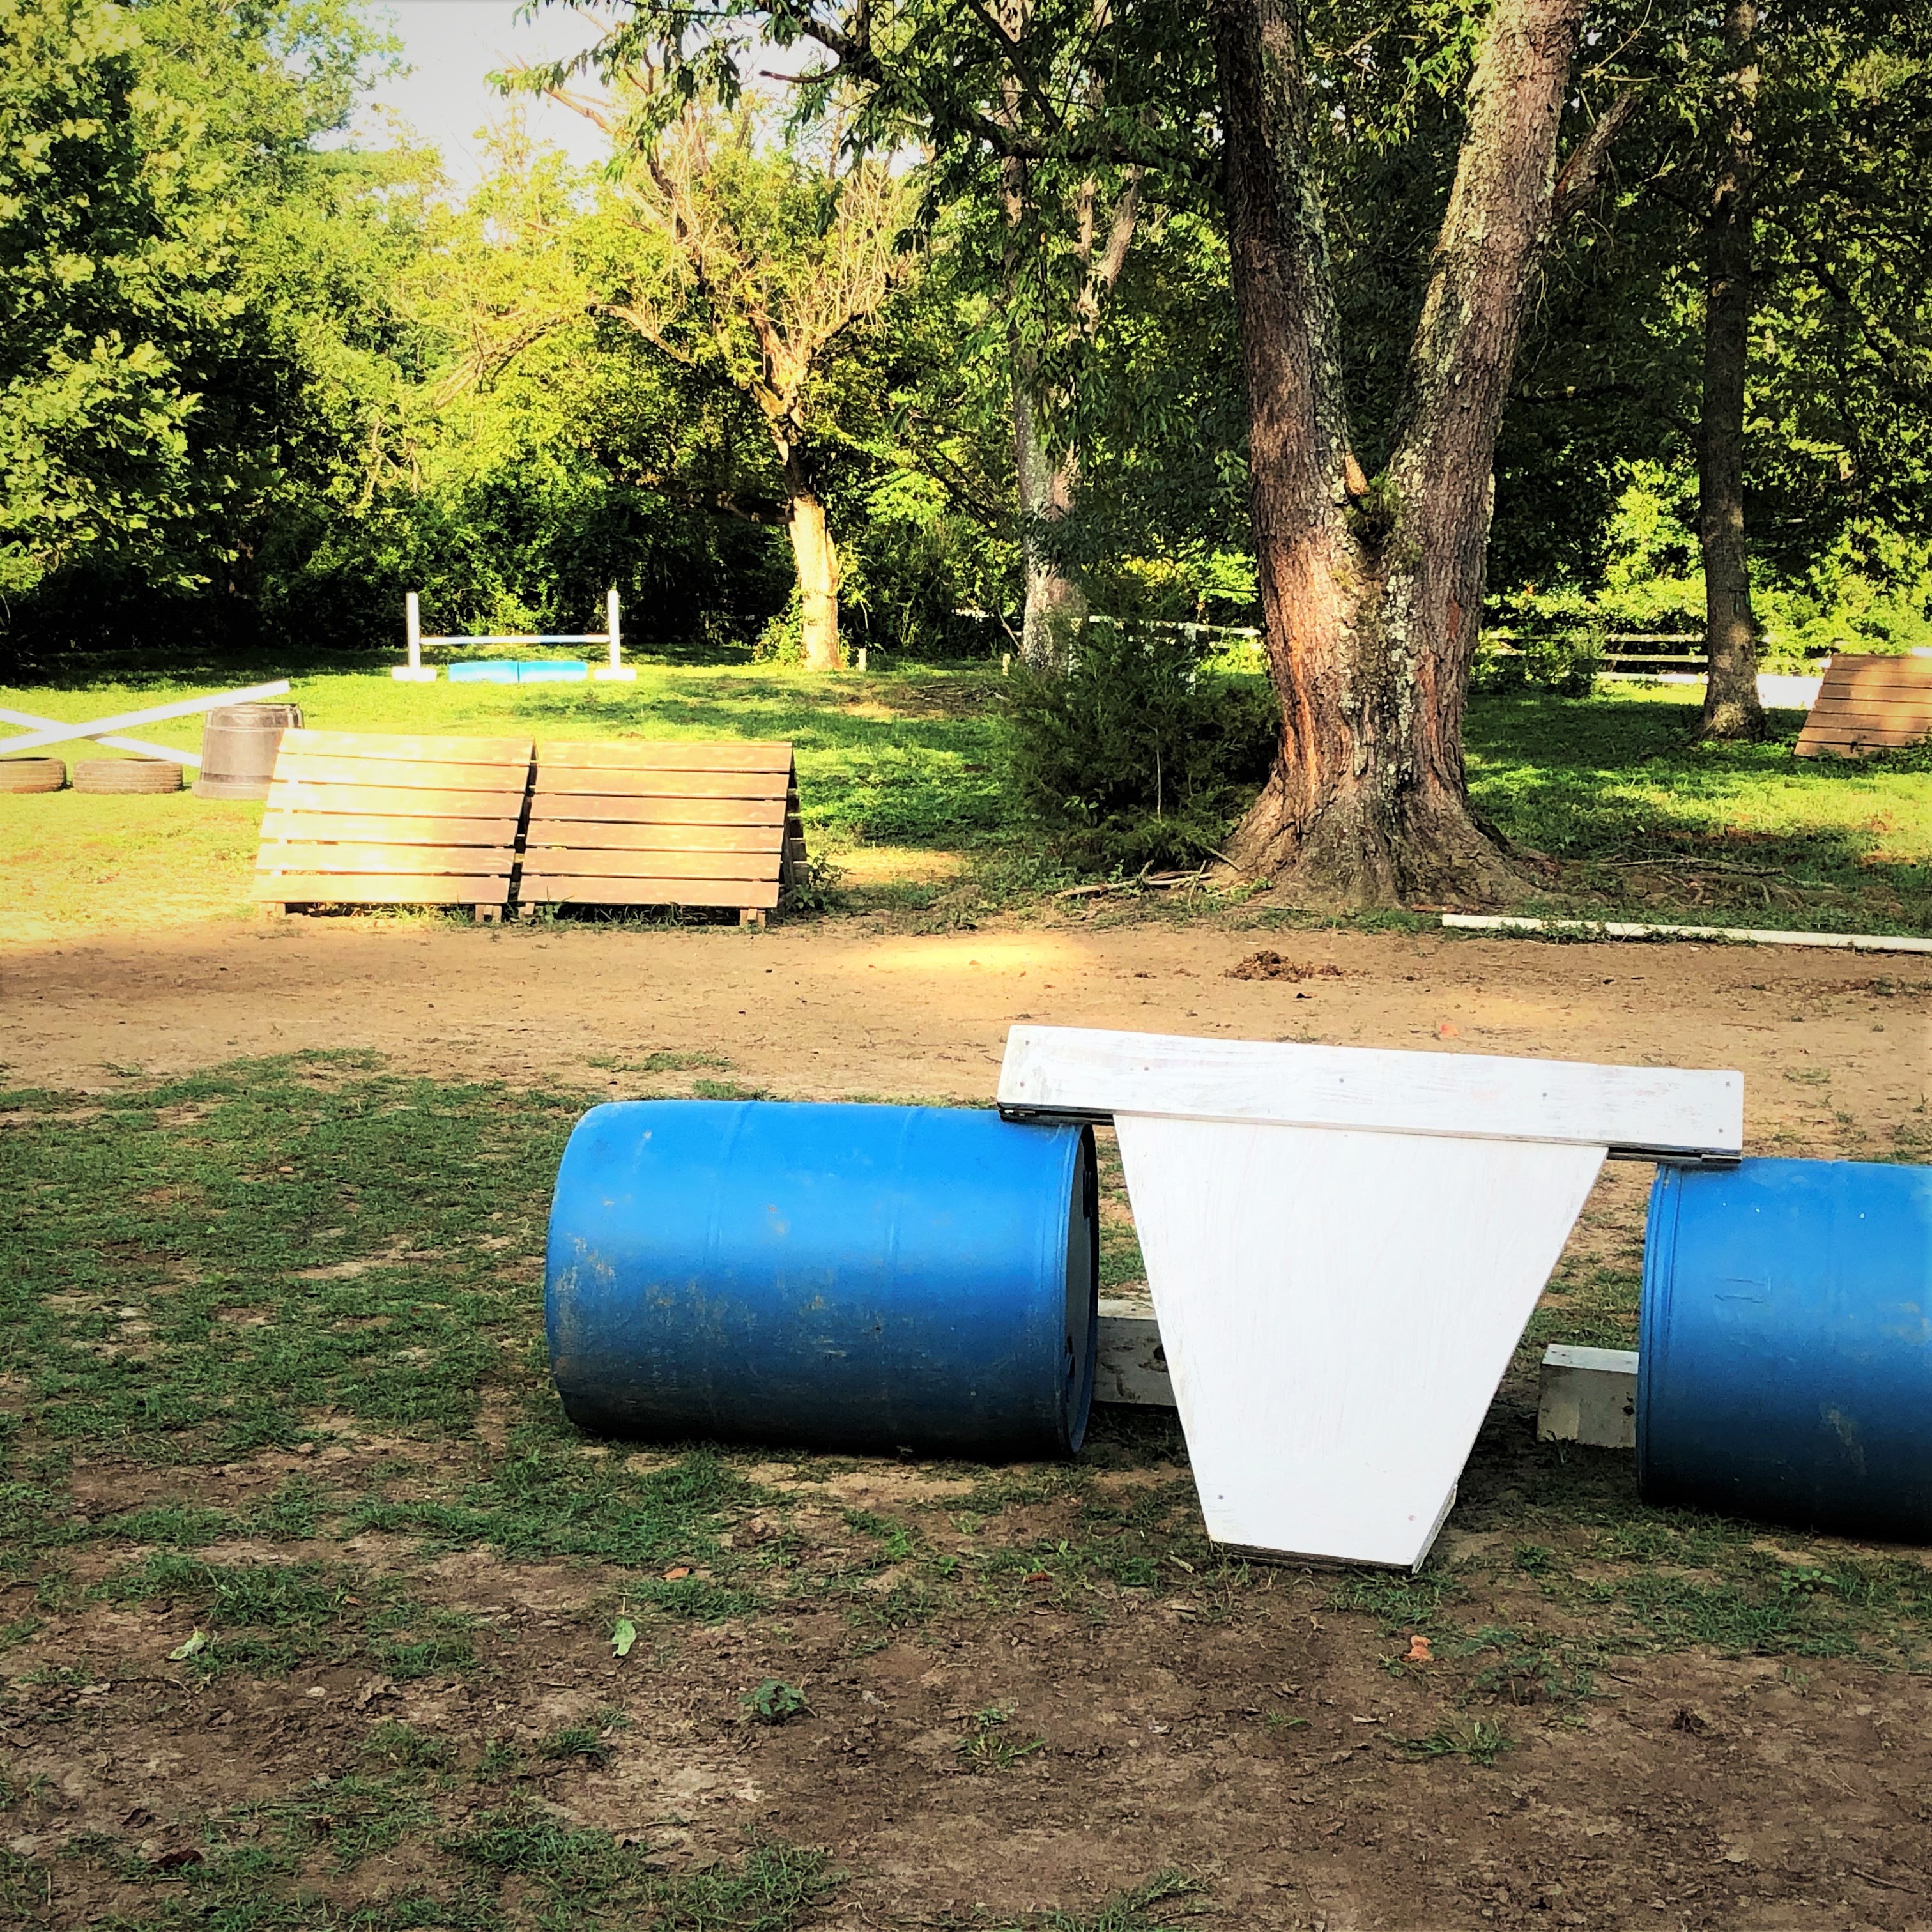
Arena jump gates are crazy expensive and are rather easy to make solo. While some jumps are preferred to be purchased (such as cross-country jumps), basic jump gates are much more cost effective as DIY. To make it simple with the least amount of effort, understand what type of gate you want to build and what materials that you need. Sometimes you have enough scrap wood to start a project. Othertimes, there are really cheap wood options at Home Depot or your local store. This gate here was scrap wood cut leftover from plywood used for my hayloft door and measured to 7' in length. If it was 8' long, I would've simply added Jump Plank Ends (Dover Saddlery sells them for ~$20). Since the scrap wood was 7' in length, it required some support to make it 8' in length so that it would match my 8' landscape timber jump poles. The easiest way to do this was to buy some cheap, thin boards from Home Depot that were a couple dollars each and then measure everything out. To make it look nicer, I got a few additional slim boards to cut for framing, although note that a simple top addition would suffice for jumping. I also had some leftover spray paint that I used to paint the frame boards separately before assembling everything. When I get more inspiration in the future, I'll probably add some more decoration to the white panel but for now it will suffice.